DashboardAPI Authentification
Jetons
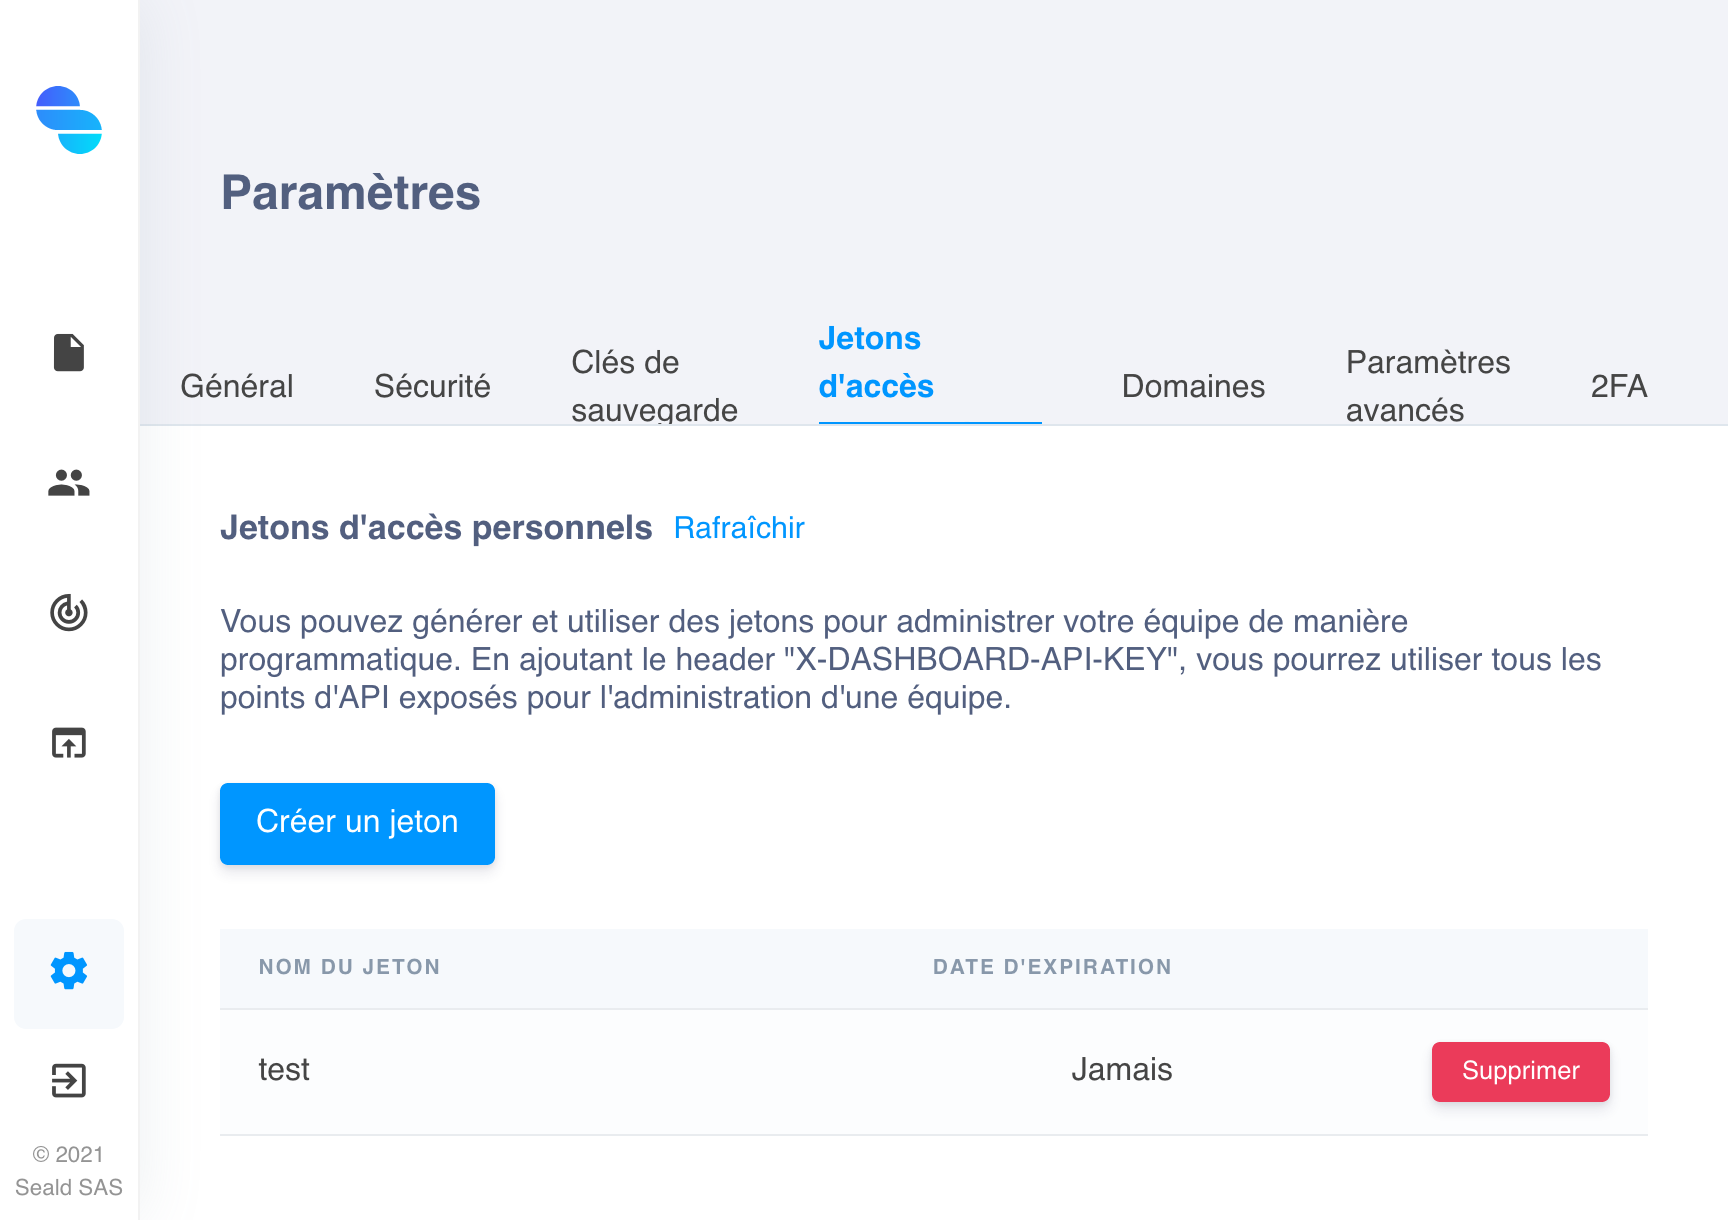
Pour pouvoir authentifier vos requêtes sur la DashboardAPI, vous devez créer un Jeton d'accès personnel sur le dashboard. Pour cela, allez dans les paramètres du dashboard, dans l'onglet "Jetons d'accès personnels".
 |
|---|
| Page de création de Jetons d'accès personnels |
Lors de la création du jeton, vous pouvez lui définir un nom, afin de le reconnaitre, et éventuellement une date d'expiration.
Une fois créé, le dashboard affiche votre jeton.
WARNING
Le dashboard ne peut afficher votre jeton que lors de sa création. Notez-le bien, il ne sera plus jamais visible.
Requêtes
Une fois que vous avez votre jeton d'authentification, vous pouvez effectuer des requêtes.
Pour authentifier vos requêtes, vous devez passer un Header X-DASHBOARD-API-KEY contenant votre jeton d'authentification.
Exemple de requête GET :
curl https://dashboard.seald.io/dashboardapi/v2/users/ \
  -H 'X-DASHBOARD-API-KEY: VOTRE_JETON_D_ACCES'
Toutes les requêtes POST acceptent leur entrée au format JSON : si votre requête demande un body, vous devrez l'envoyer au format JSON et mettre un Header Content-Type à la valeur application/json.
Exemple de requête POST :
curl -X POST https://dashboard.seald.io/dashboardapi/v2/eventlogs/export/ \
  -H 'X-DASHBOARD-API-KEY: VOTRE_JETON_D_ACCES' \
  -H 'Content-Type: application/json' \
  --data-raw '{ "date_min": "2021-10-24T14:15:22Z", "date_max": "2021-10-25T14:15:22Z" }'