DashboardAPI Authentication
Tokens
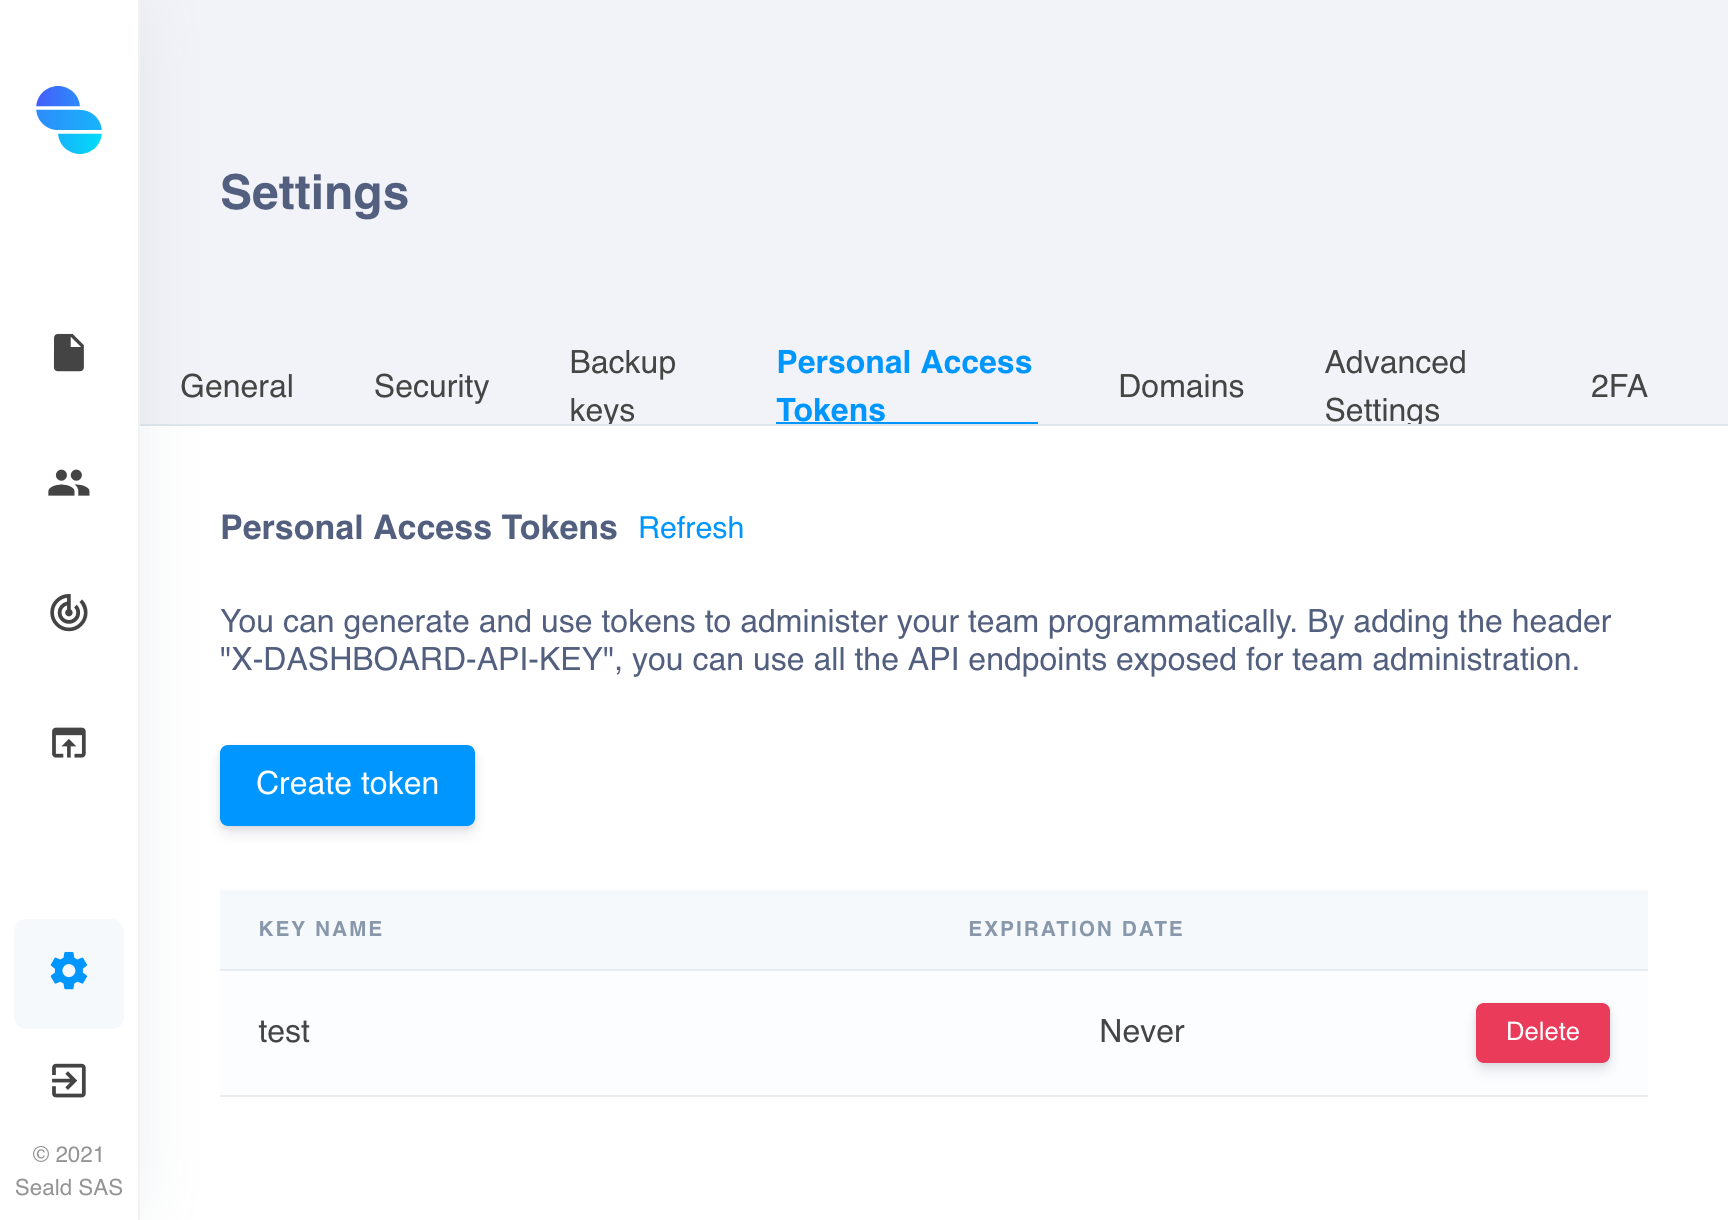
In order to authenticate your requests on the DashboardAPI, you must create a personal access token on the dashboard. To do this, go to the dashboard settings, to the "Personal Access Tokens" tab.
 |
|---|
| Personal Access Token creation page |
When creating the token, you can define a name for it, in order to recognize it, and optionally an expiration date.
Once created, the dashboard displays your token.
WARNING
The dashboard can only display your token when it is created. Be careful to save it, as it will never be visible again.
Requests
Once you have your authentication token, you can make requests.
To authenticate your requests, you need to pass an X-DASHBOARD-API-KEY header containing your authentication token.
Example of GET request:
curl https://dashboard.seald.io/dashboardapi/v2/users/ \
  -H 'X-DASHBOARD-API-KEY: YOUR_ACCESS_TOKEN'
All POST requests accept input in JSON format: if your request needs a body, you must send it in JSON format and add a Content-Type Header with the value application/json.
Example of POST request:
curl -X POST https://dashboard.seald.io/dashboardapi/v2/eventlogs/export/ \
  -H 'X-DASHBOARD-API-KEY: YOUR_ACCESS_TOKEN' \
  -H 'Content-Type: application/json' \
  --data-raw '{ "date_min": "2021-10-24T14:15:22Z", "date_max": "2021-10-25T14:15:22Z" }'