Smart assistant
Seald allows you to implement your rule system to detect the sensitive content of an email and automatically encrypt it before it leaves your inbox. This technology is compatible with most DLP (Data Loss Protection) engines. This will prevent sensitive emails from being accidentally sent without protection.
How it works for the user
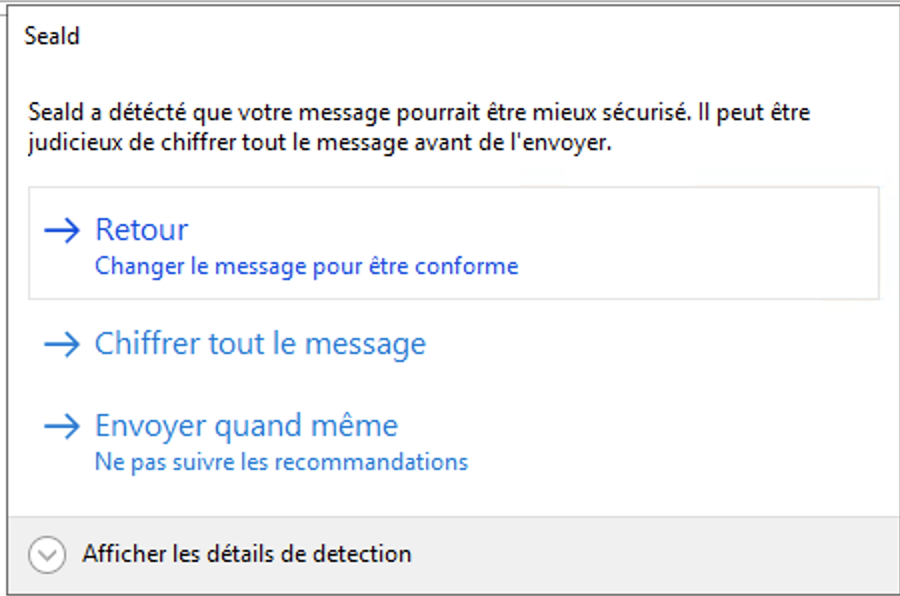
When the user sends an e-mail, it will be analyzed by the script mentioned below to offer the user several choices depending on the case:
Recommended level
The rules can be configured to allow the user to encrypt attachments alone or the body of mail and attachments, but also to override these recommendations:
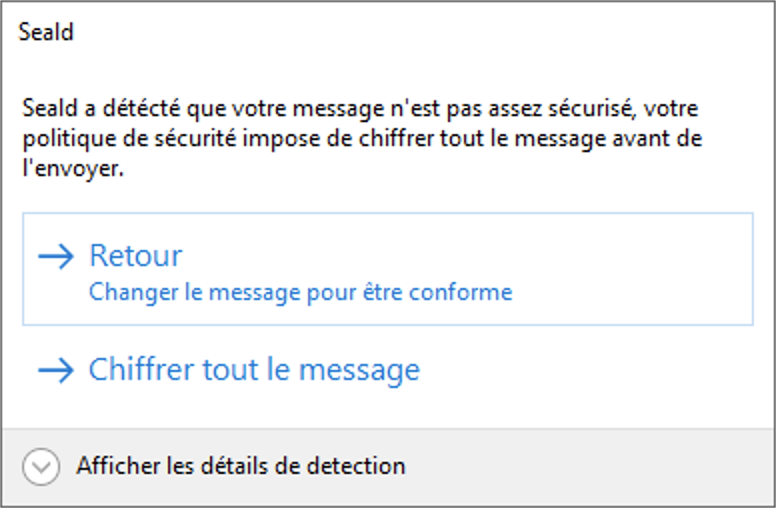
Forced level
To force a more strict level, some rules may force an encryption level when triggered. In this case, the user is not given the choice to override the given level of security.
Enabling the feature
Each time an email is sent, the desktop application executes a script, following the detailed specification below, returning the recommended and forced levels of security for the email and its attachments.
In the desktop application
The script must be named rules.js, and placed at the root of the Seald configuration folder, at the following path:
- Windows:
%APPDATA%\Seald\ - macOS :
~/Library/Application Support/Seald/ - Linux:
~/.config/Seald/
Once the rule file is installed, it is necessary to restart the application for the modification to be taken into account.
It is possible to programmatically deploy a new rule file using the following commands:
copy new-rules.js %APPDATA%\Seald\rules.js

// restarting Seald app
taskkill /IM seald.exe /F
start "" "%ProgramFiles%\Seald\Seald.exe"
In the extension
In the extension, you can enable / disable this feature, you must:
 | |
| 1. Click on new email | 2. In the window, click on the arrow under the Seald icon |
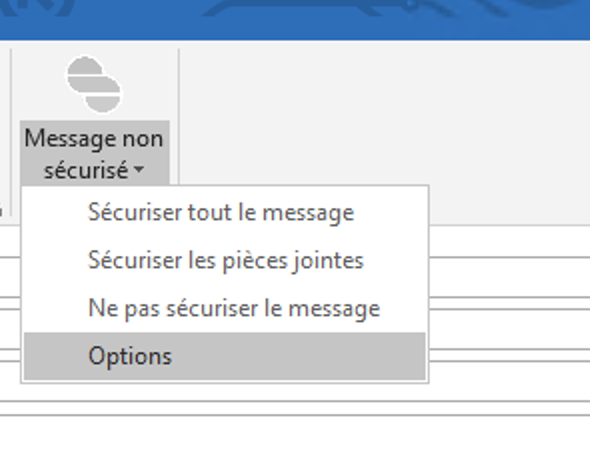 | 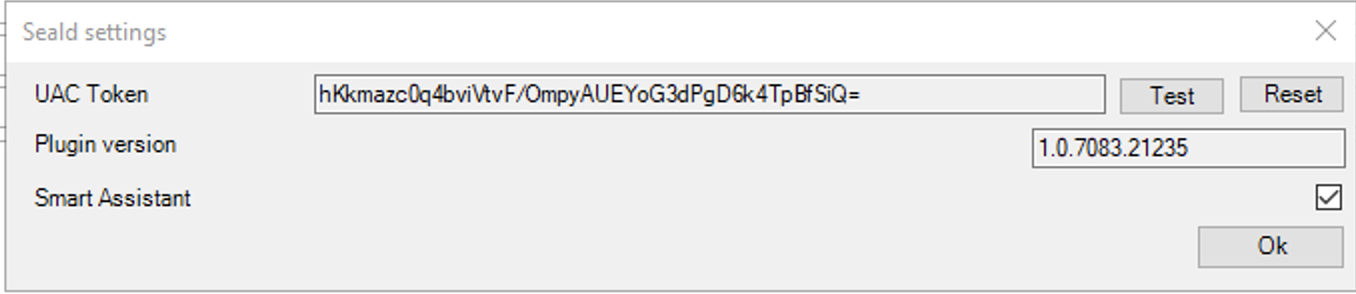 |
| 3. Click on options in the menu | 4. Check the Smart Assistant checkbox, then ewit the window |
It can also be configured programmatically by modifying the extension configuration.
Rules design
The rules file is a Javascript script (the standard library of Node.JS 12 is available), communicating with the desktop application by IPC.
Each rule can independently recommend or force an encryption level. The different levels of encryption available are:
- 0 - no encryption
- 1 - encryption of attachments
- 2 - encryption of attachments and email body
This script receives as argument the different elements of the mail: to, cc, cci, subject, body, attachments. It must return an object containing the following keys:
levelForced, indicating the minimum encryption level to allow the mail to be sentlevelRecommended, indicating the recommended encryption levelmatches, a table containing the list of points identified by the rules. These objects contain a message for the user, the recommended encryption level, as well as the minimum level of forced encryption.
Script example
const CLEARTEXT = 0
const ENCRYPTED_ATTACHMENTS_ONLY = 1
const ENCRYPTED_BODY_AND_ATTACHMENTS = 2

process.on('message', ({ to = [], cc = [], cci = [], subject = '', body = '', attachments = [] }) => {
  try {
    // By default, no encryption is required
    let levelForced = CLEARTEXT
    let levelRecommended = CLEARTEXT
    const matches = []

    // Example of check on the recipients' emails forcing the encryption of the mail body and attachments.
    const allDest = to.concat(cc).concat(cci)
    if (allDest.some(email => email.endsWith('@ip-lawyer.com'))) {
      levelForced = ENCRYPTED_BODY_AND_ATTACHMENTS
      matches.push({
        levelForced: ENCRYPTED_BODY_AND_ATTACHMENTS,
        levelRecommended: ENCRYPTED_BODY_AND_ATTACHMENTS,
        message: 'Mail to IP lawyer must be encrypted'
      })
    }

    // Example of using a regular expression to detect confidential information
    if (/confidential/.test(body)) {
      levelRecommended = ENCRYPTED_BODY_AND_ATTACHMENTS
      matches.push({
        levelForced: CLEARTEXT,
        levelRecommended: ENCRYPTED_BODY_AND_ATTACHMENTS,
        message: 'it seems that this email contains confidential information'
      })
    }

    process.send({
      code: 0,
      data: {
        levelForced,
        levelRecommended,
        matches
      }
    })
    process.exit(0)
  } catch (error) {
    process.send({ code: 1, data: error.stack })
    process.exit(1)
  }
})
WARNING
Note : To properly analyze an email body, it is recommended to replace the accents and special characters beforehand.
A script example can be downloaded here and can be used directly here.