Team management
Team management is essential to your company. It allows you to add users and manage their actions. By clicking on the Users tab on the left of the page, you access the list of users of the administered team.
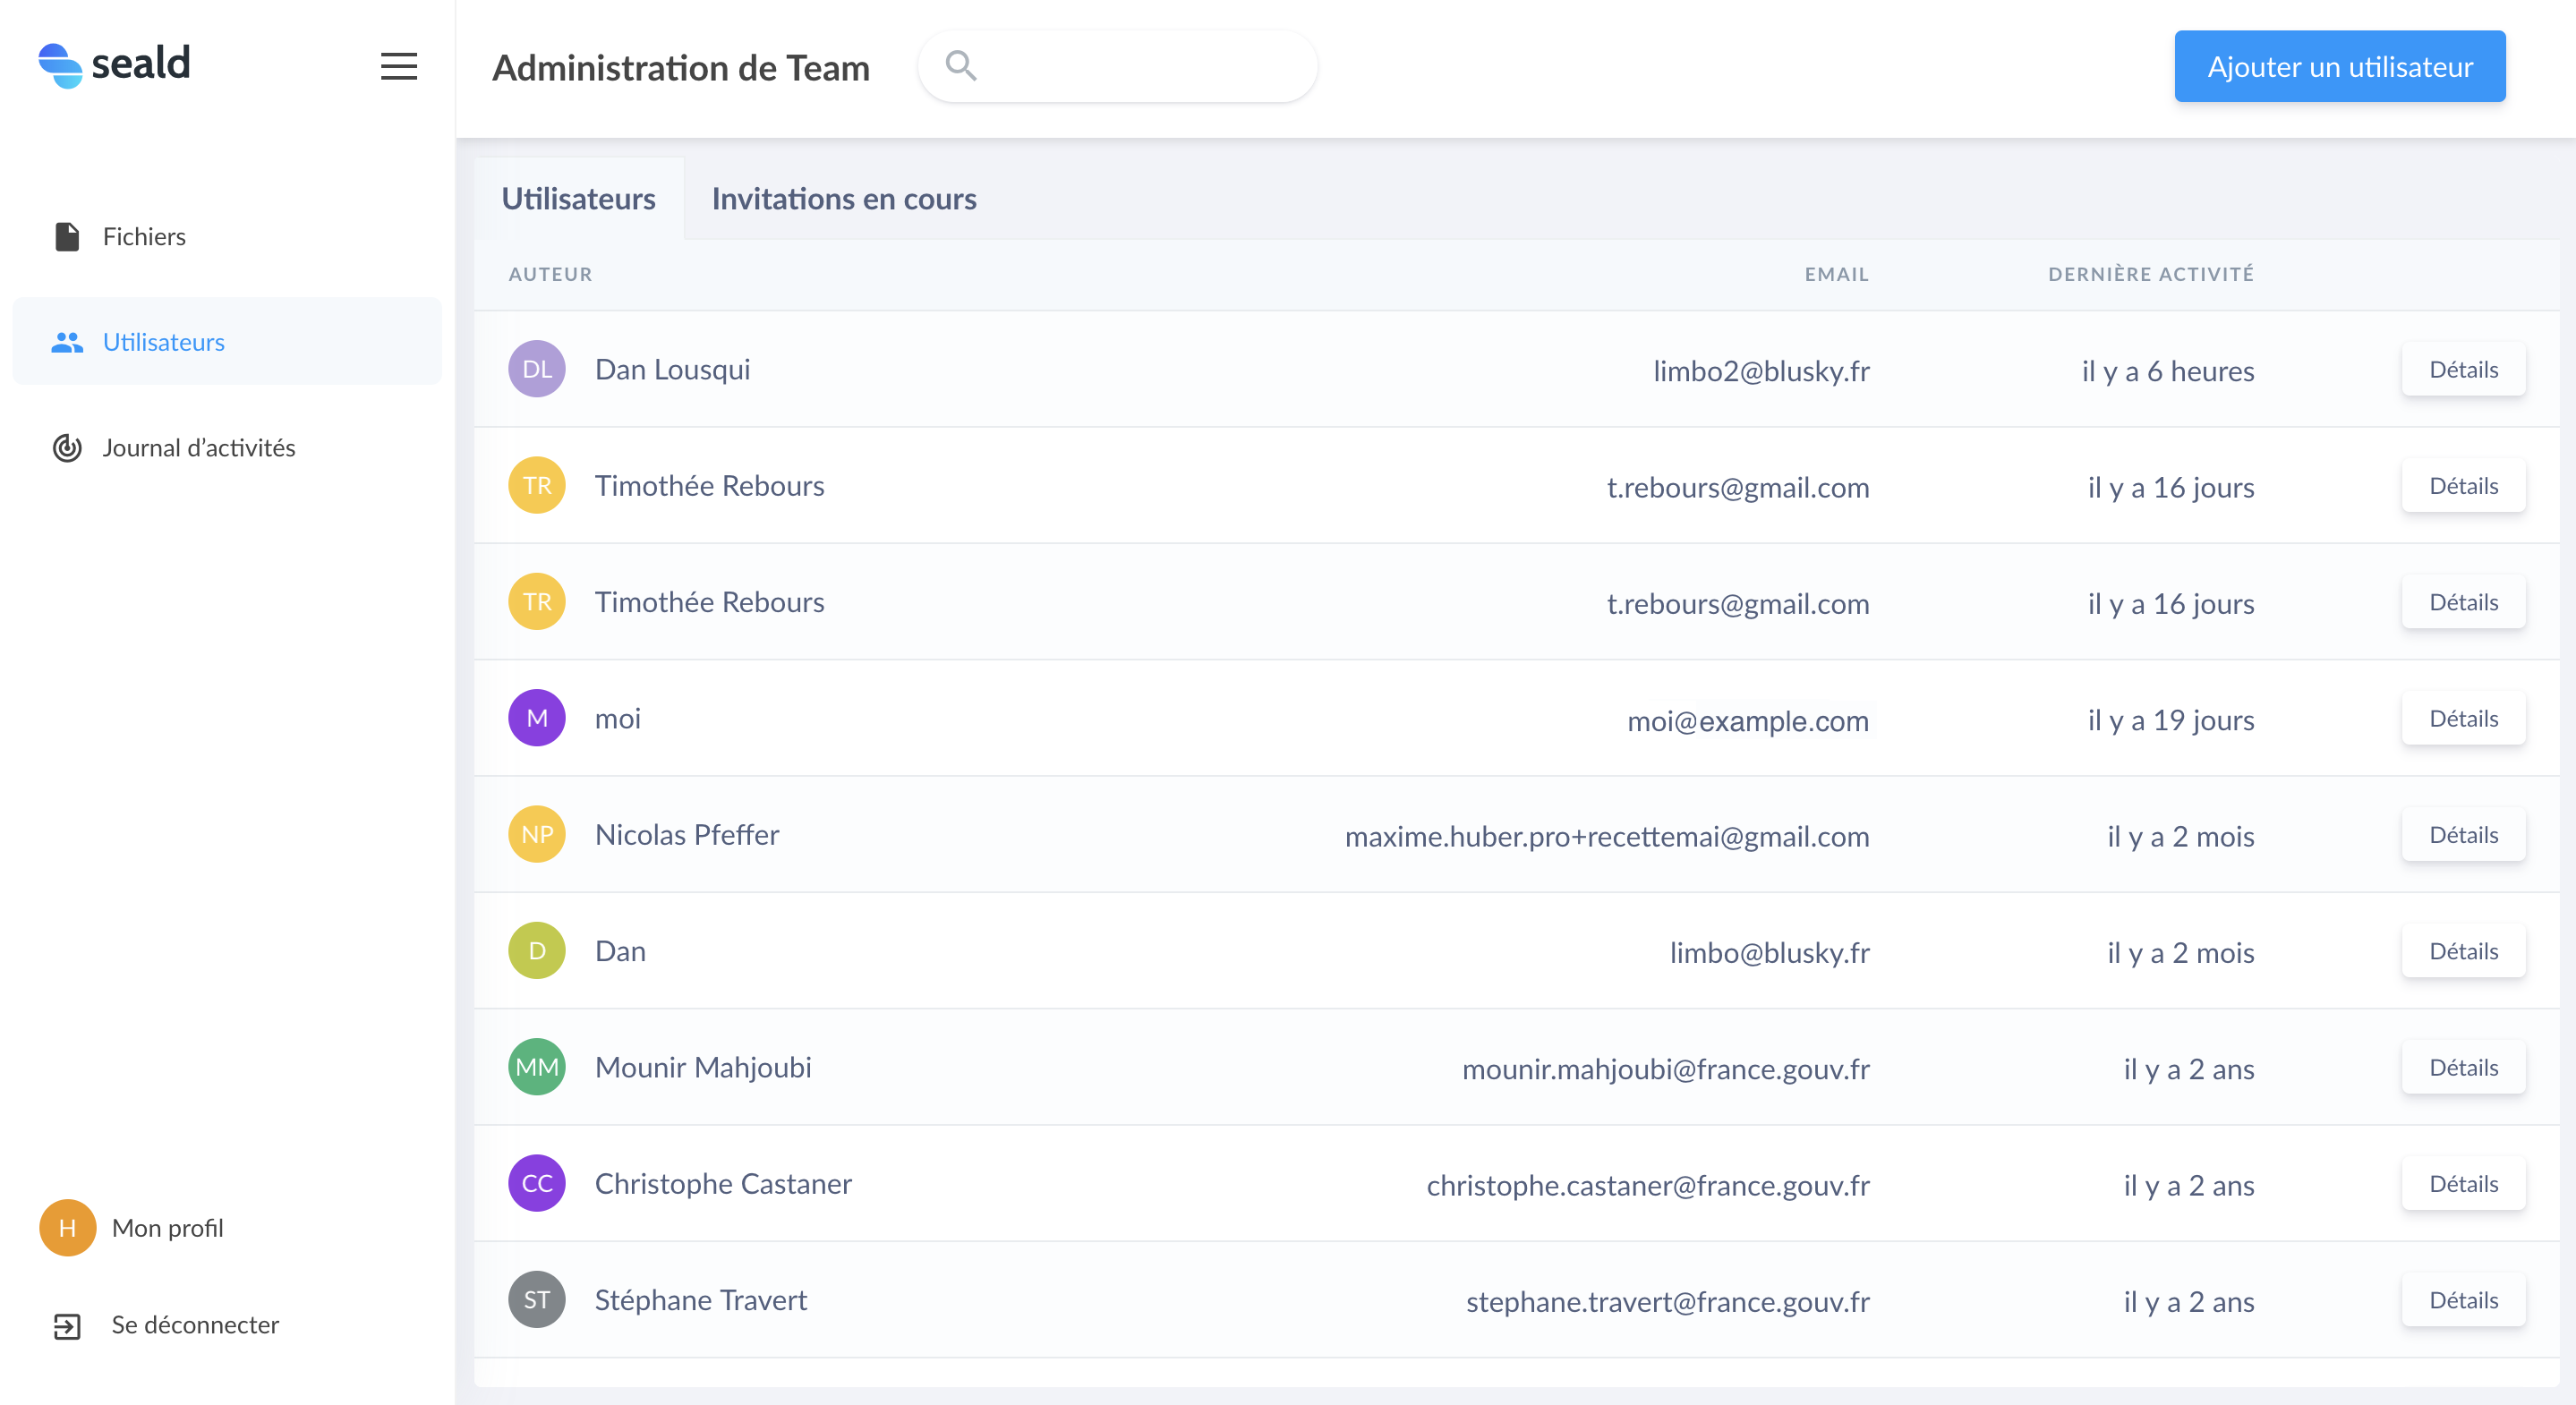 |
Tab Users |
This list includes for each Seald user in the team the following information:
- public name of the user;
- primary email of the user;
- date of the last activity (opening or encrypting a file for example).
A search field allows you to filter the user table by name or email.
Invitation management
The list of invitations sent to new users is available in the Pending Invitations tab of the table:
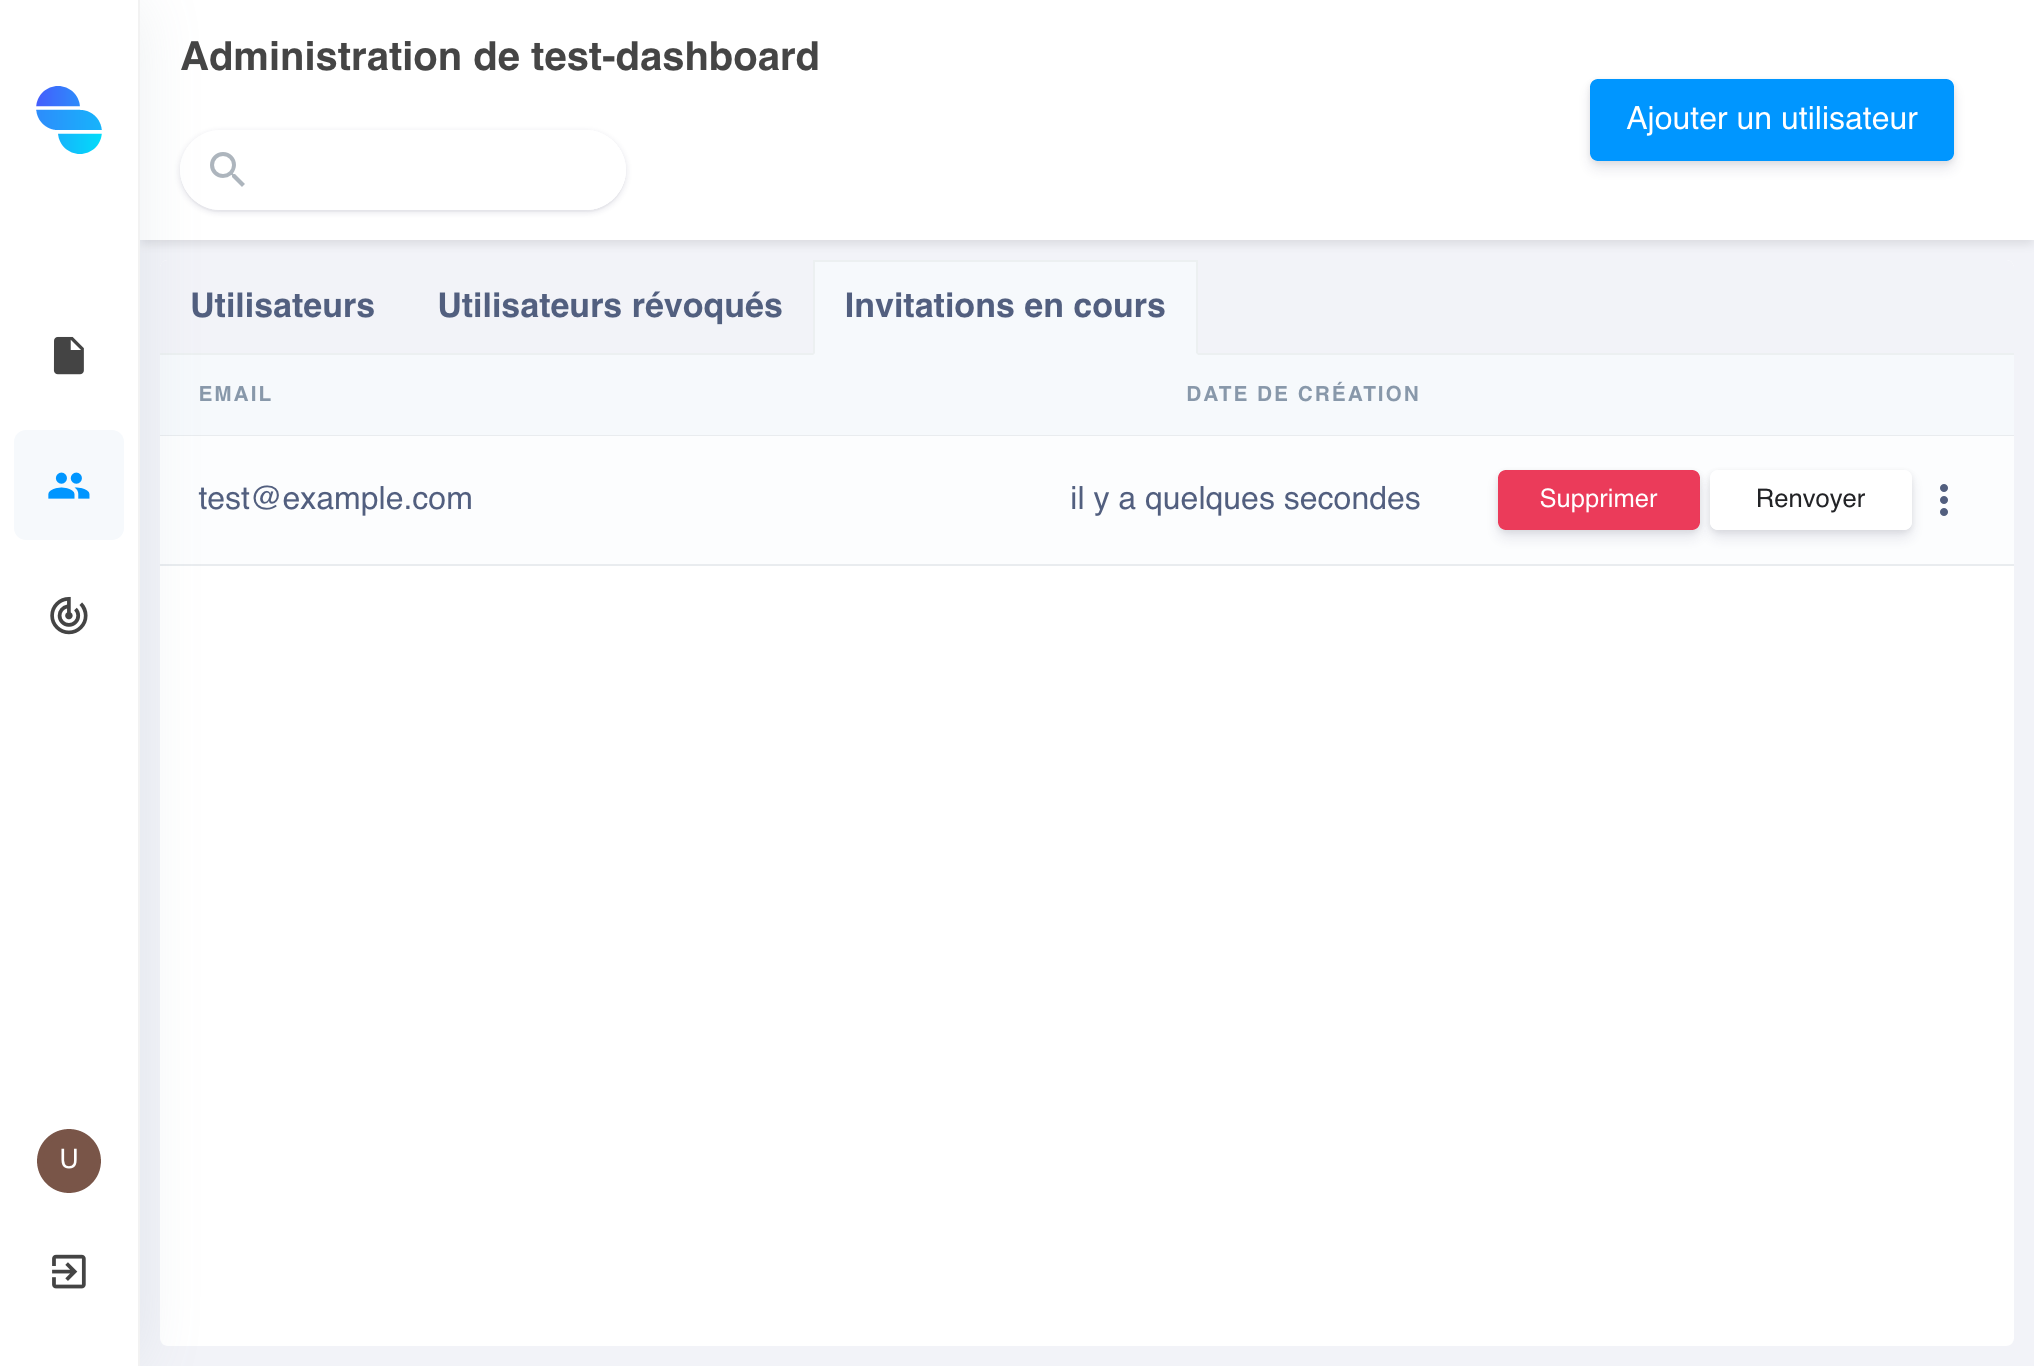 |
Invitations |
Each invitation can be resent or even completely deleted. An invitation can be accompanied by an email that will notify the user of their invitation, as the latter has no expiration date.
Add a user
To create a new invitation and thus add a user to your team, click on the button Add a user and specify the user's email. An option allows you to choose whether or not you want to notify the recipient of the invitation with an email.
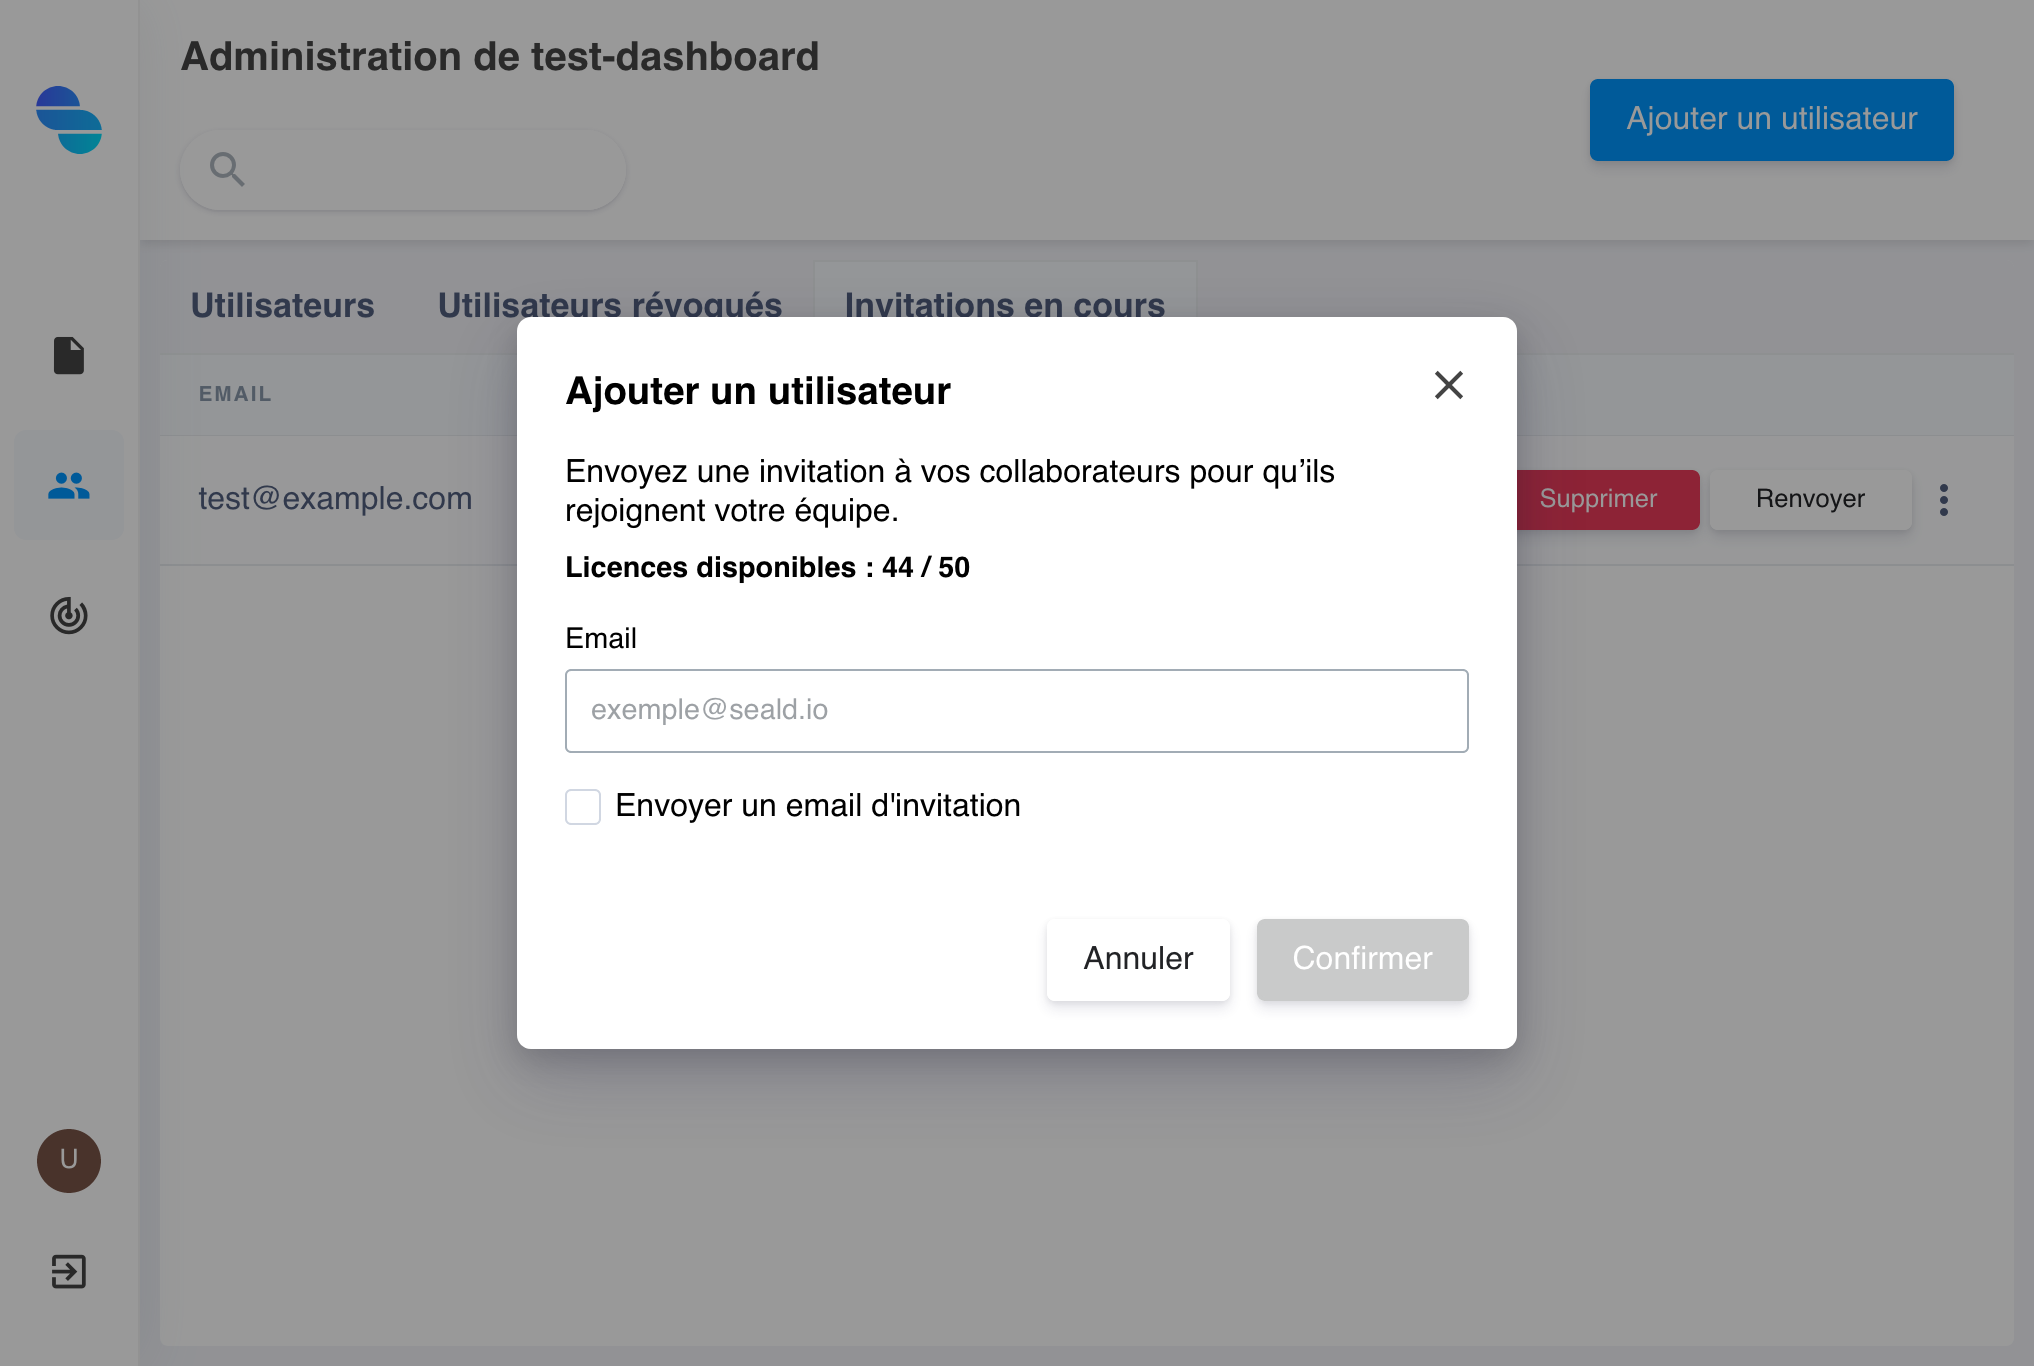 |
Adding a user |
The recipient of the invitation will receive an email as below where they will only have to follow the instructions.
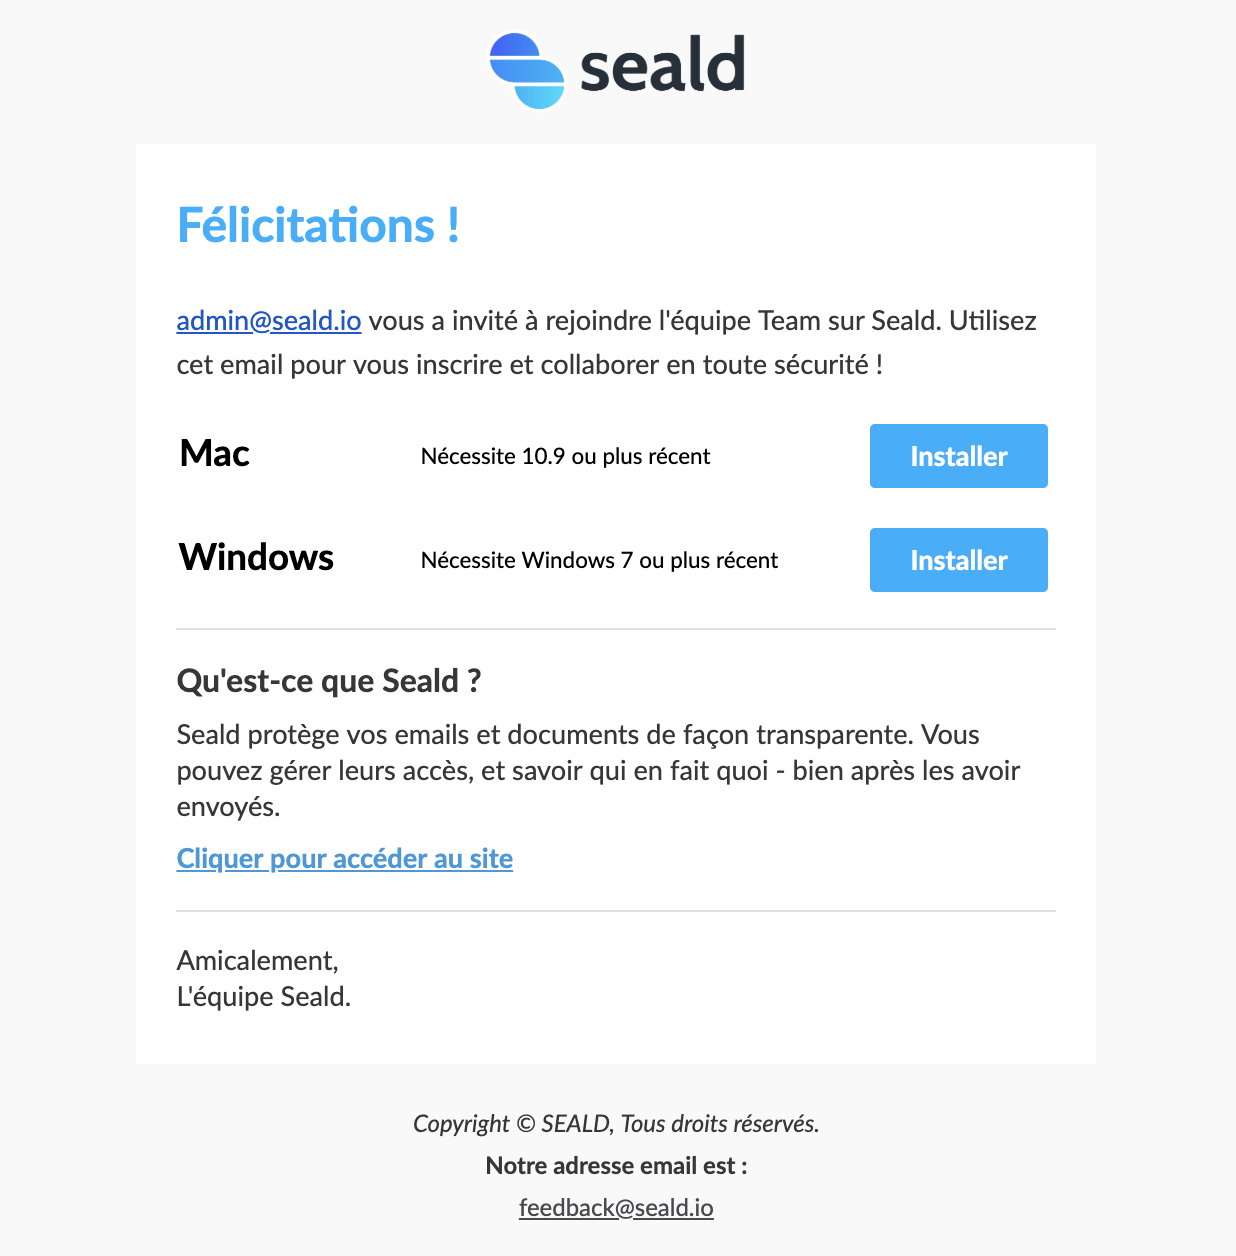 |
Invitation email |
Manage licences
Each invitation counts as a license. To increase the number of licenses available, please contact us at contact@seald.io.
Details of a user
The details of a user on your team include several interesting elements:
- the date of the last activity;
- the email;
- the name;
- the list of its devices;
- the last 10 encrypted files (a
See allbutton displays the complete list); - the last 10 activities (a
See allbutton displays the complete list).
Revoke a device
To revoke a device so that it is no longer accessible with Seald: click on the 3 small points of an item on the list and select Revoke.
 |
Revoke a device |
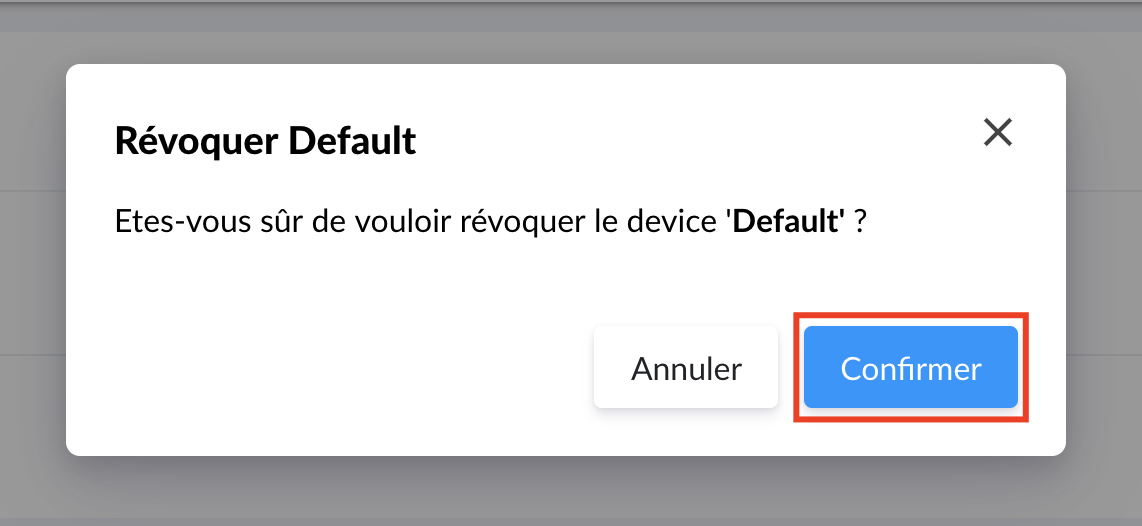 |
Confirm the revocation of a device |
Viewing their files
There are 2 types of lists concerning a user's files:
- Those for which the user is the owner or recipient.
- Those for which the user is only the owner.
 |
Files of a user |
A checkbox allows you to only display files owned by the user. Each file includes a button to access the access rights management of the latter.
To see the complete list, a See All button is available in the upper right corner of the table.
View their events
A table also shows the last 10 user-related activities (File opening; New connection; Device revocation; etc.).
Activity of a user |
Recovery of a user account
A recovery of a user account must always be initiated by the user himself on the device they wish to authorize.
Launching a recovery procedure on the desktop application
Just ask the user in question to install the application, and follow the recovery procedure.
E-mail notification
Once they validates their e-mail, you will receive an e-mail notification:
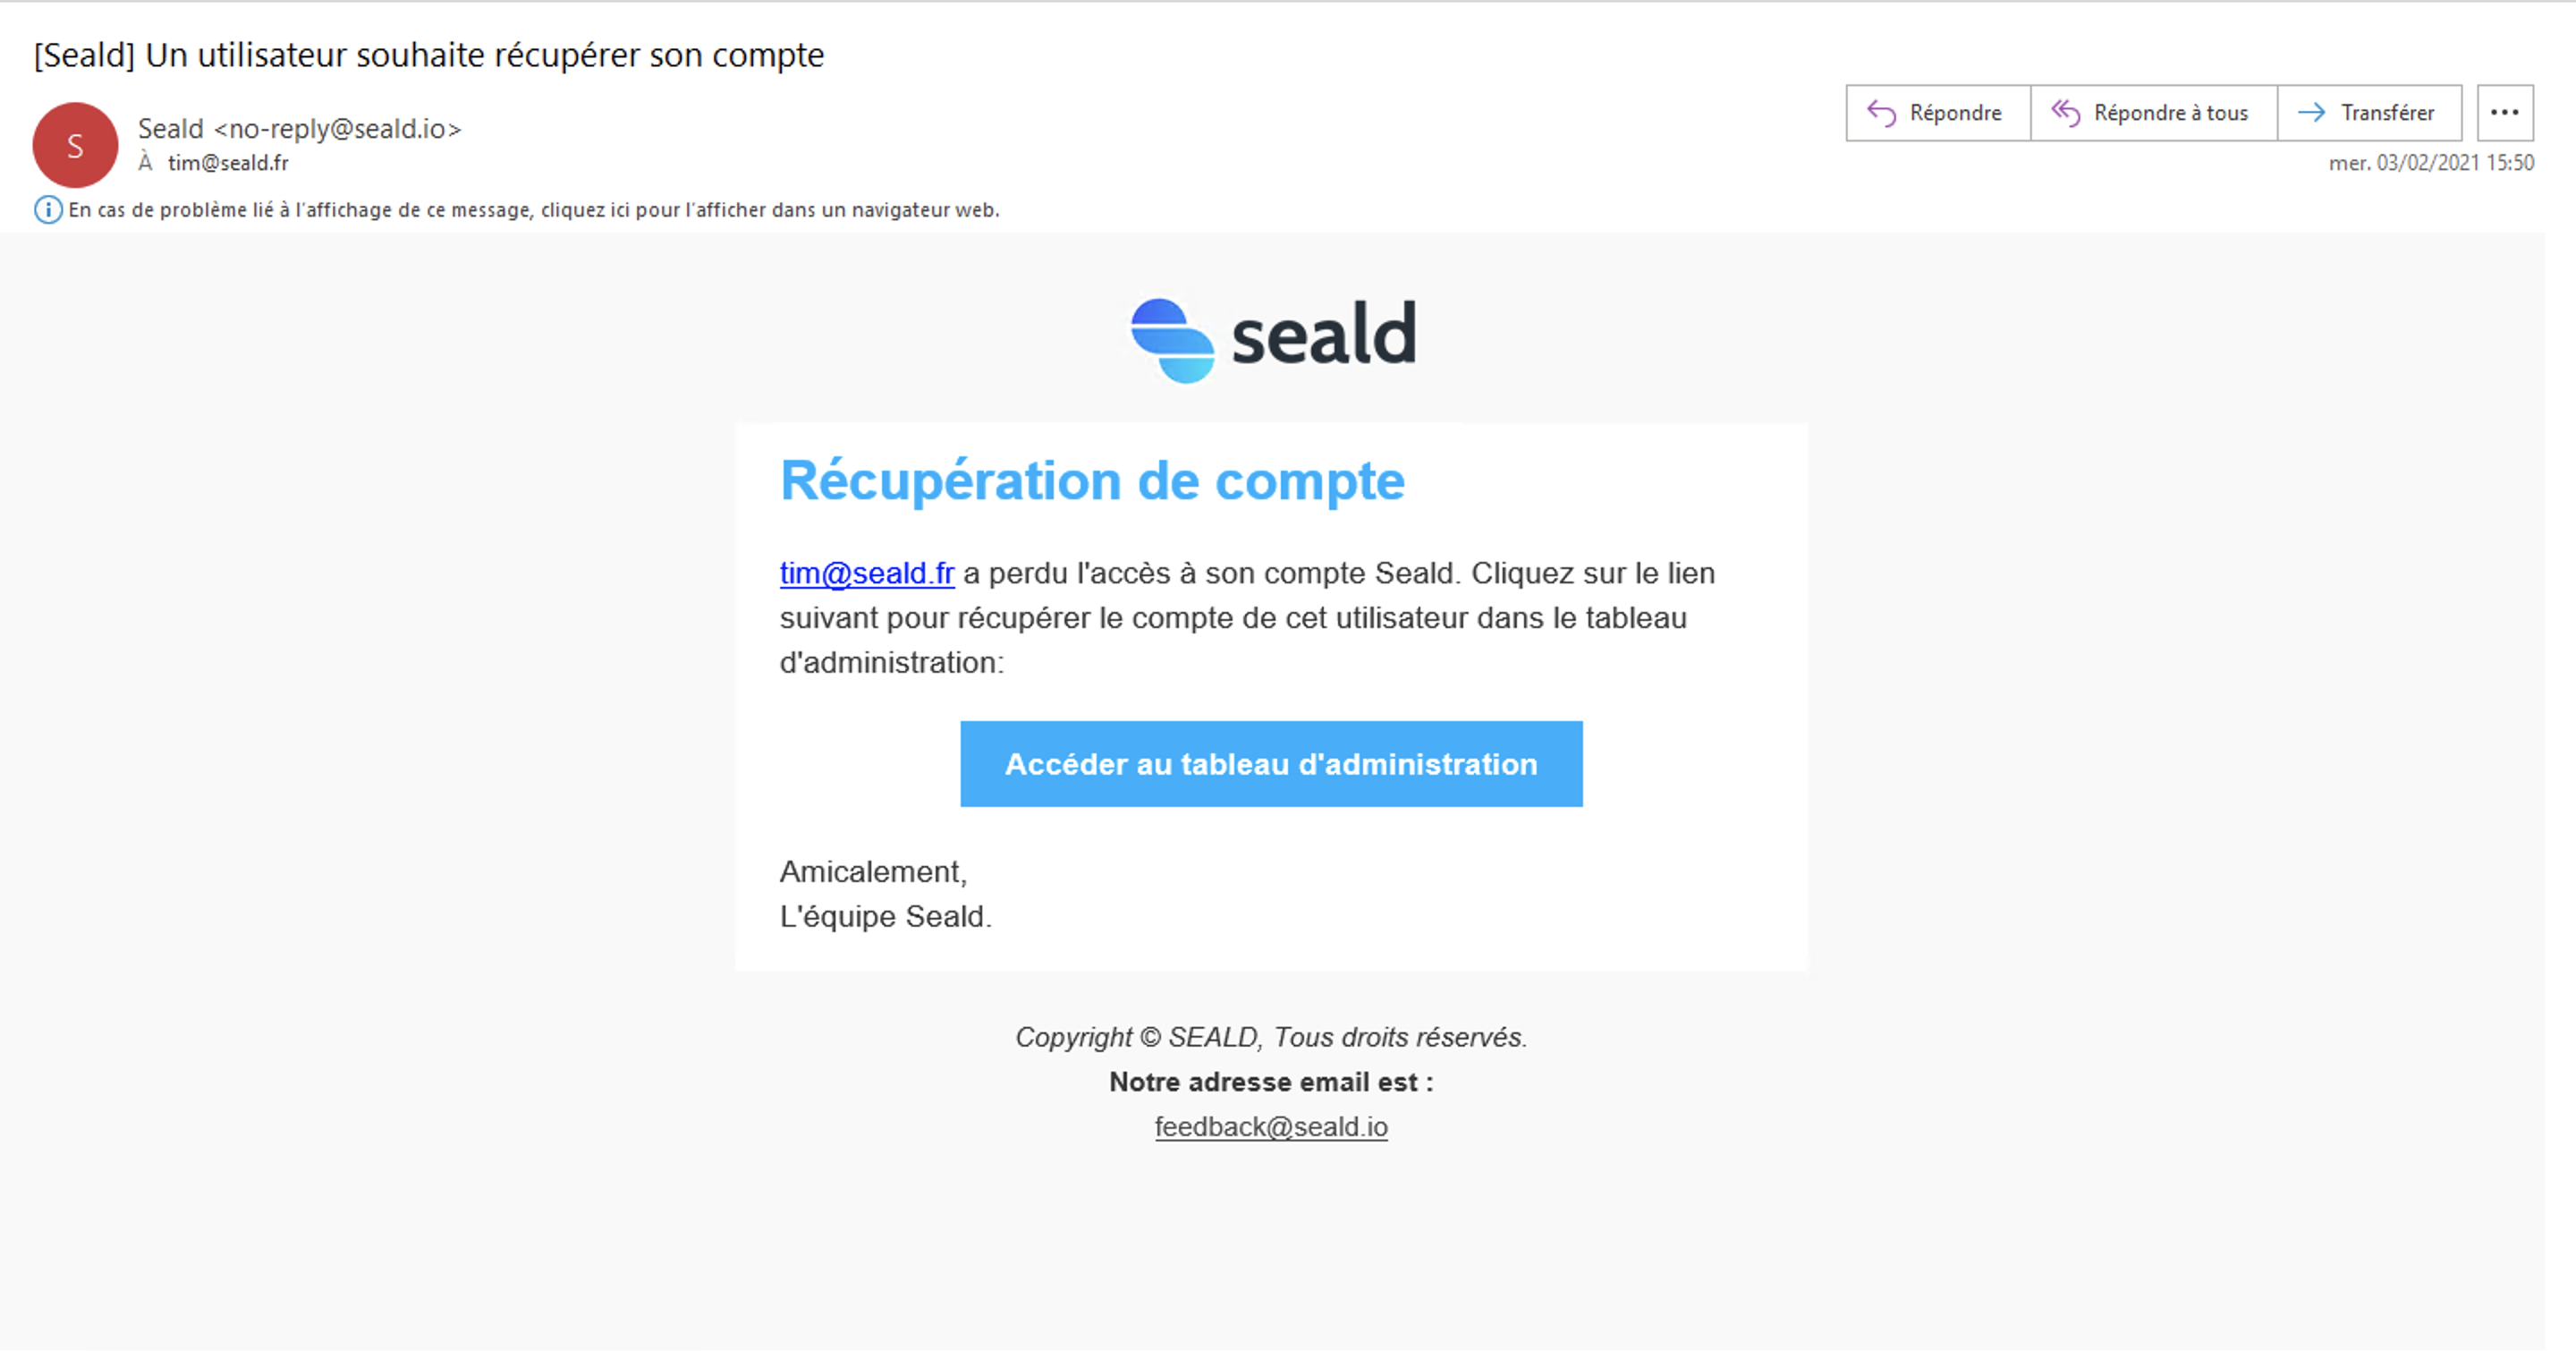 |
| Notification that a user is in a recovery procedure |
Users to recover
Click the "Users to recover" tab and you should see in the list the person who made the recovery request.
WARNING
It is recommended to contact the person in question through another channel than email to verify that they have indeed made this recovery request.
Click on "Recover":
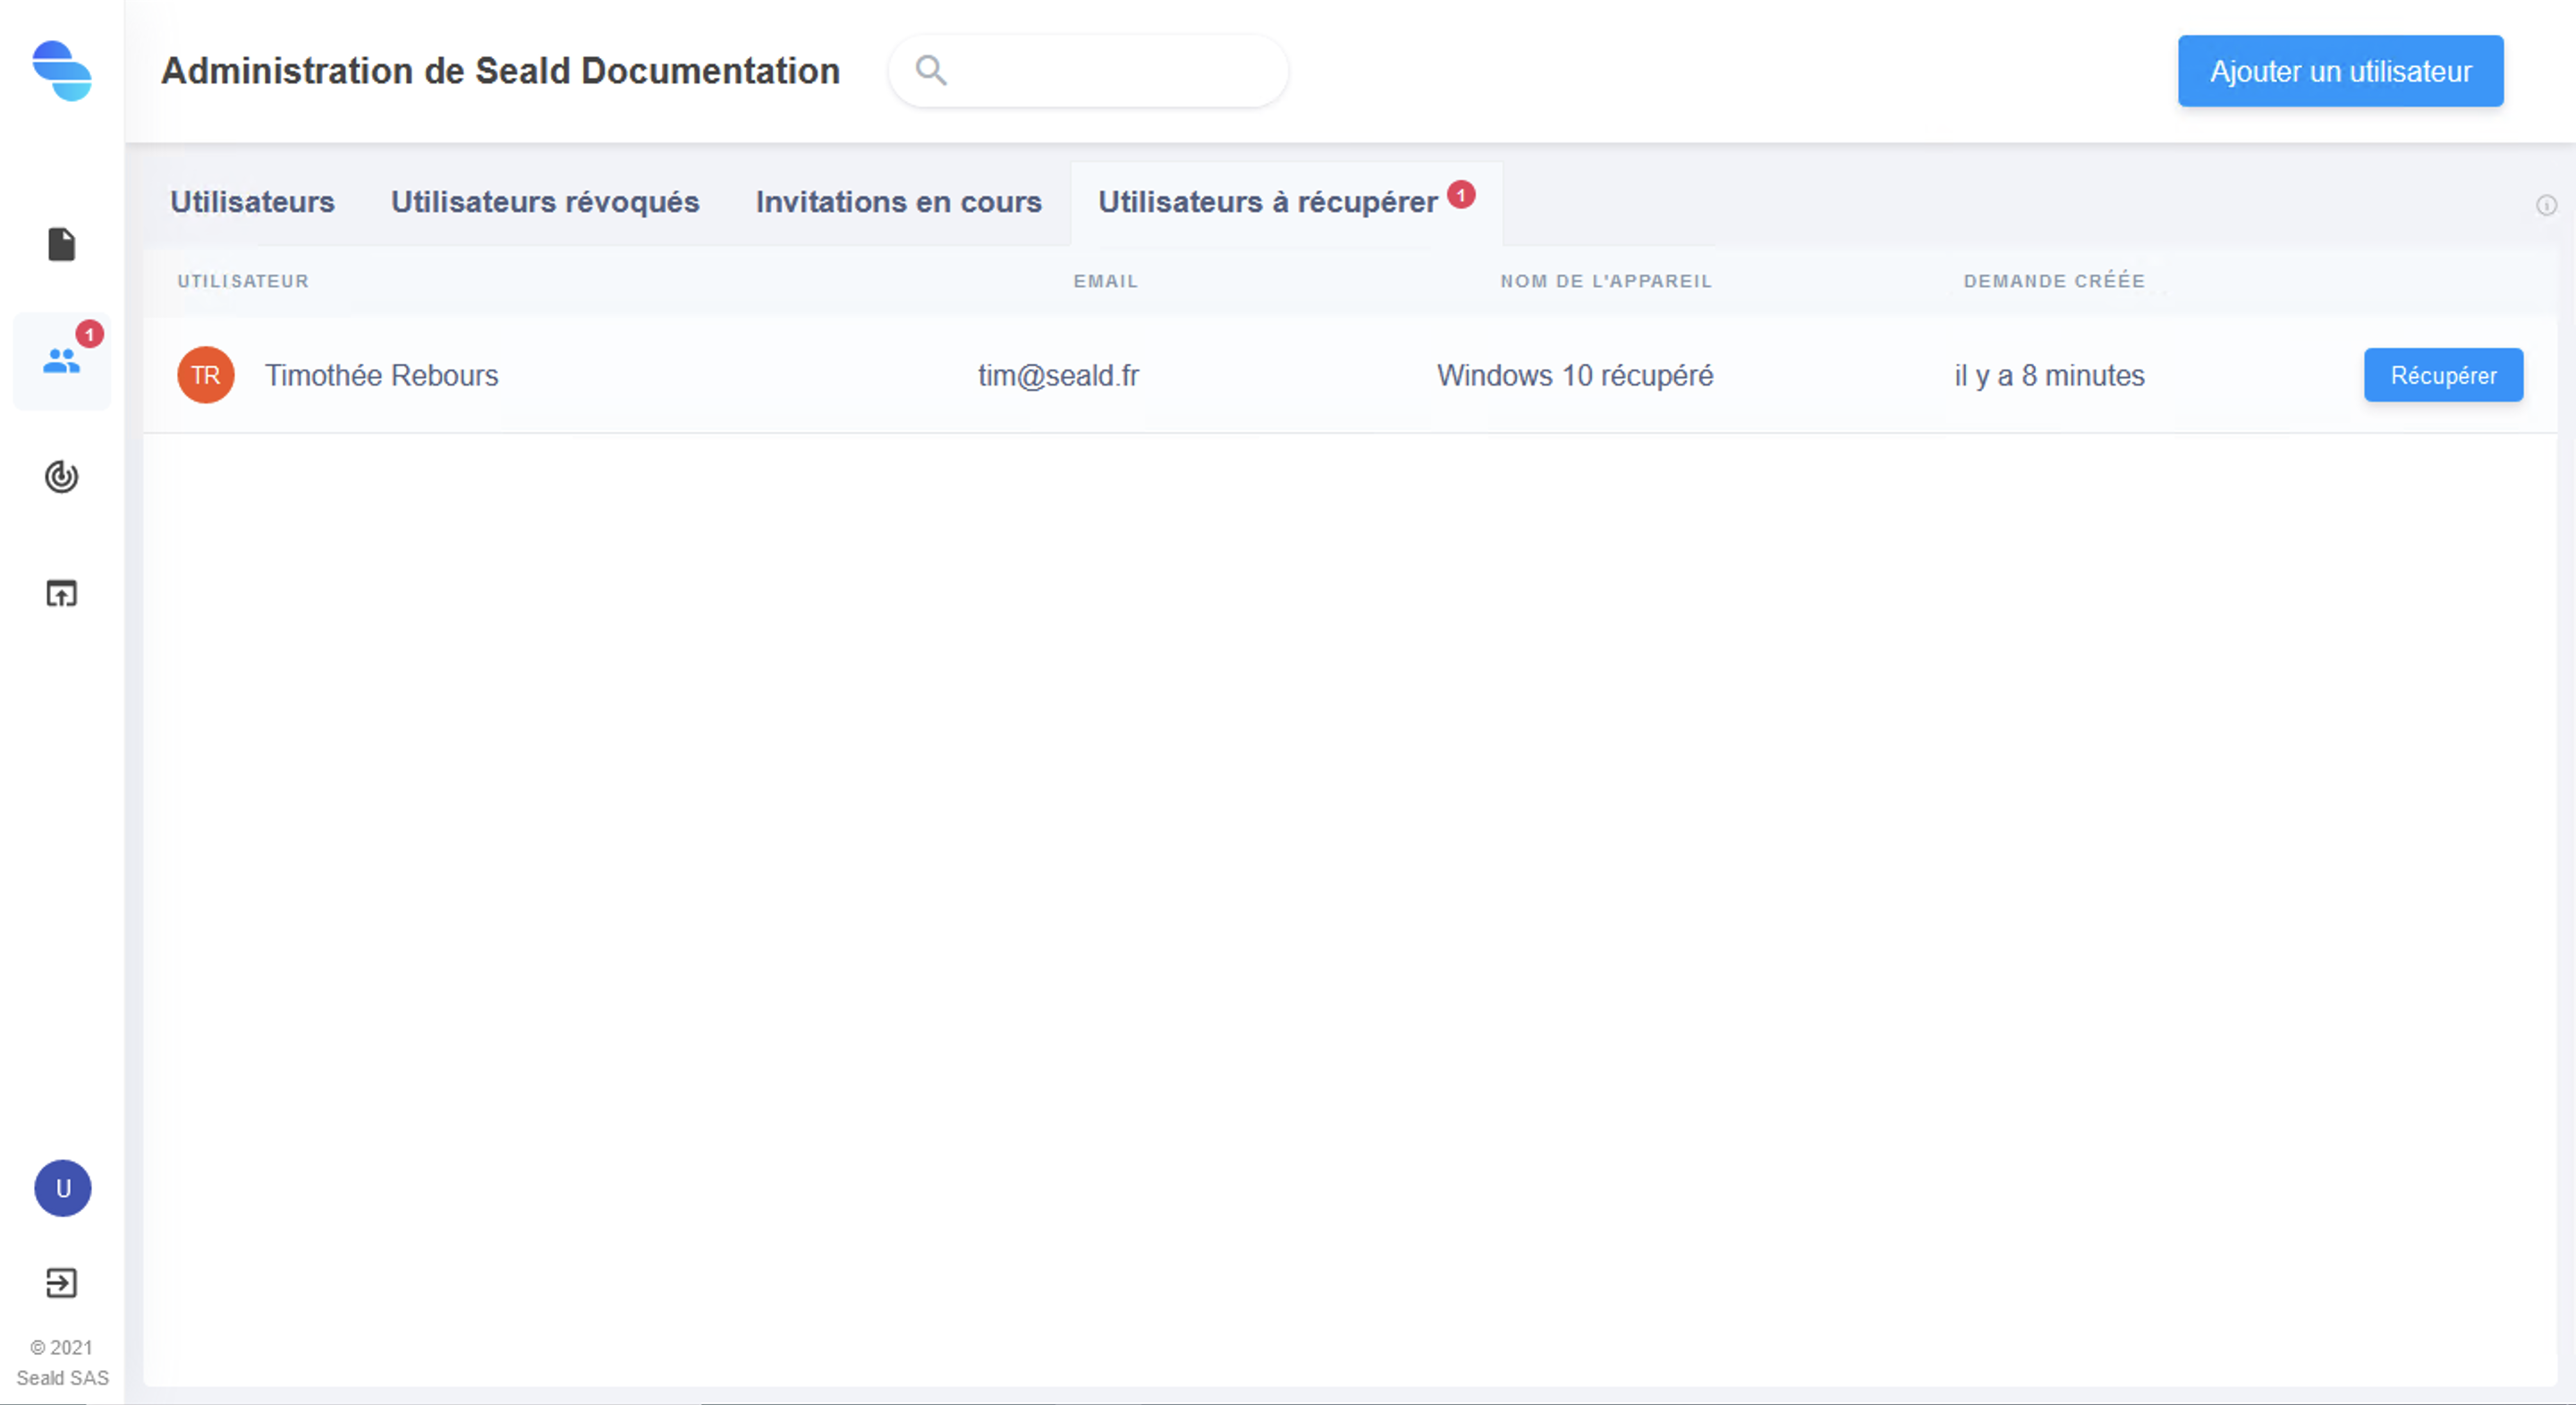 |
| Users to recover |
Using the backup key
First of all you have to choose which backup key you want to use. In most cases, only one is available.
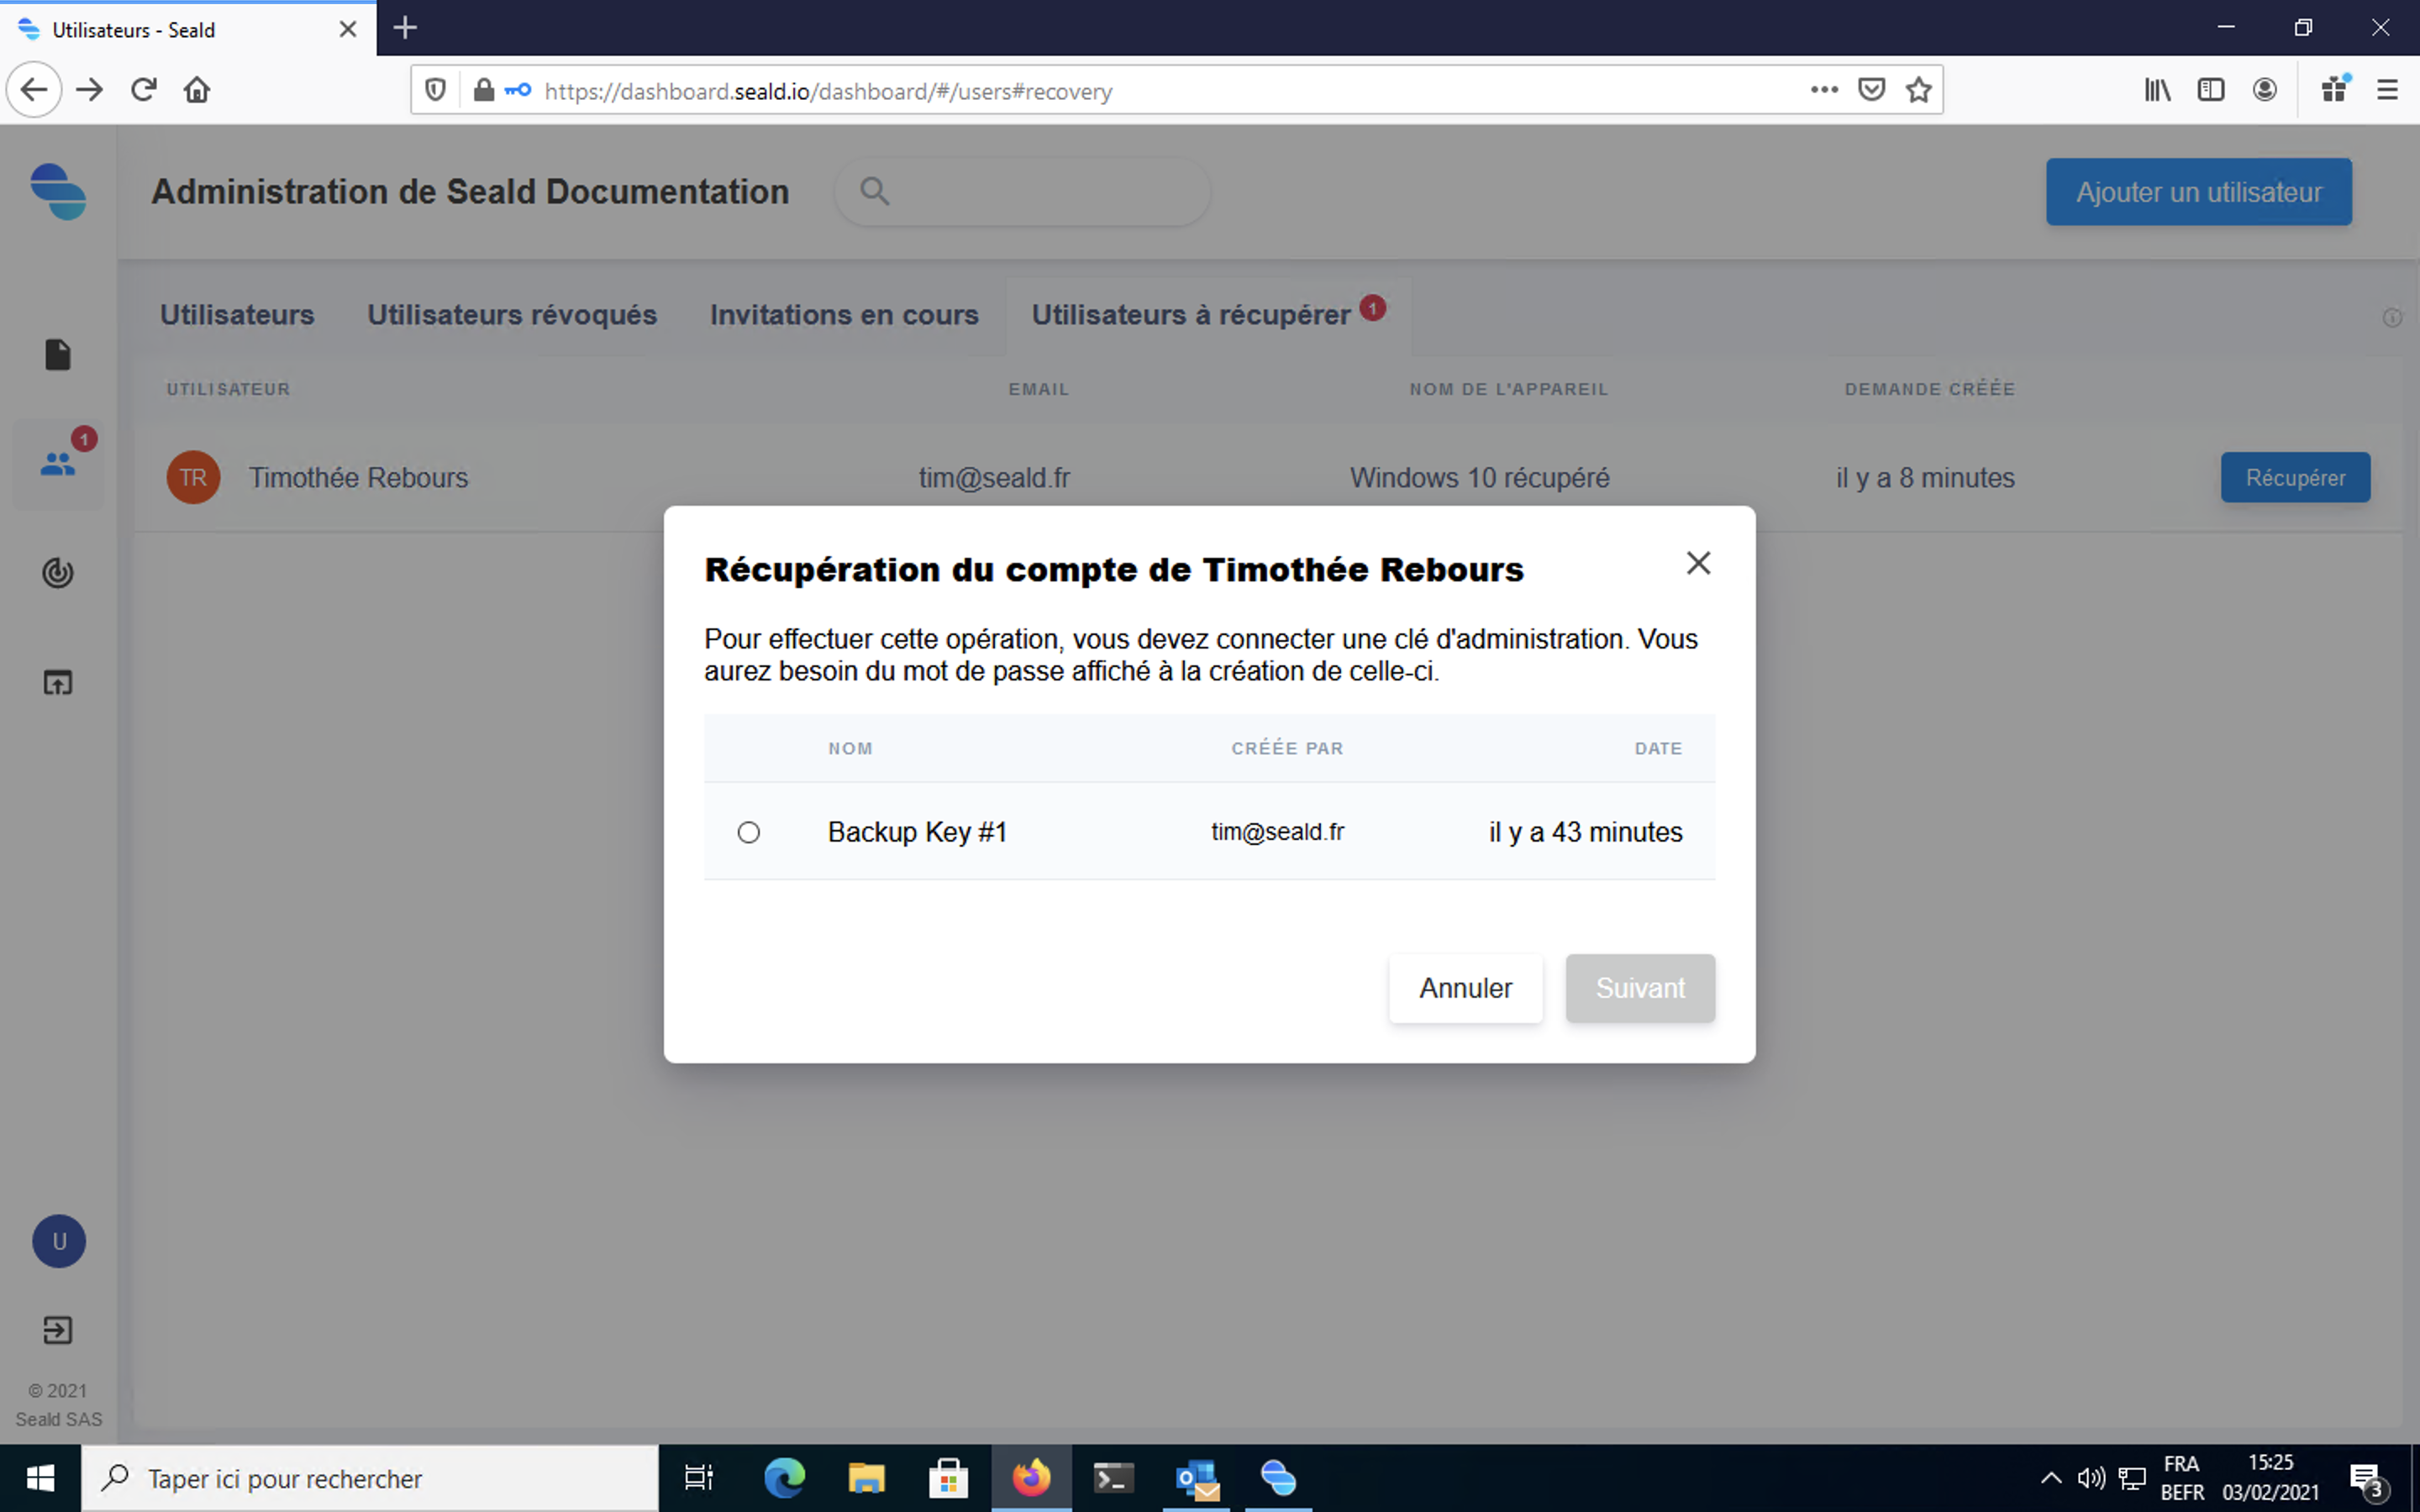 |
| Choosing the backup key |
The backup key must then be unlocked using the password kept during its generation.
WARNING
If the backup key password has been lost, it cannot be regenerated or changed.
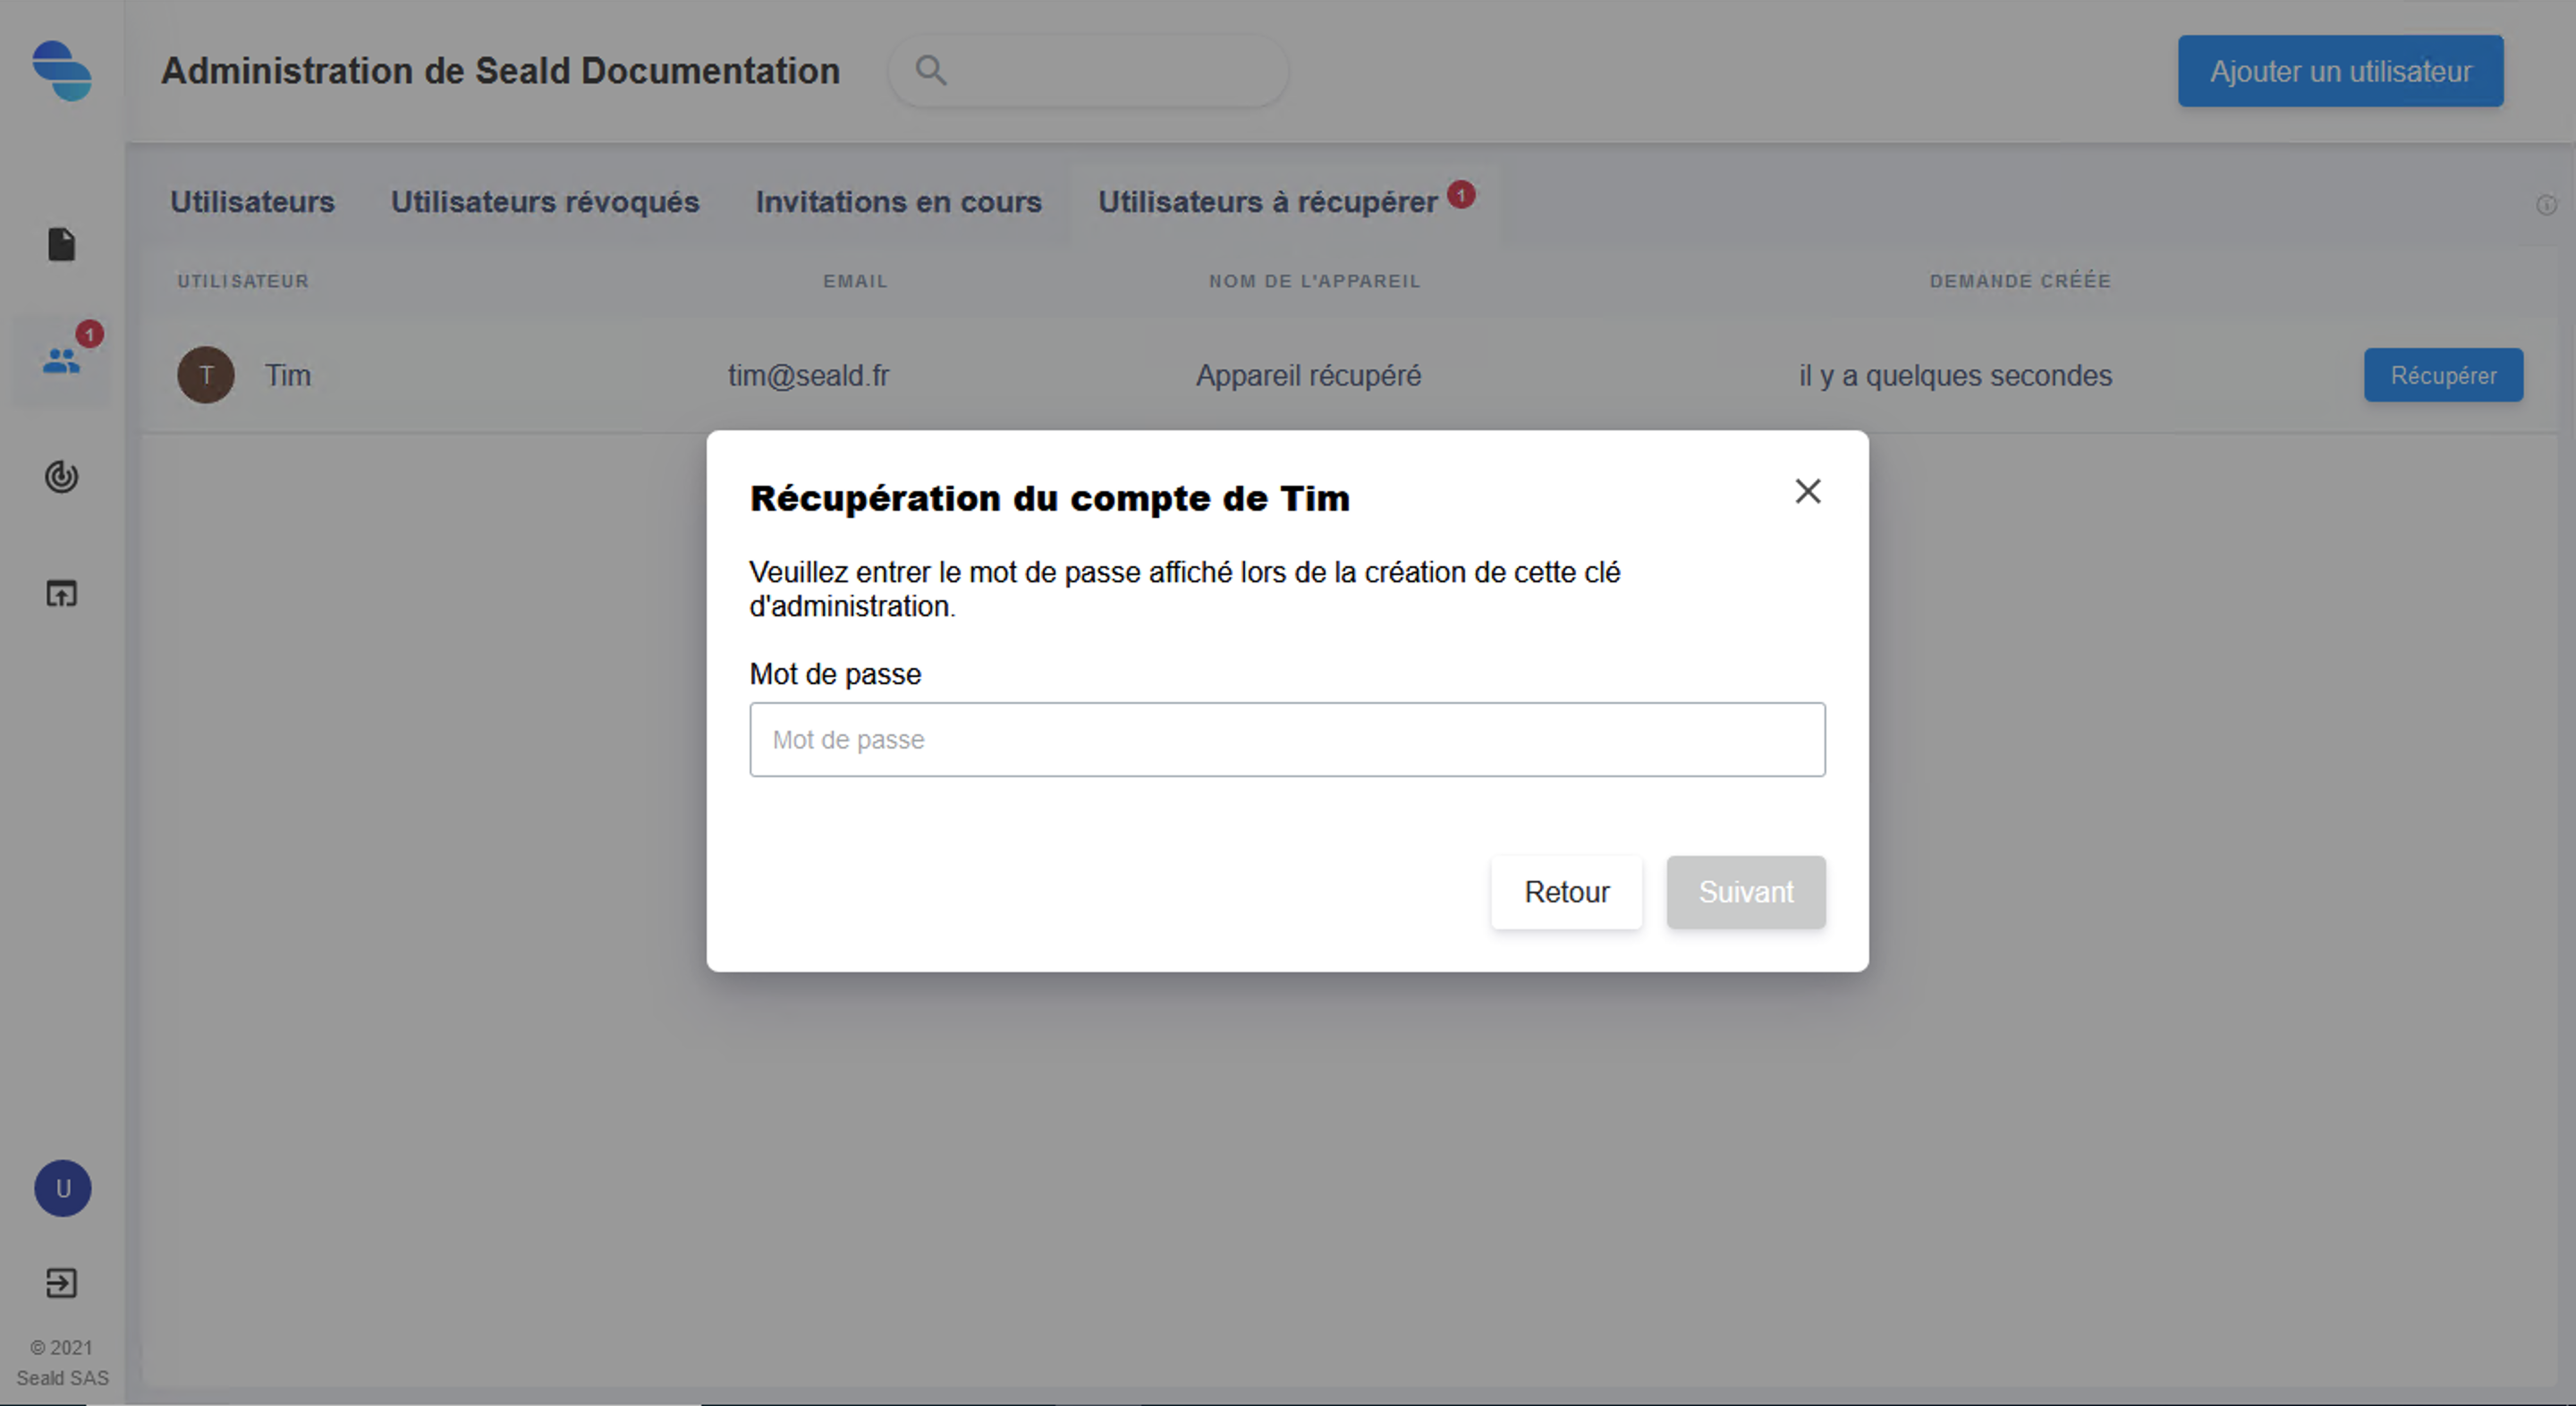 |
| Type in the backup key password |
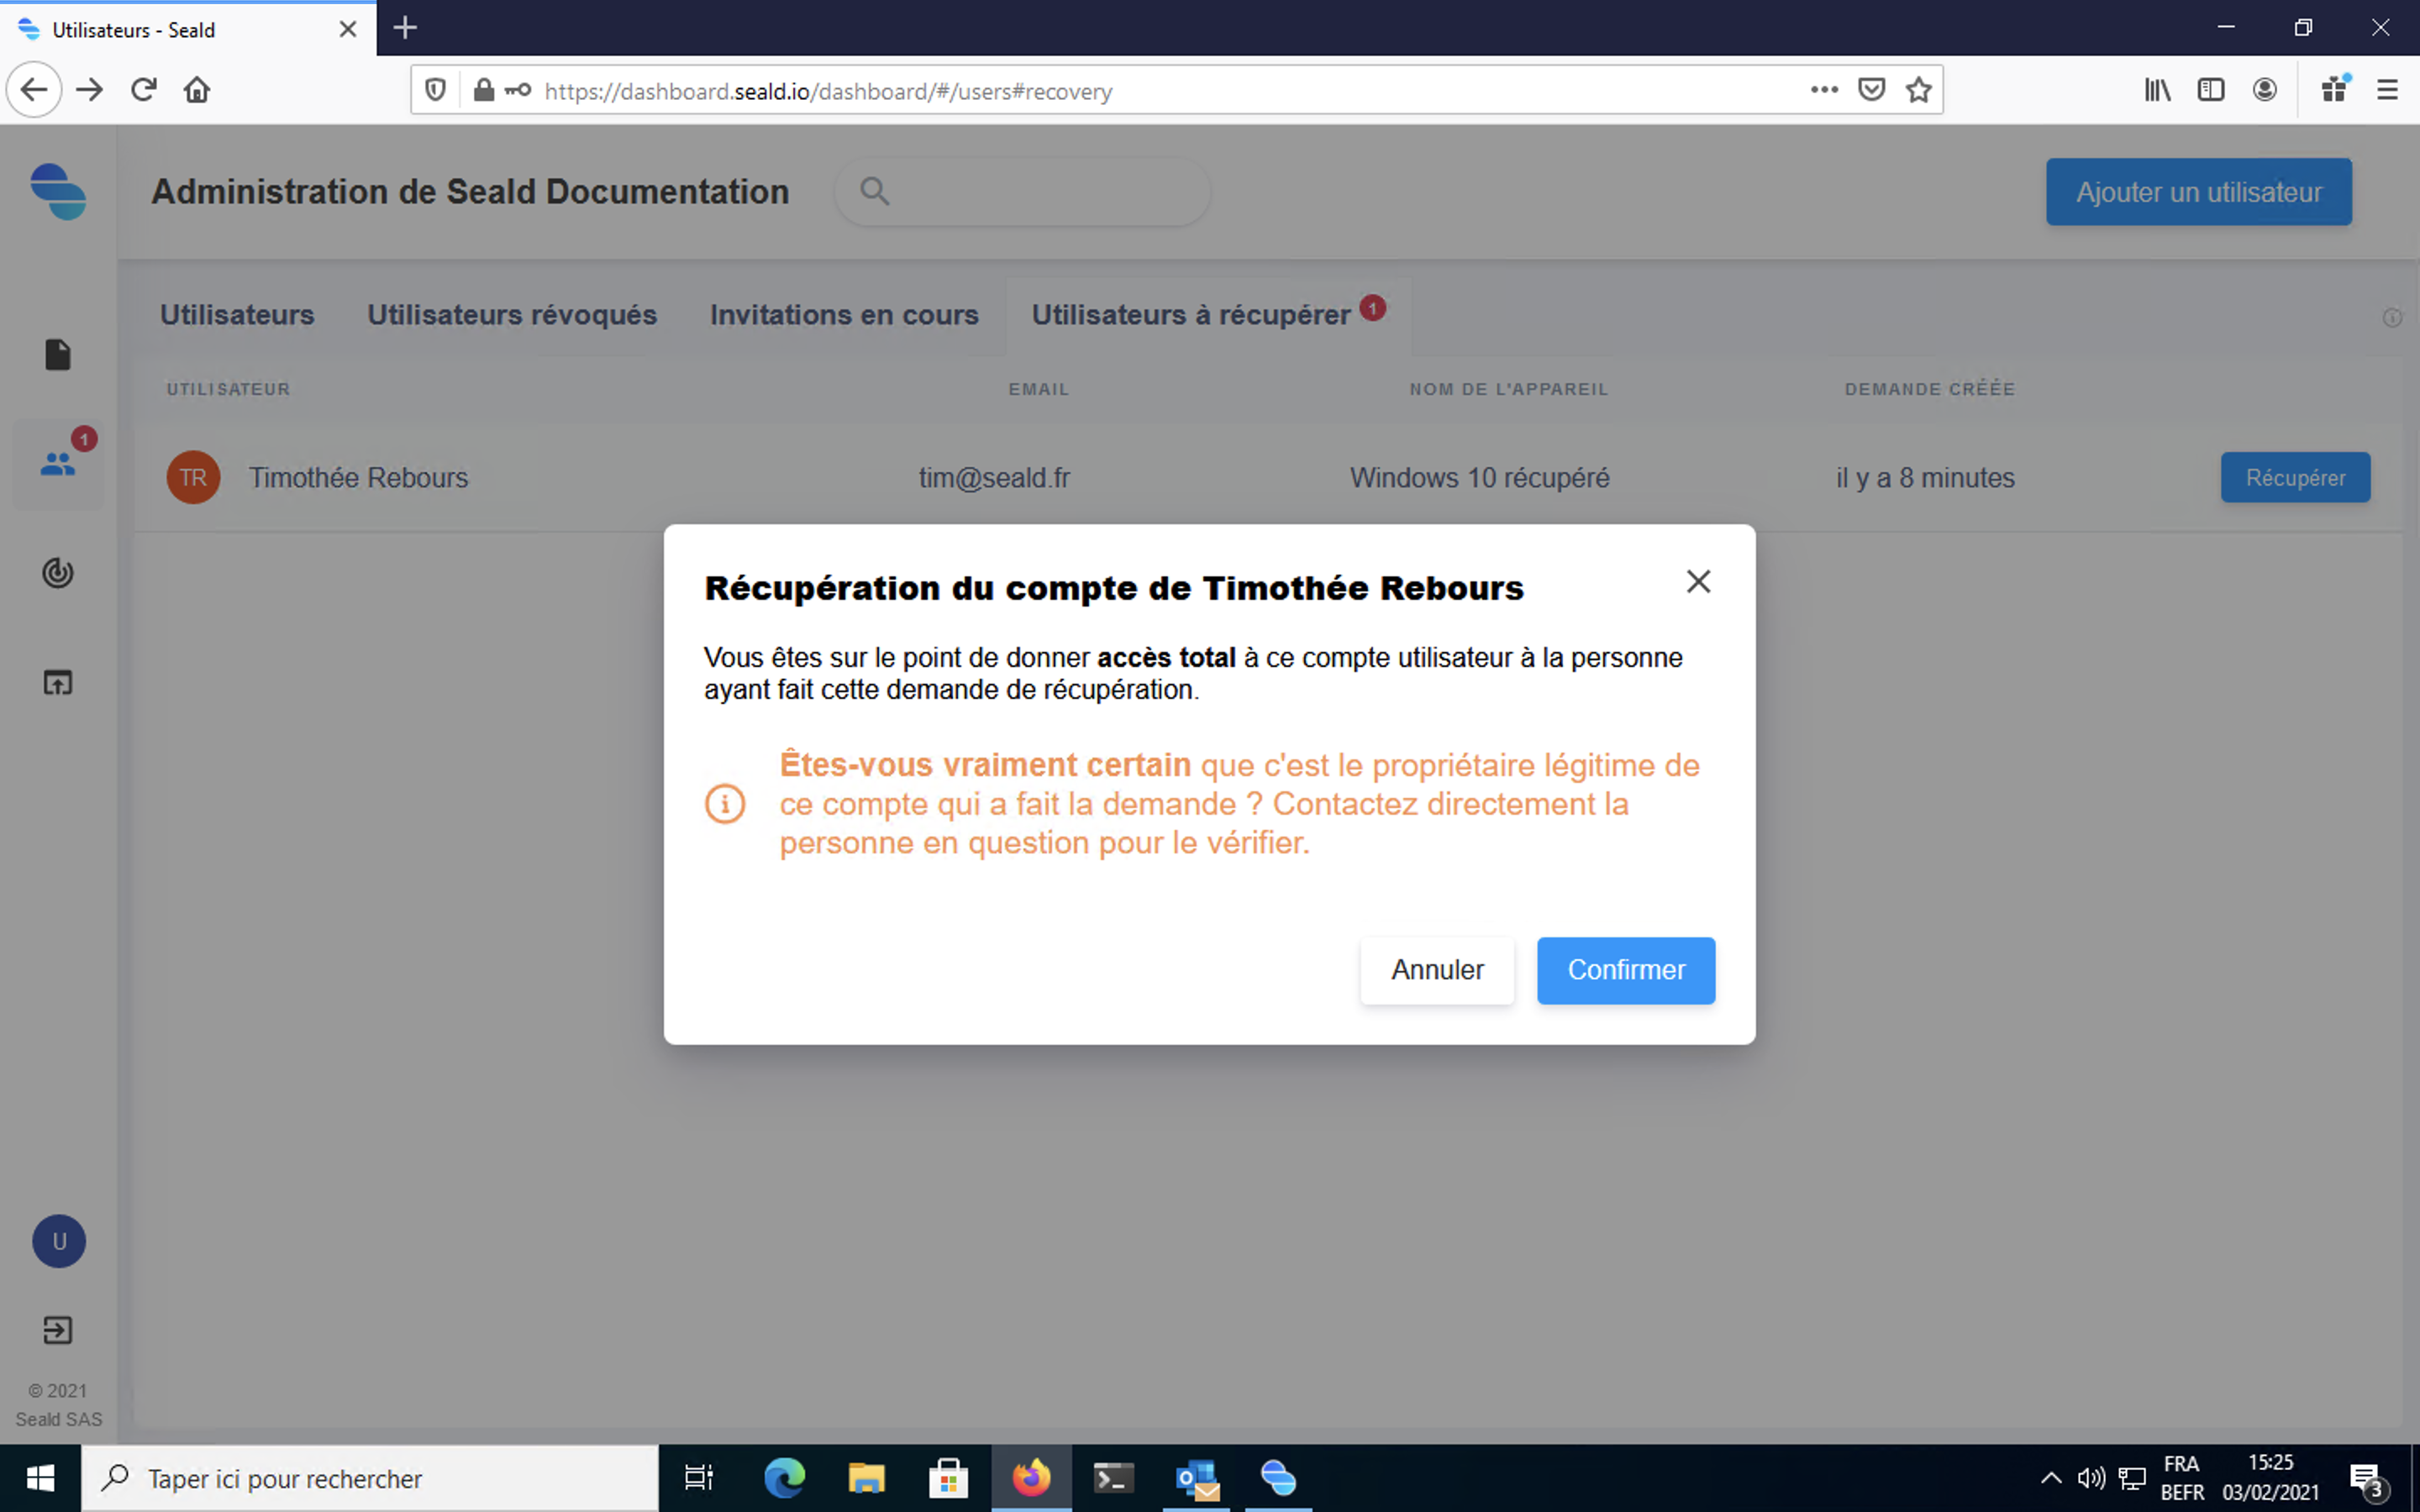
Finally, if the chosen backup key has the rights for this user, you will be able to confirm.
 |
| Confirmation |
WARNING
If unfortunately the backup key was not accepted by the user when creating their account, or by notifying the user after account creation, you will not be able to recover the user's account.
To make sure that an account has accepted backup keys, you can check in device details whether a non-revoked "Backup Key" appears in the device details. In addition, you can check whether all users have accepted a backup key from list of the backup keys.
Re-encryption of keys
During this step, the user's keys are re-encrypted from the backup key for the new device.
WARNING
This operation can be long. The browser should not be exited until this step has been completed.
If this step is interrupted, the user will not have access to documents previously encrypted for them.
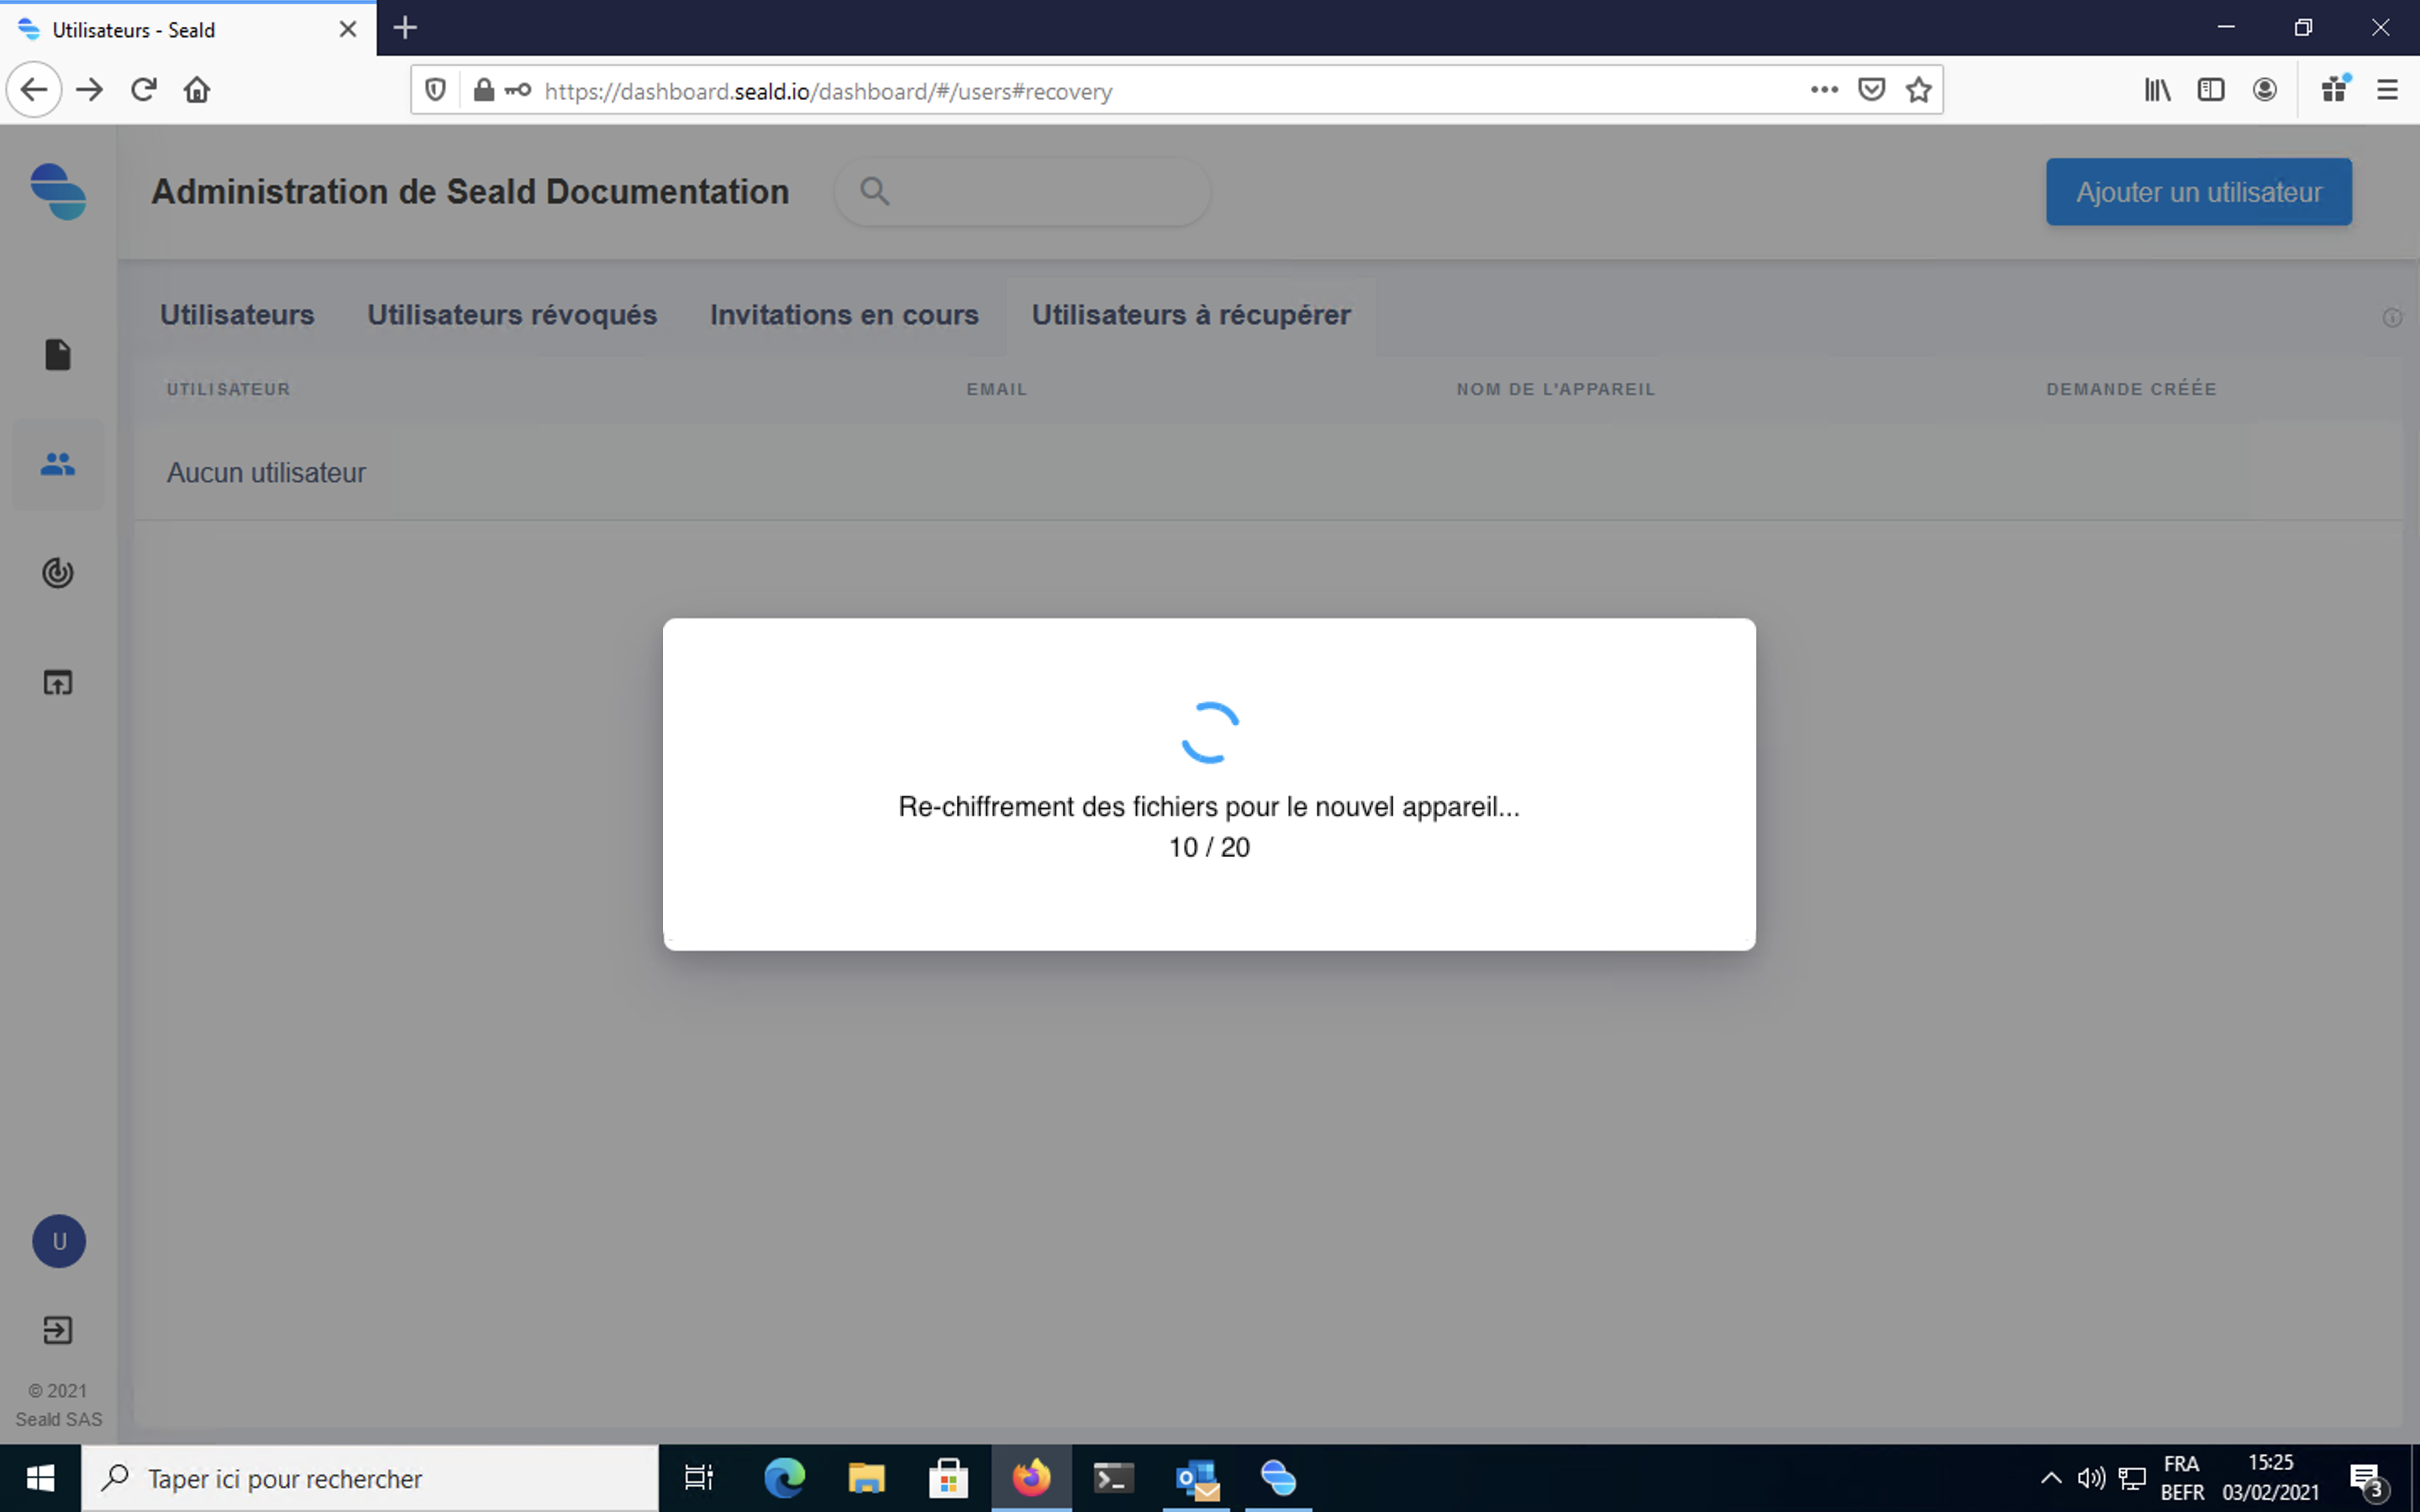 |
| Re-encryption of keys |
During the re-encryption step, the user can already use the desktop application, but the previously encrypted items will be made available at the end of this step.
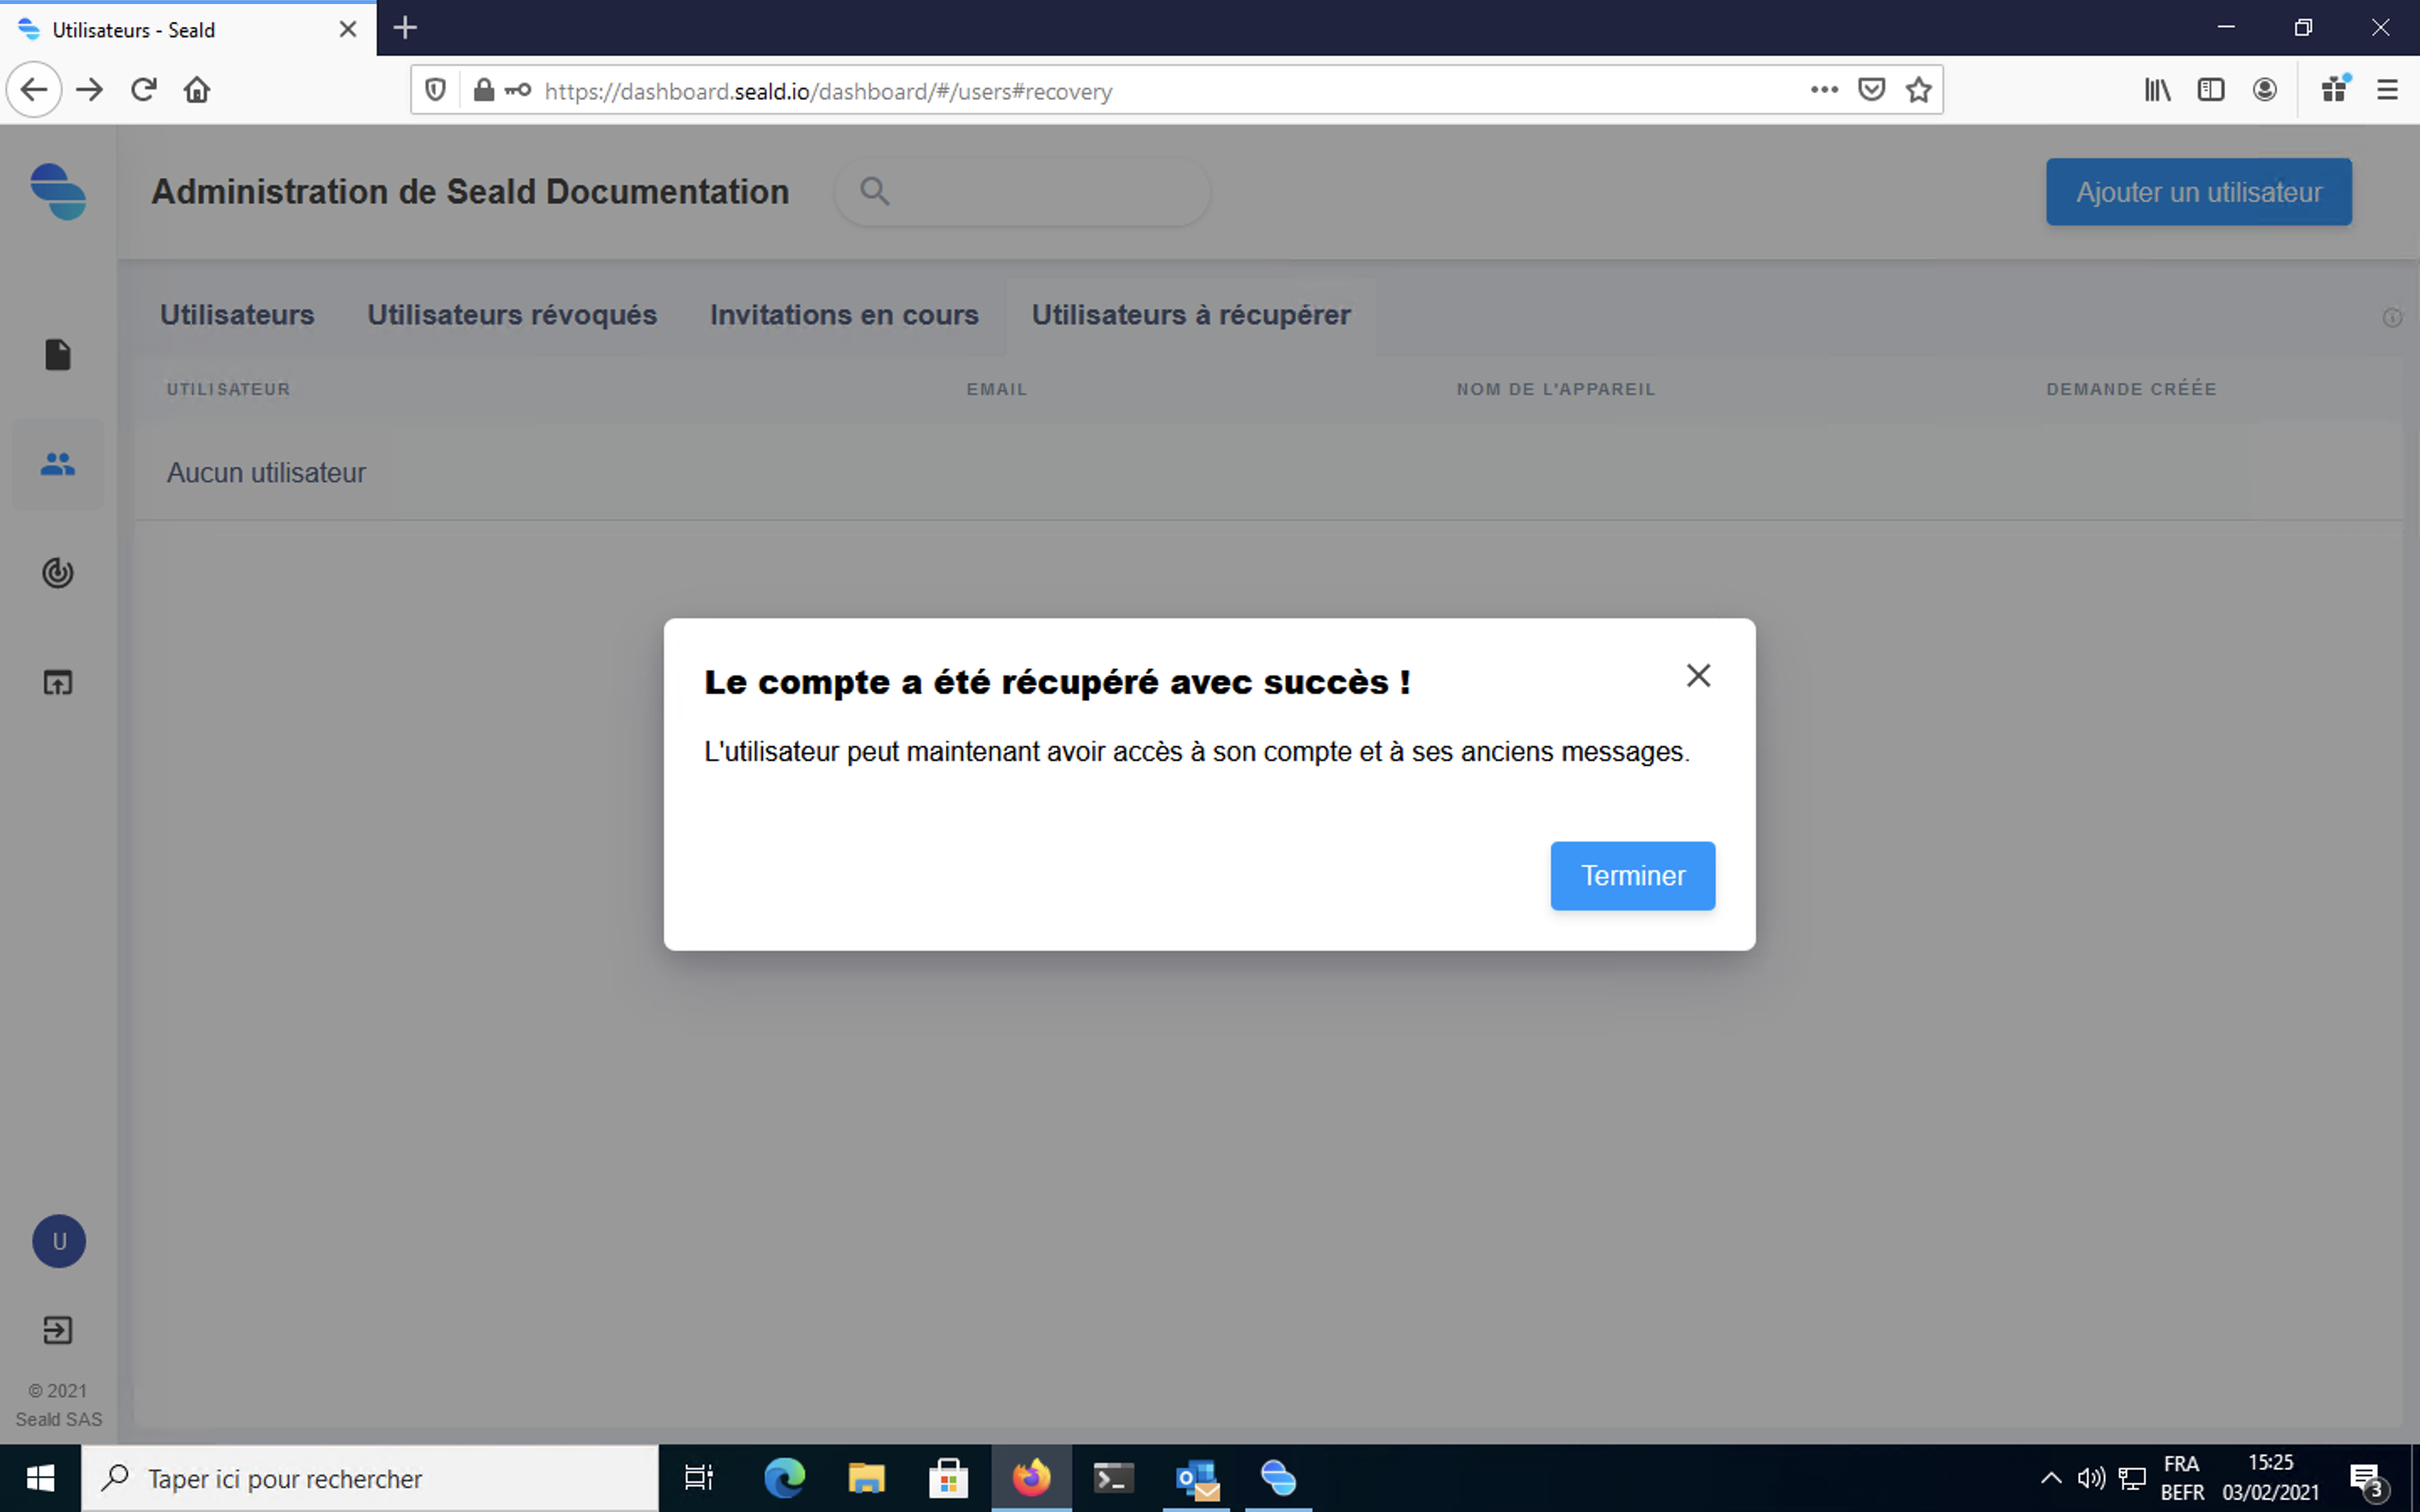 |
| Recovery done |