First launch
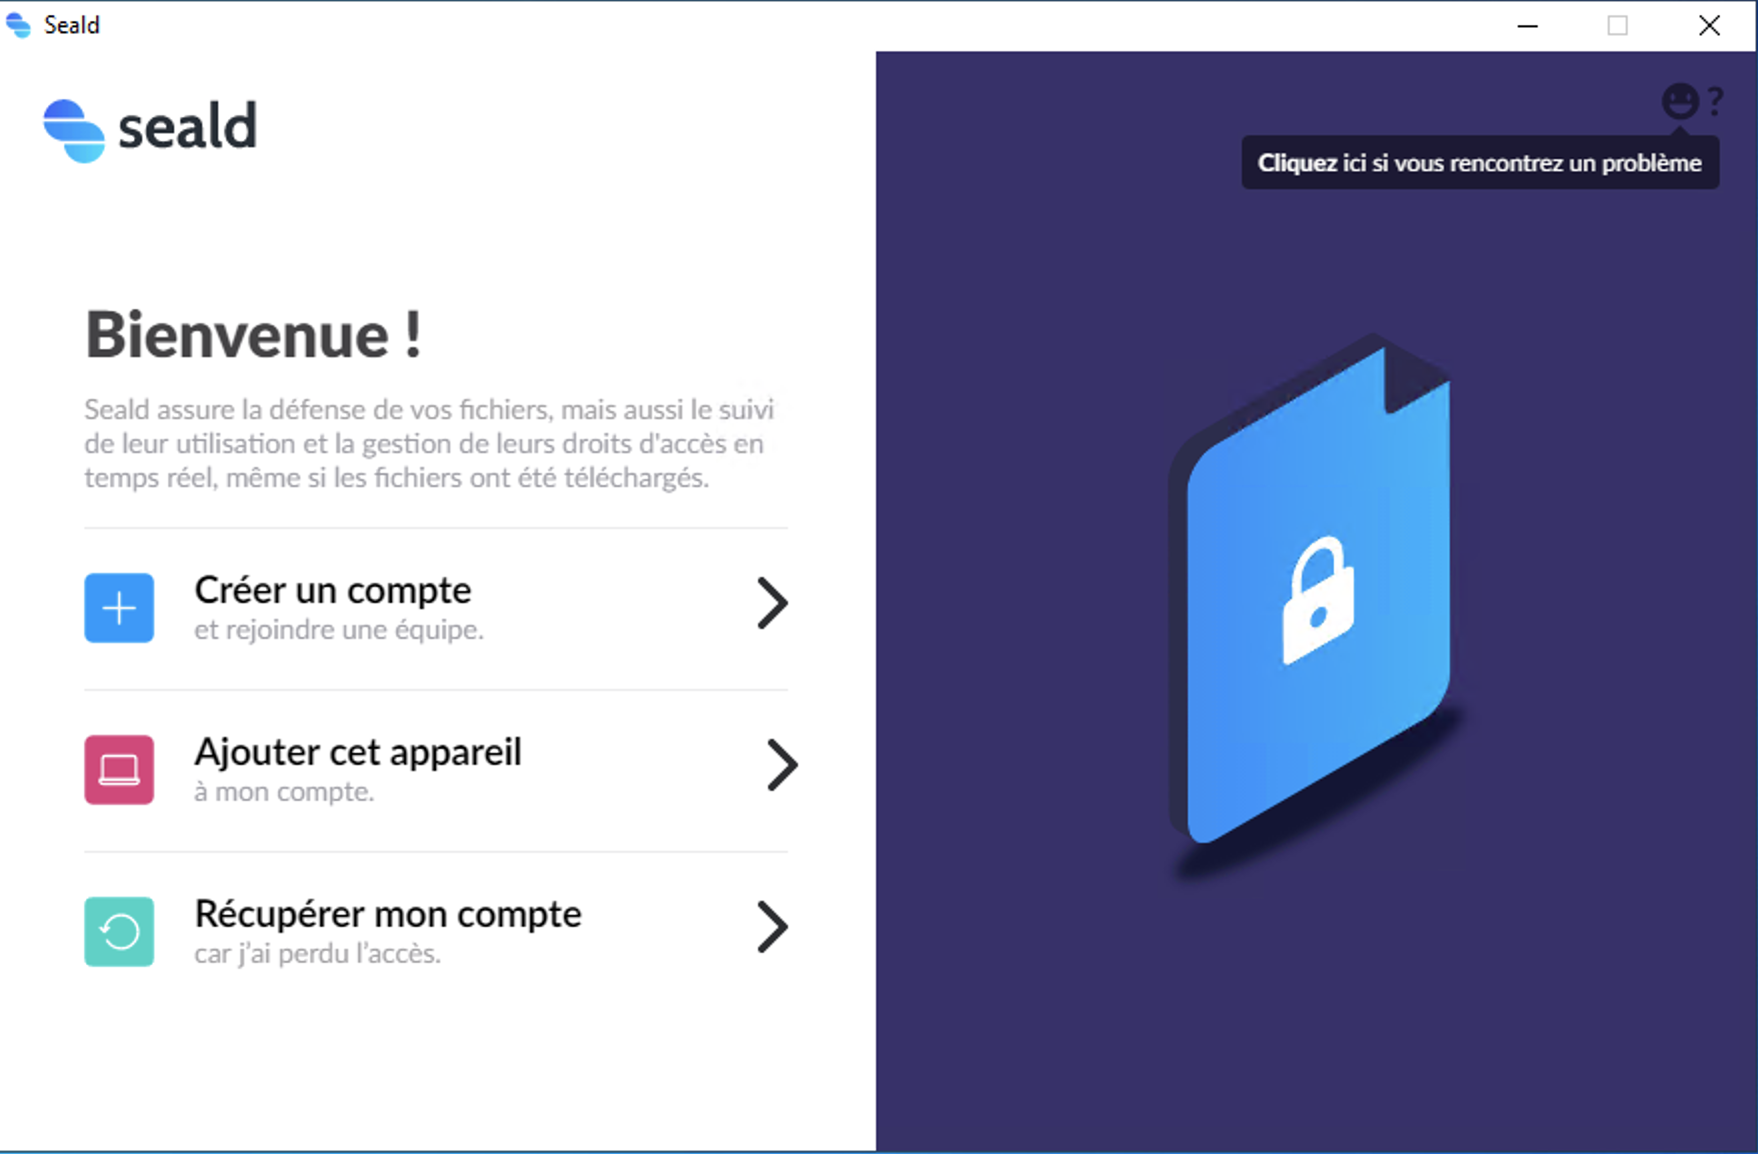
When the Seald application is launched for the first time, there are three options:
- Create an account: option to choose if this is your first time using Seald or if the other two options are unavailable ;
- Pair this device: option to choose if you want to connect your Seald account from an existing mobile device ;
- Recover my account: option to choose to connect your Seald account to this device using a recovery key delegated to an administrator.
WARNING
If you already have a Seald account, you should not "Create an account" on a new device, otherwise you will overwrite your existing account.
 |
| Account creation, pairing or recovery |
Create an account
When using Seald for the first time, it is necessary to create an account.
More specifically, this will generate a unique cryptographic identity, and associate it with your e-mail address.
TIP
To be able to create an account, you must have an invitation for your e-mail address from an administrator. This invitation can be sent from the administration dashboard.
Name
First, enter your name and then click on "Next":
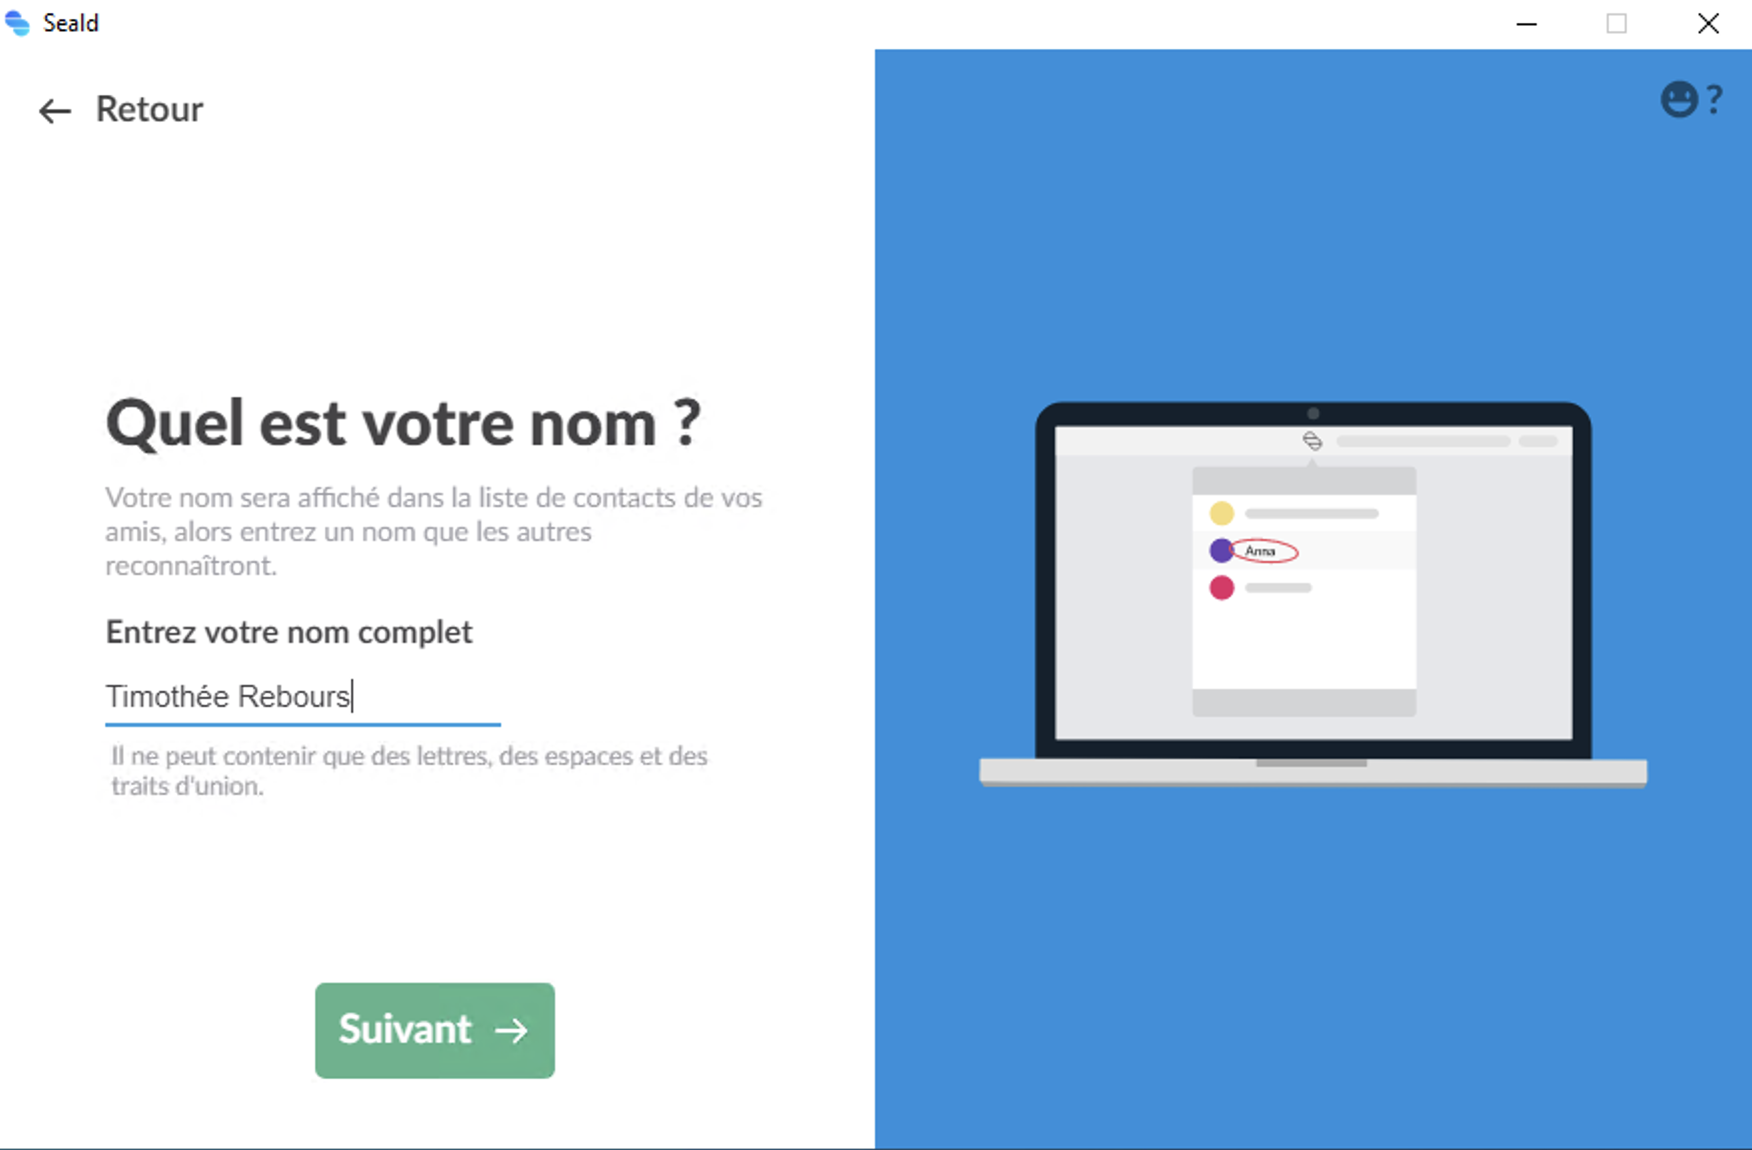 |
| Indicate your name "Timothée Rebours" for example |
E-mail address
Next, you must enter the e-mail address that was invited by the administrator:
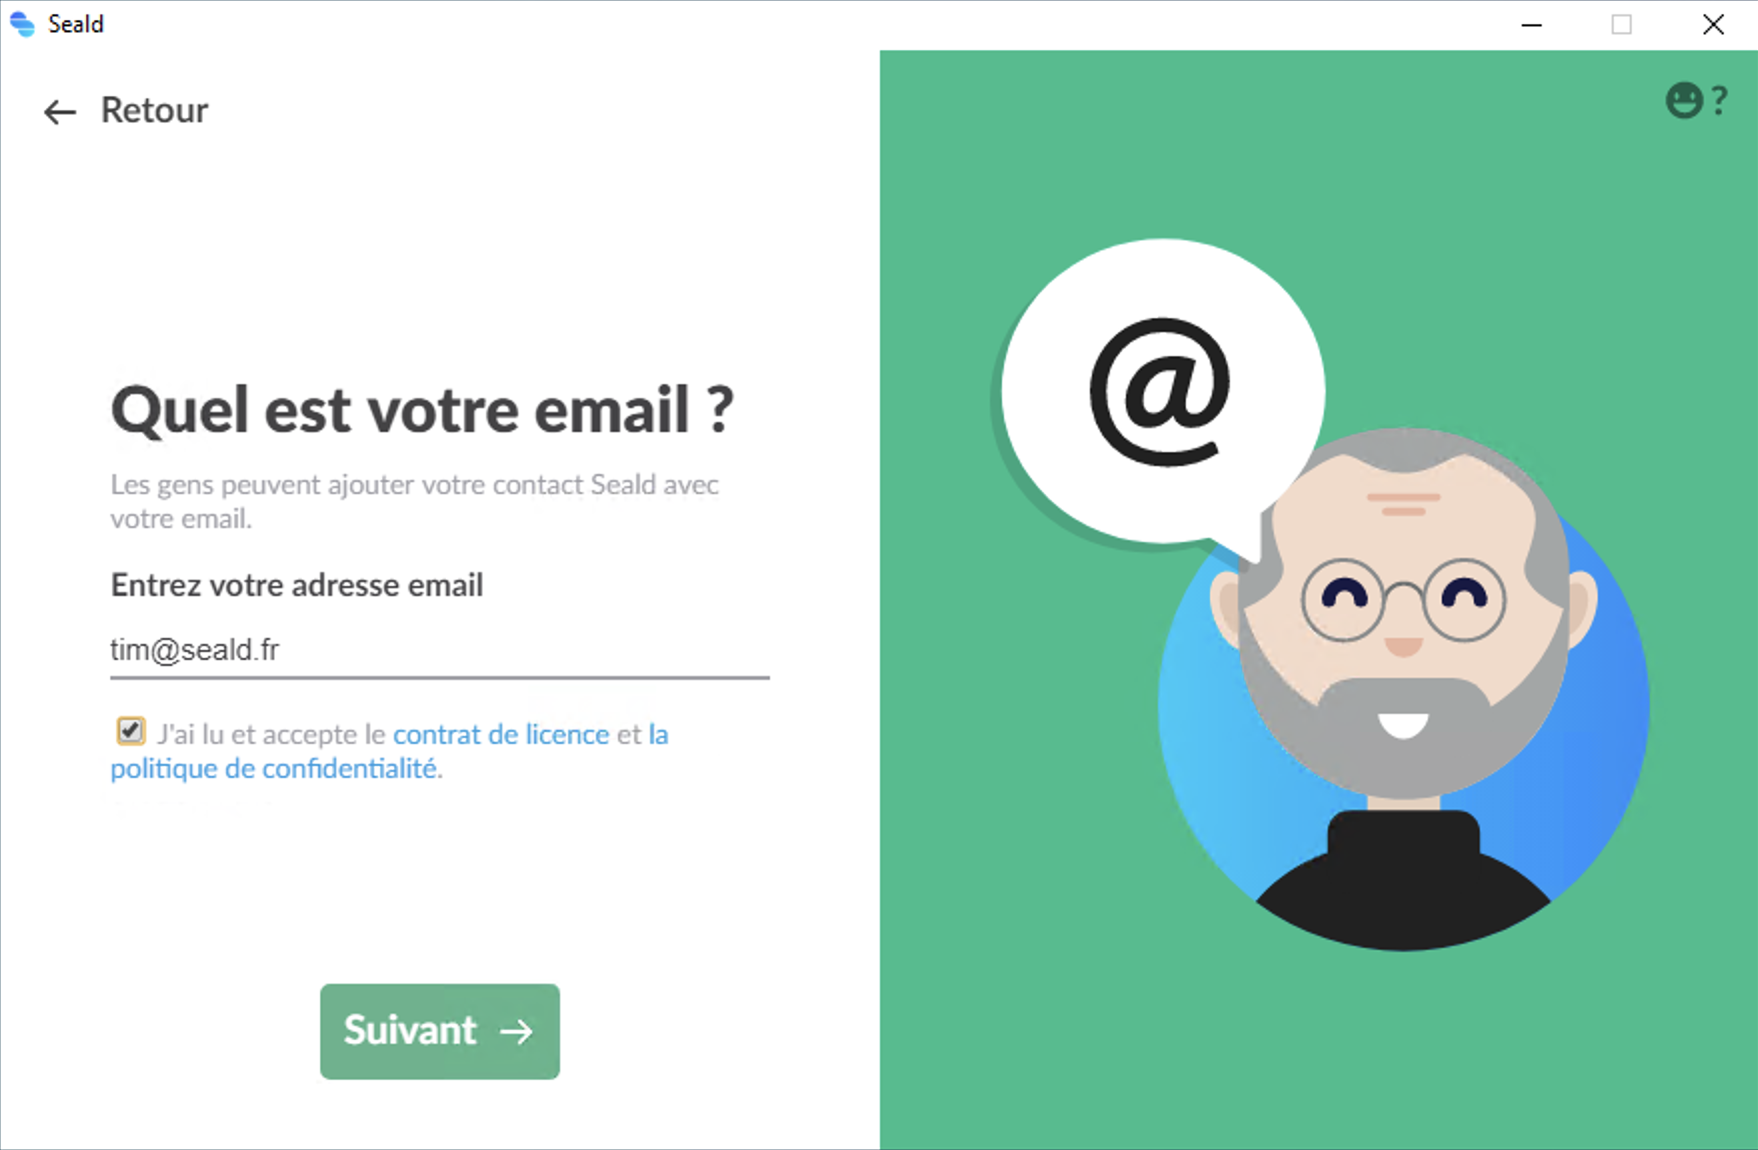 |
| Indicate your e-mail address "tim@seald.fr" for example |
WARNING
If an account already exists with this e-mail address, you will be warned and encouraged to recover the account rather than overwrite it:
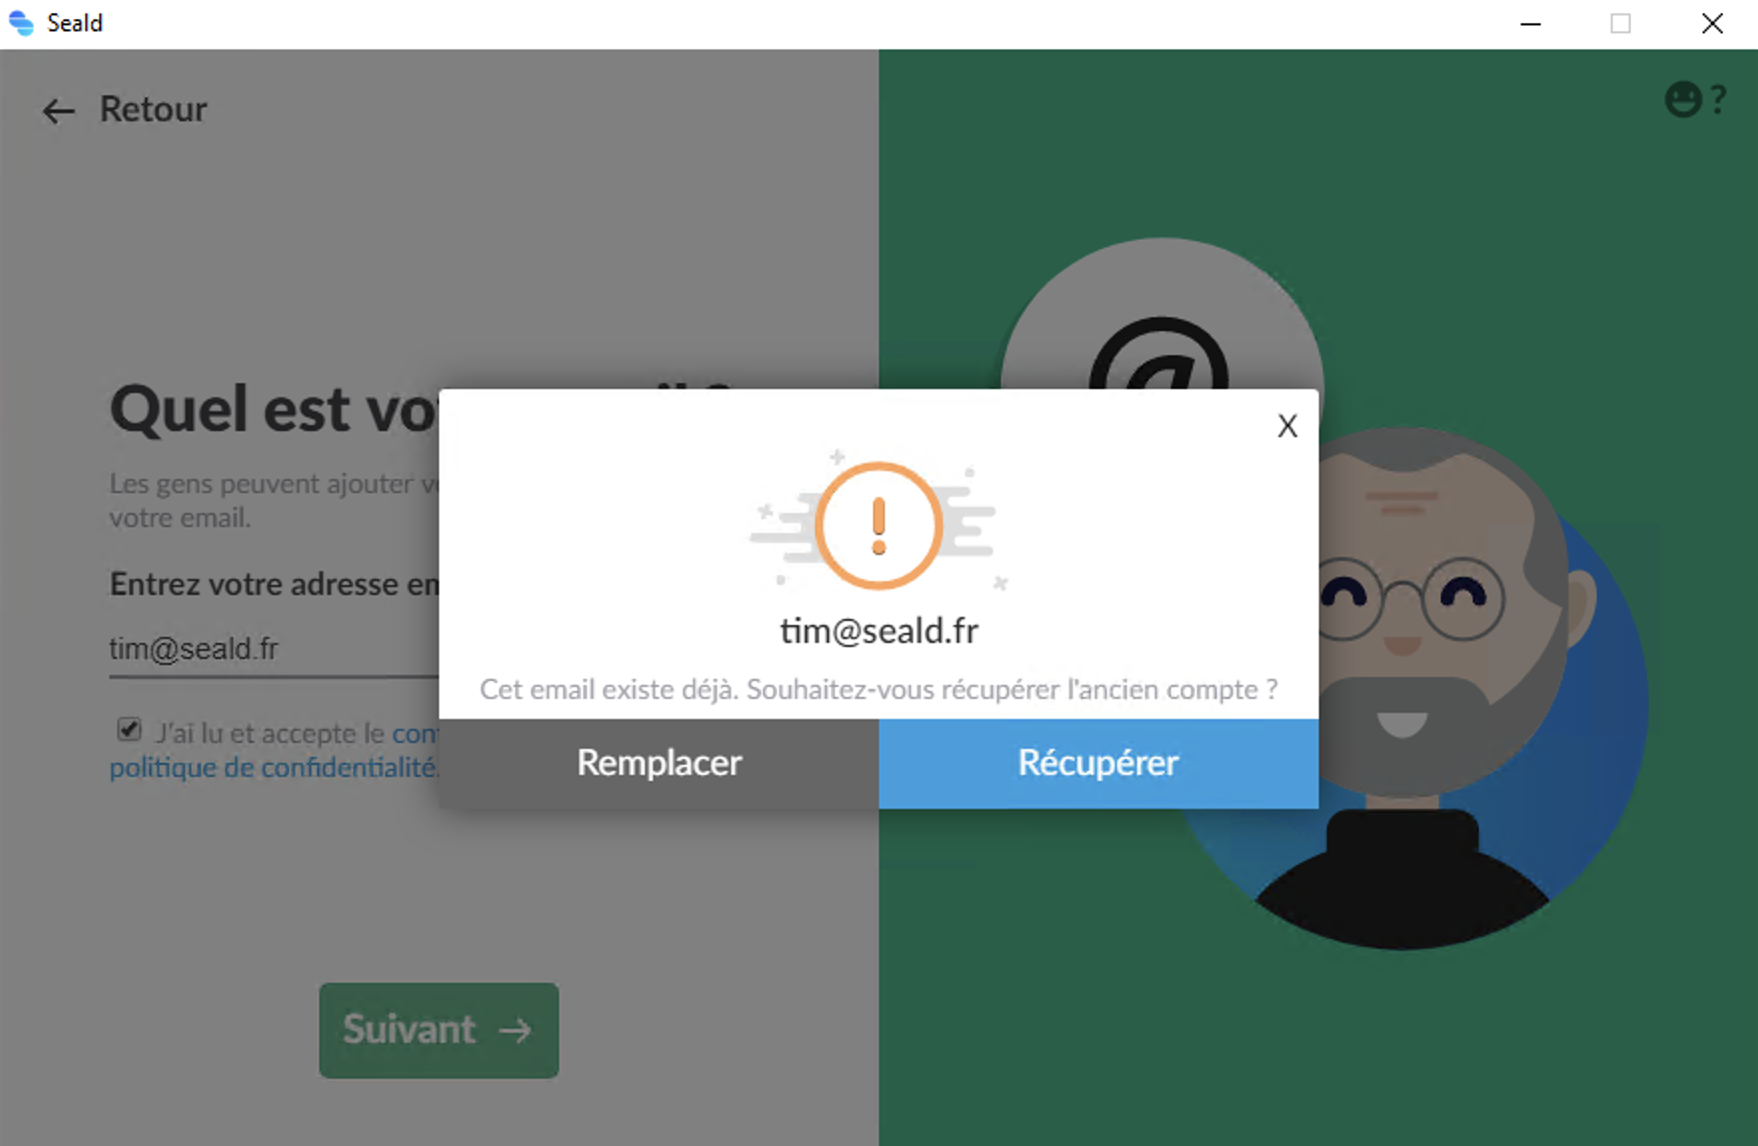 |
| Warning in case of account overwriting |
You will then receive a confirmation e-mail with a one-time password that you will have to type in the Seald application:
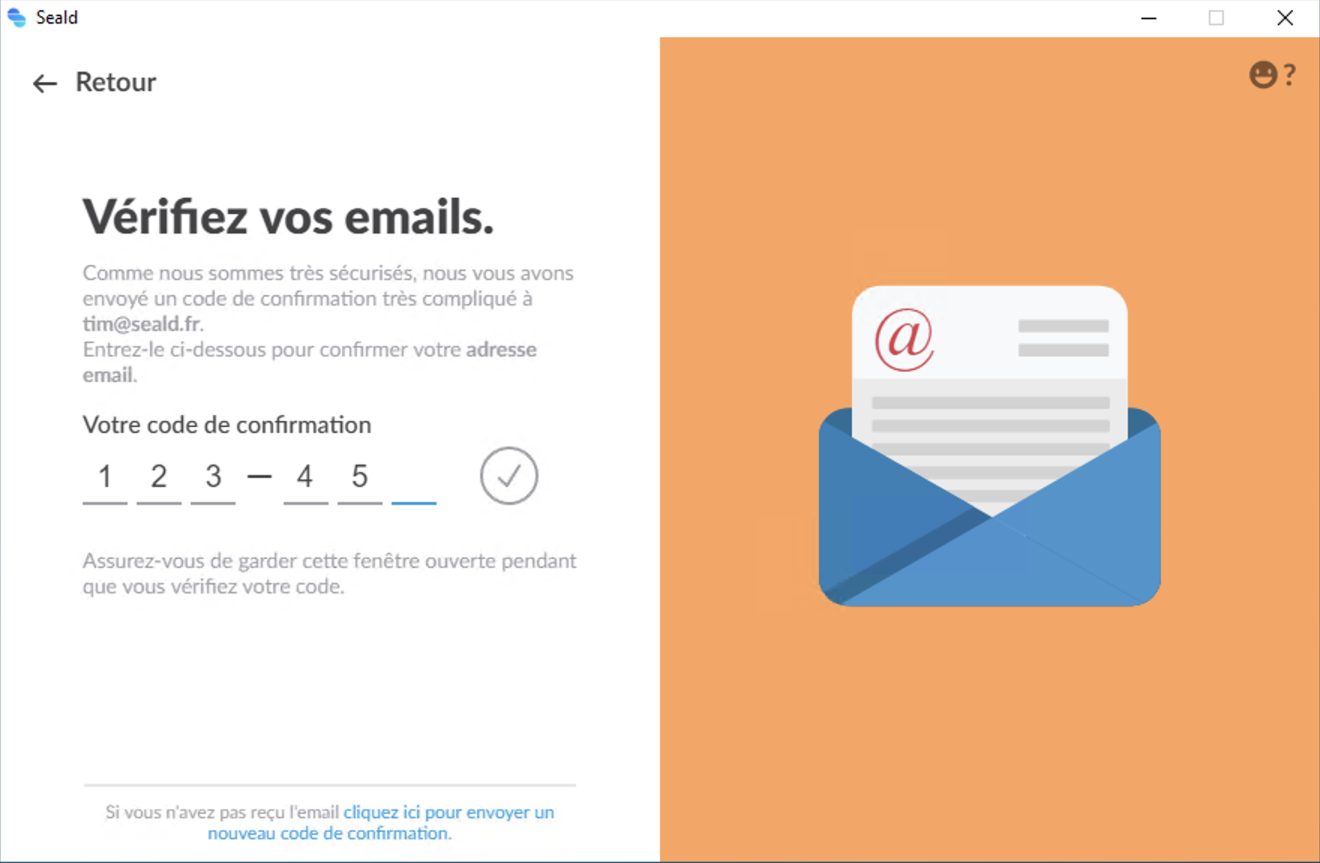 |
| Enter your one-time password received by e-mail |
Team selection
You will then be asked to join a team. In the general case, only one choice is proposed to you:
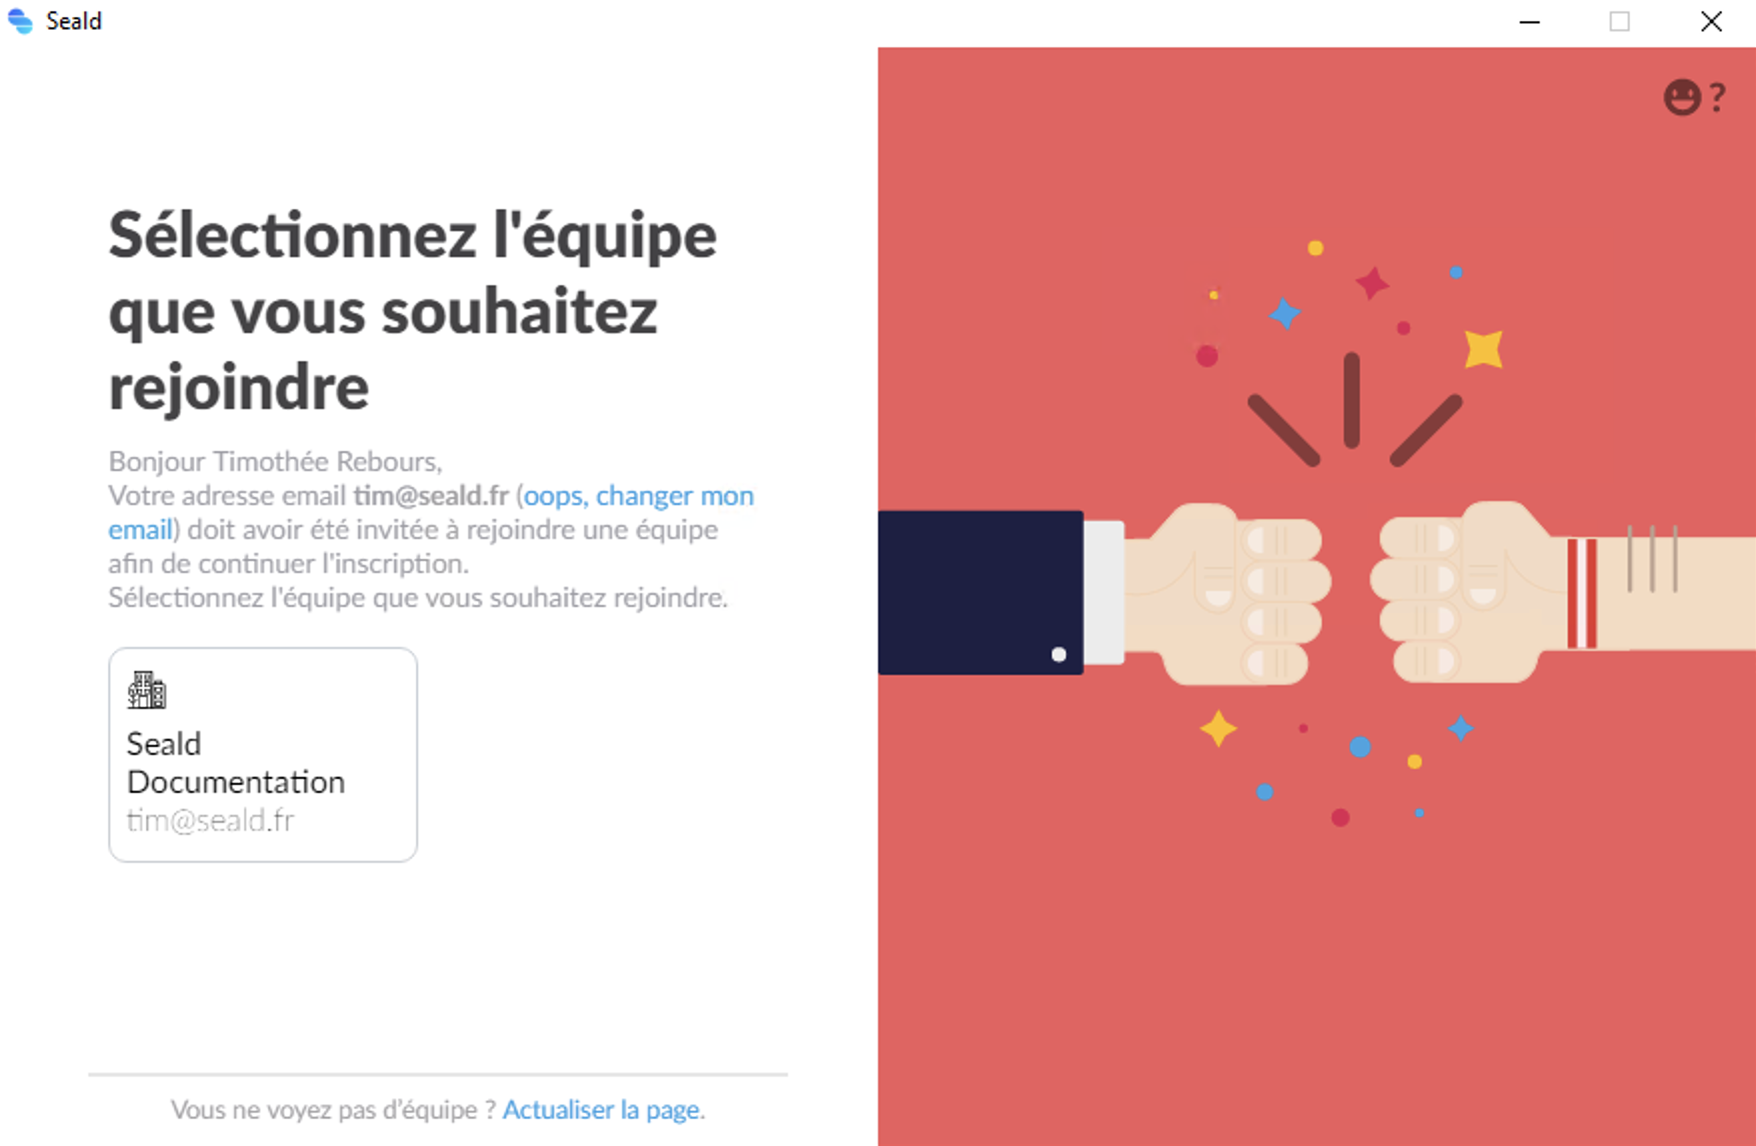 |
| Team selection |
TIP
If no team is proposed to you, check that the e-mail address used is the one invited by the administrator in the administration dashboard.
WARNING
In the event that several teams are proposed, it is possible that one of them may be illegitimate. In case of doubt, ask your administrator which one to choose.
Backup keys
Once the team has been joined, you will be offered (if your administrator has enabled them) to accept backup keys. Backup keys are a kind of virtual device added to your account whose keys are securely delivered to your administrator. Thus, if you lose access to your devices, your administrator can allow you to regain access to your account using these backup keys.
 |
| Backup keys |
WARNING
If you refuse, you will have no way to recover your account if you lose your devices.
If you are on Windows, you will be offered to install the Outlook plugin automatically if Microsoft Outlook is installed.
Pair this device
When you have a mobile device (iOS or Android) with the mobile application installed and your account configured on it, you can choose the device pairing option.
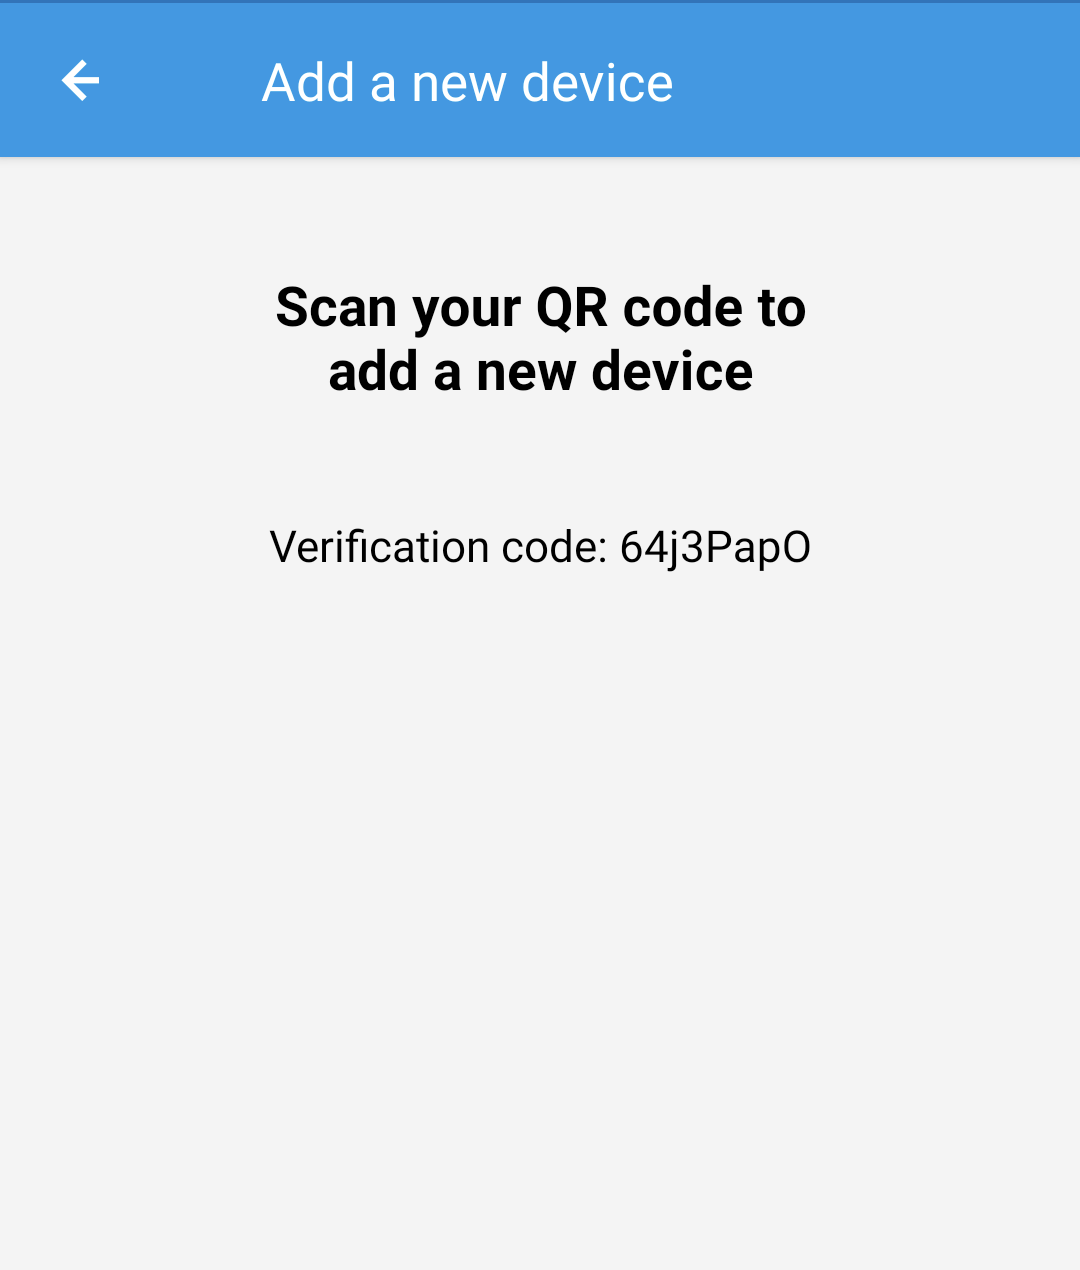
Add a new device
From your phone, open the mobile application, click on the top left menu and select "Add a new device":
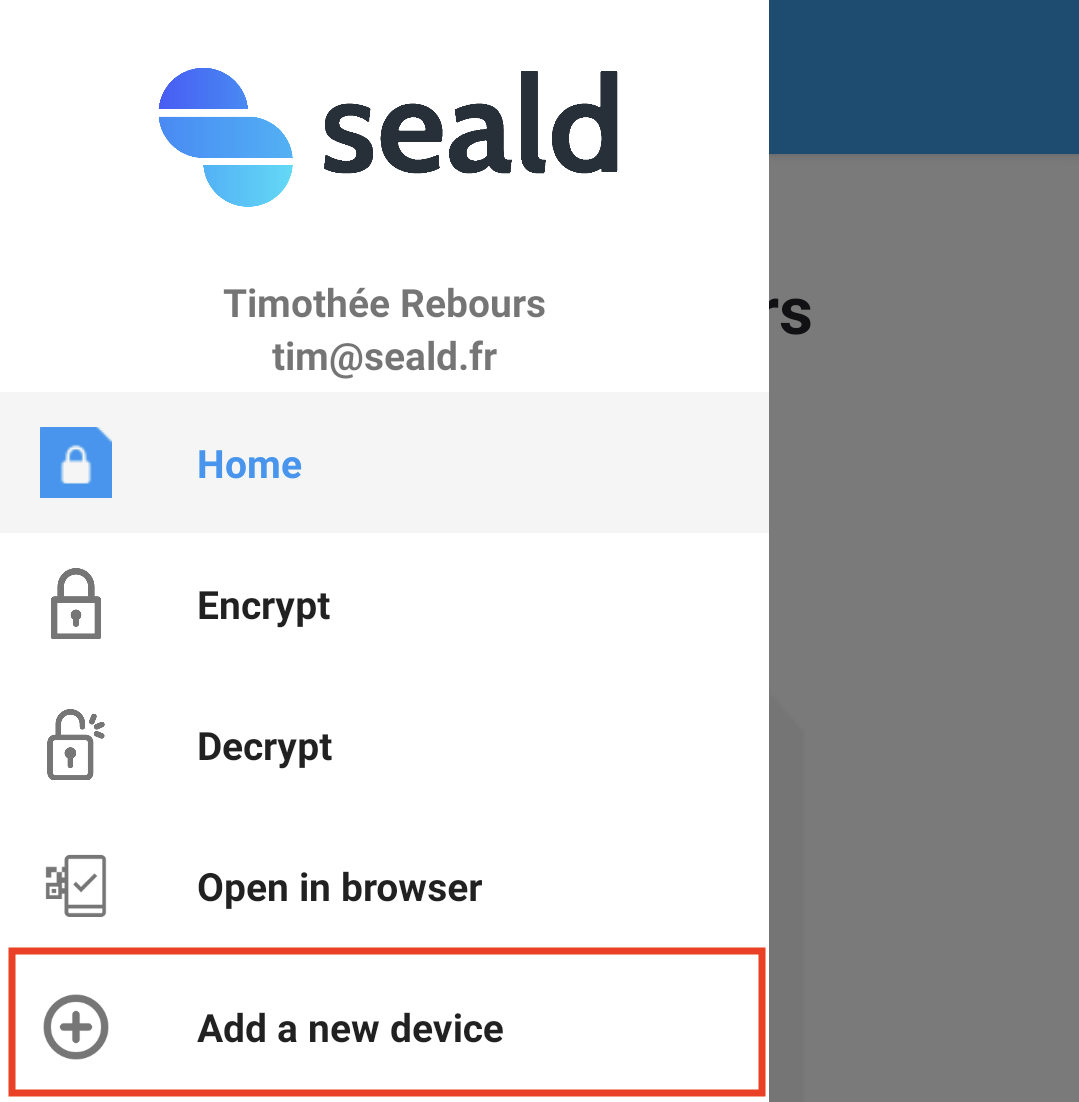 |
| Add a new device |
Scan the QRCode
After allowing the camera on the phone, scan the QRCode displayed on the computer screen after clicking "Pair this device":
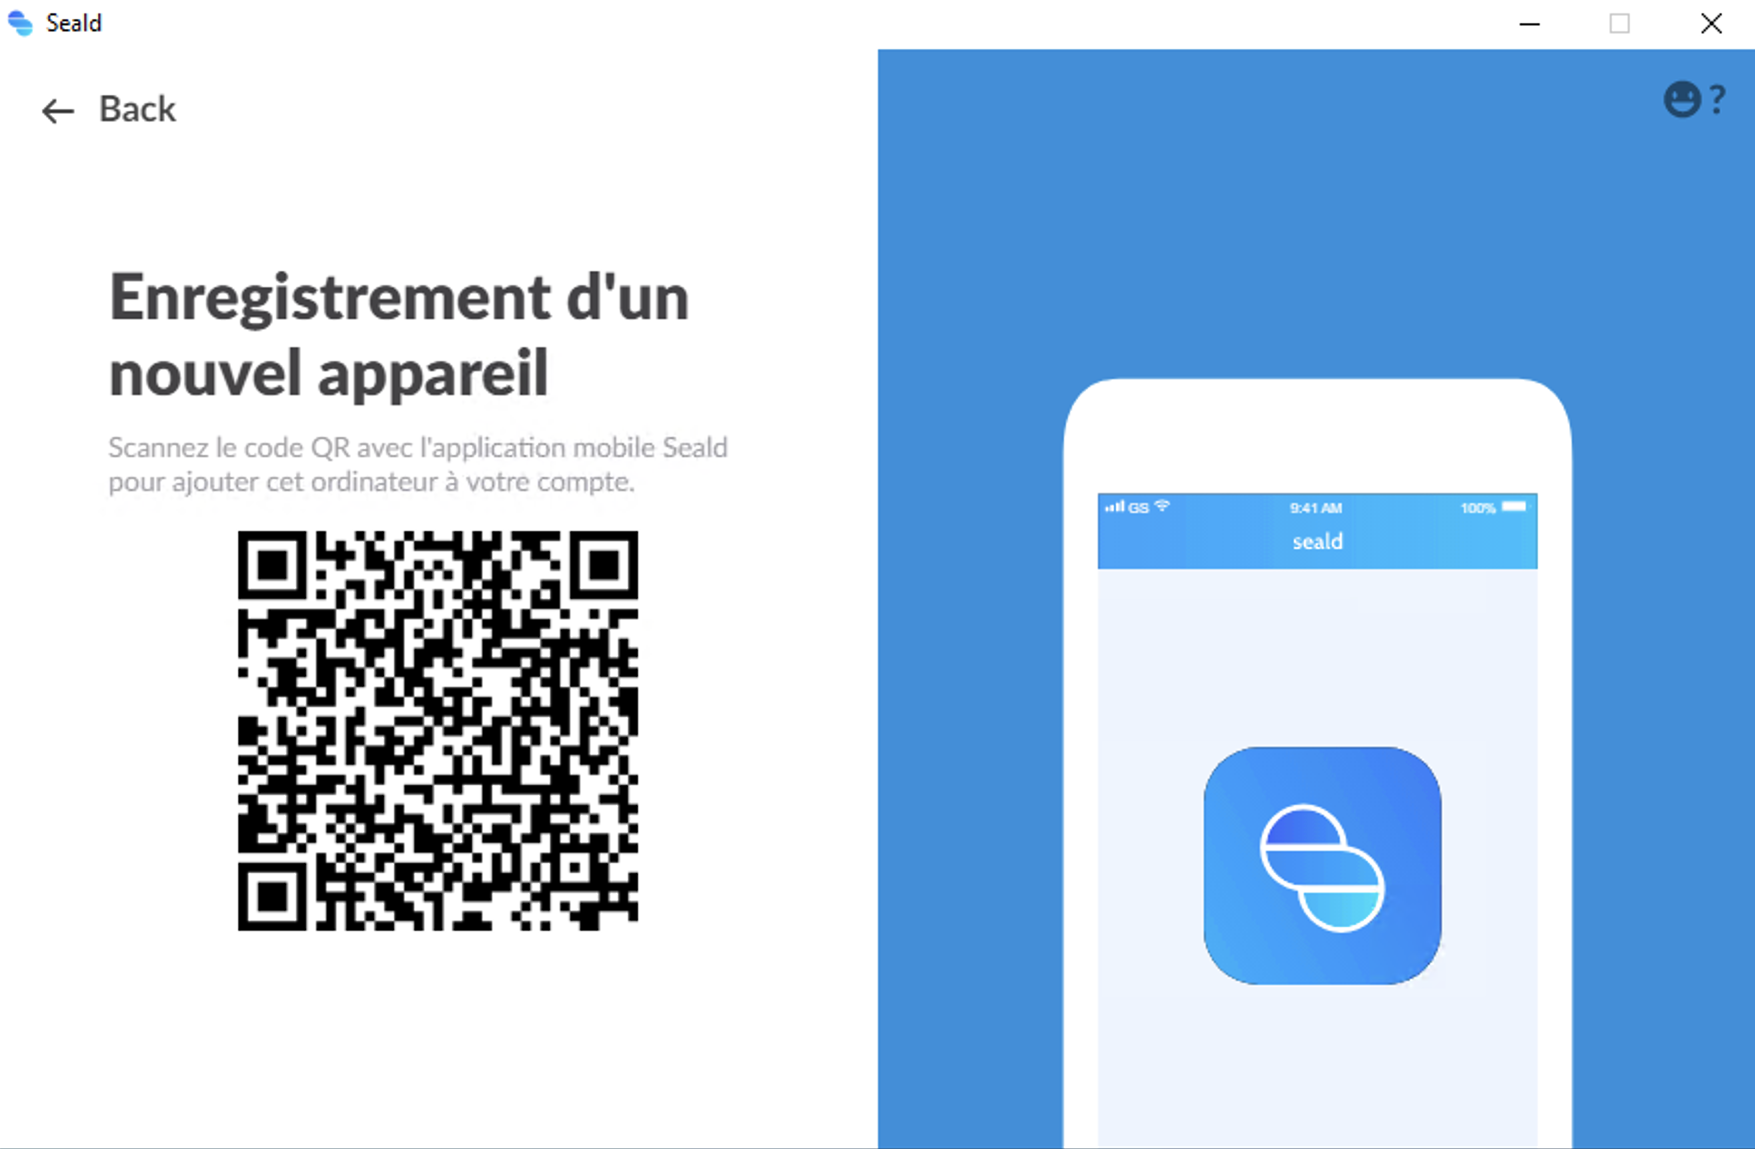 |
| Scan the QRCode |
Authenticate the operation
Once you have scanned the QRCode, you will be asked to confirm on the computer that the same code is displayed on the phone:
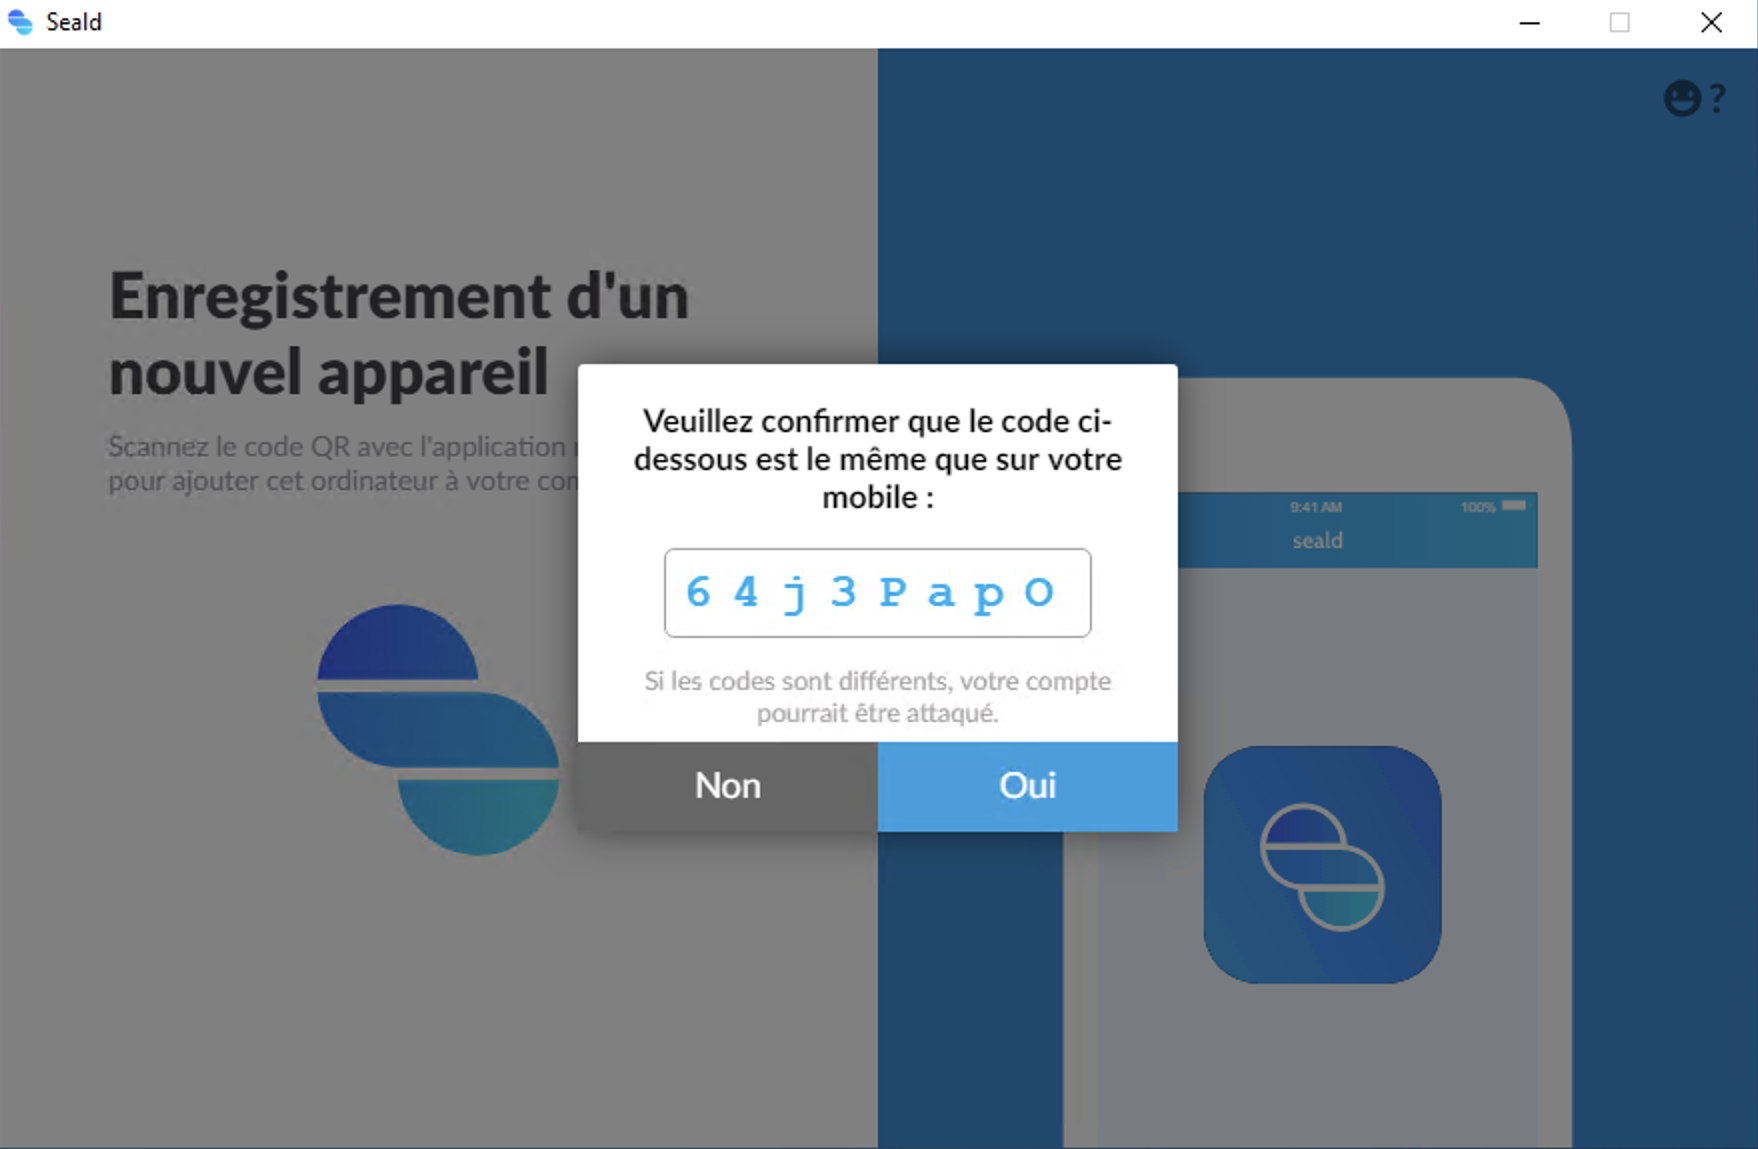 |  |
| Authenticate the operation on the desktop application | Check on the phone |
WARNING
If the codes are different, someone may have intercepted the communication, and it is better to start over.
Name the device
Once paired, give your device a name to be able to recognize it in the list of your devices in the desktop application or in the administration dashboard.
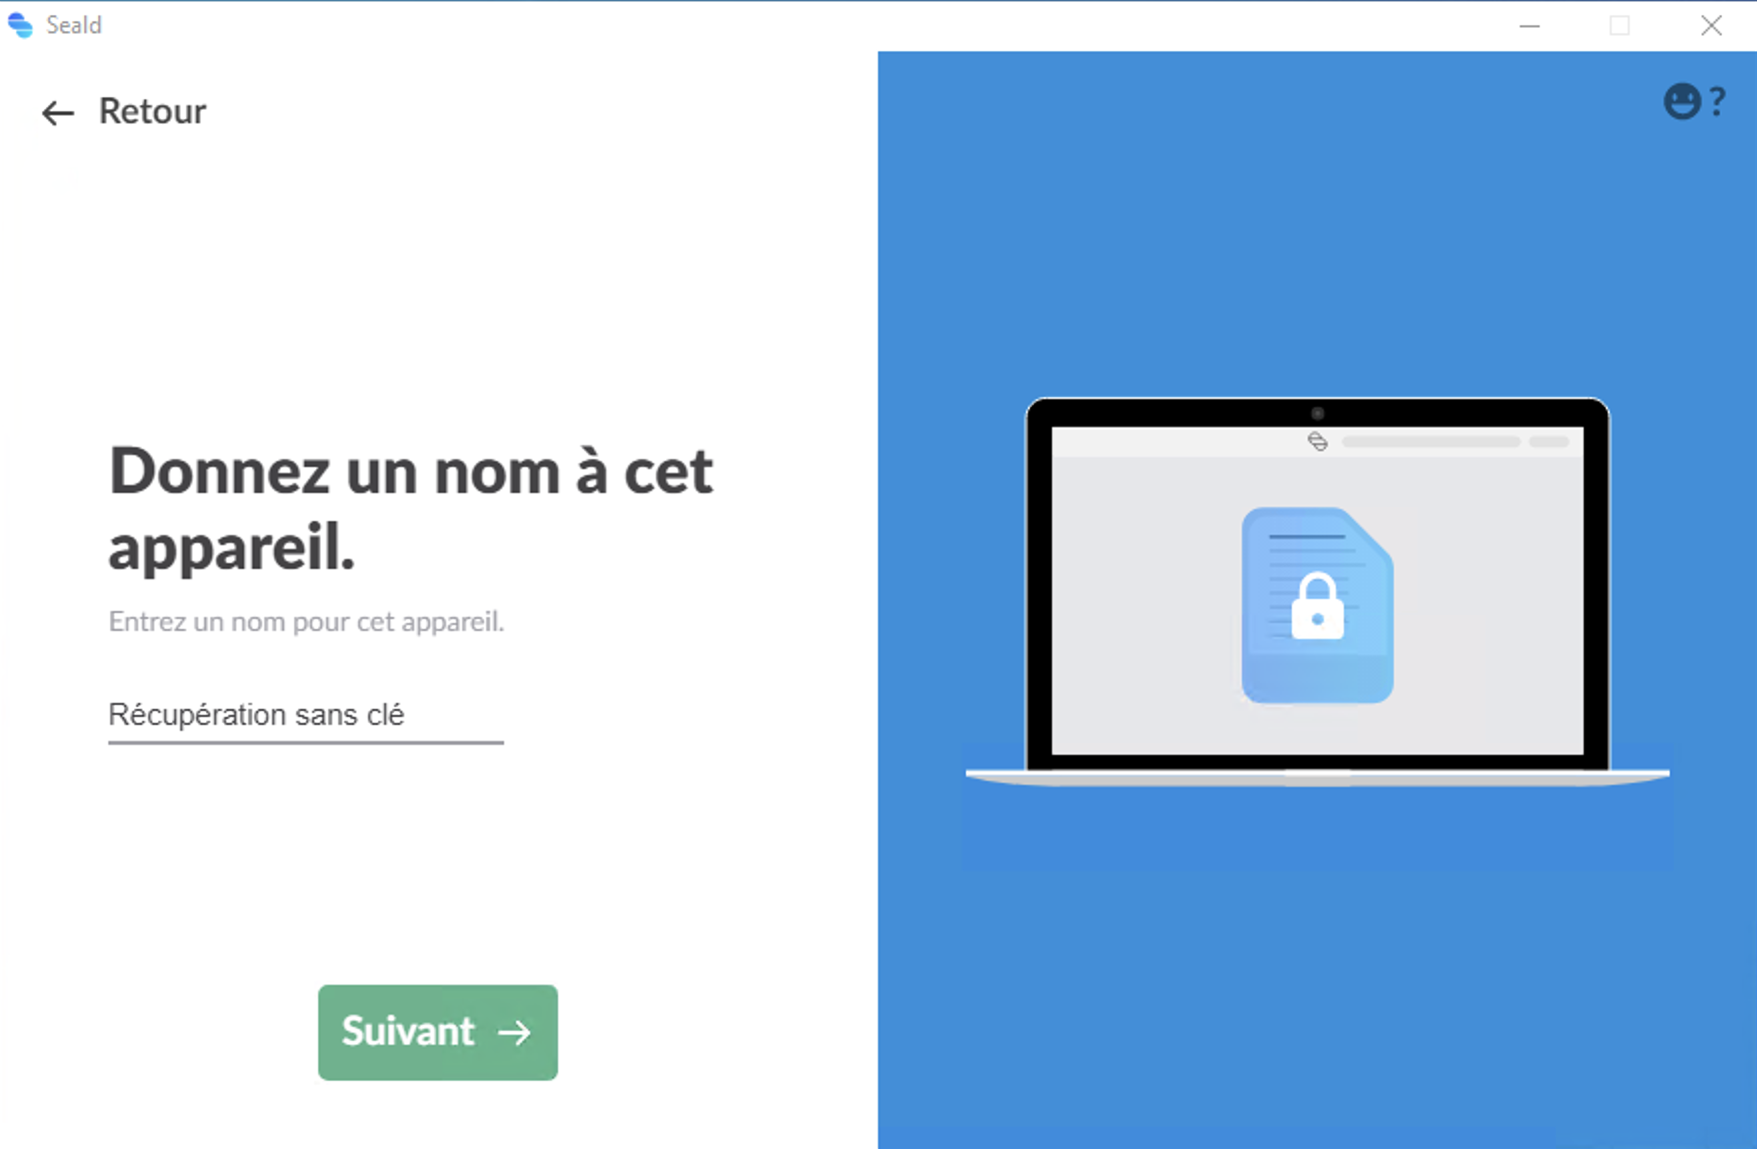 |
| Name the device |
If you are on Windows, you will be offered to install the Outlook plugin automatically if Microsoft Outlook is installed.
Recover my account
When you have lost access to your other devices (permanently or temporarily) and want to regain access to your account, you can use the administrator backup key.
A backup key is a kind of virtual device added to your account whose keys are securely delivered to your administrator. To use it, click on "Recover your account" the first time you launch the application.
Declare your e-mail address
You must first declare the e-mail address associated with your account:
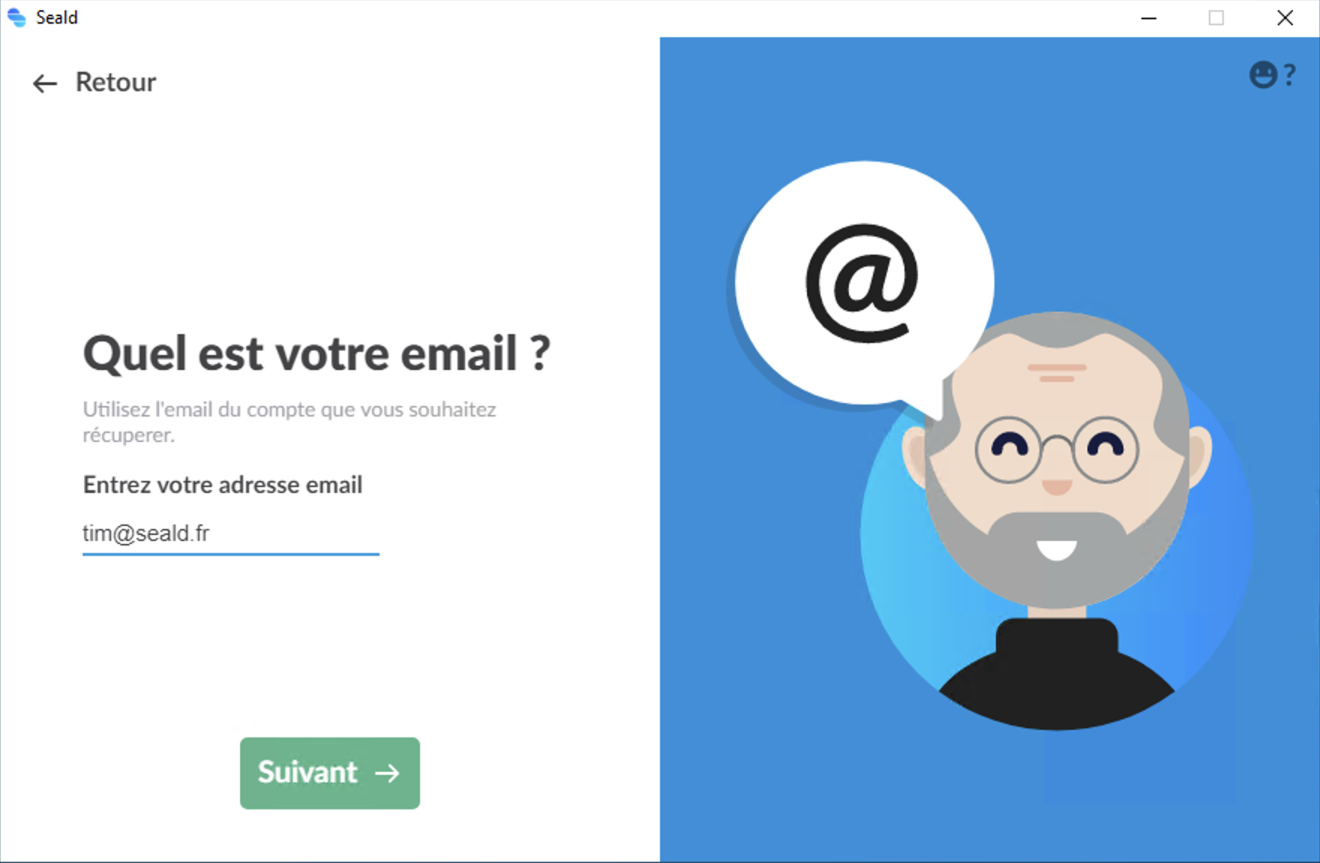 |
| Declare your e-mail address |
Name the device
Then you have to give the device a name to be able to recognize it in the list of your devices in the desktop application or in the administration dashboard:
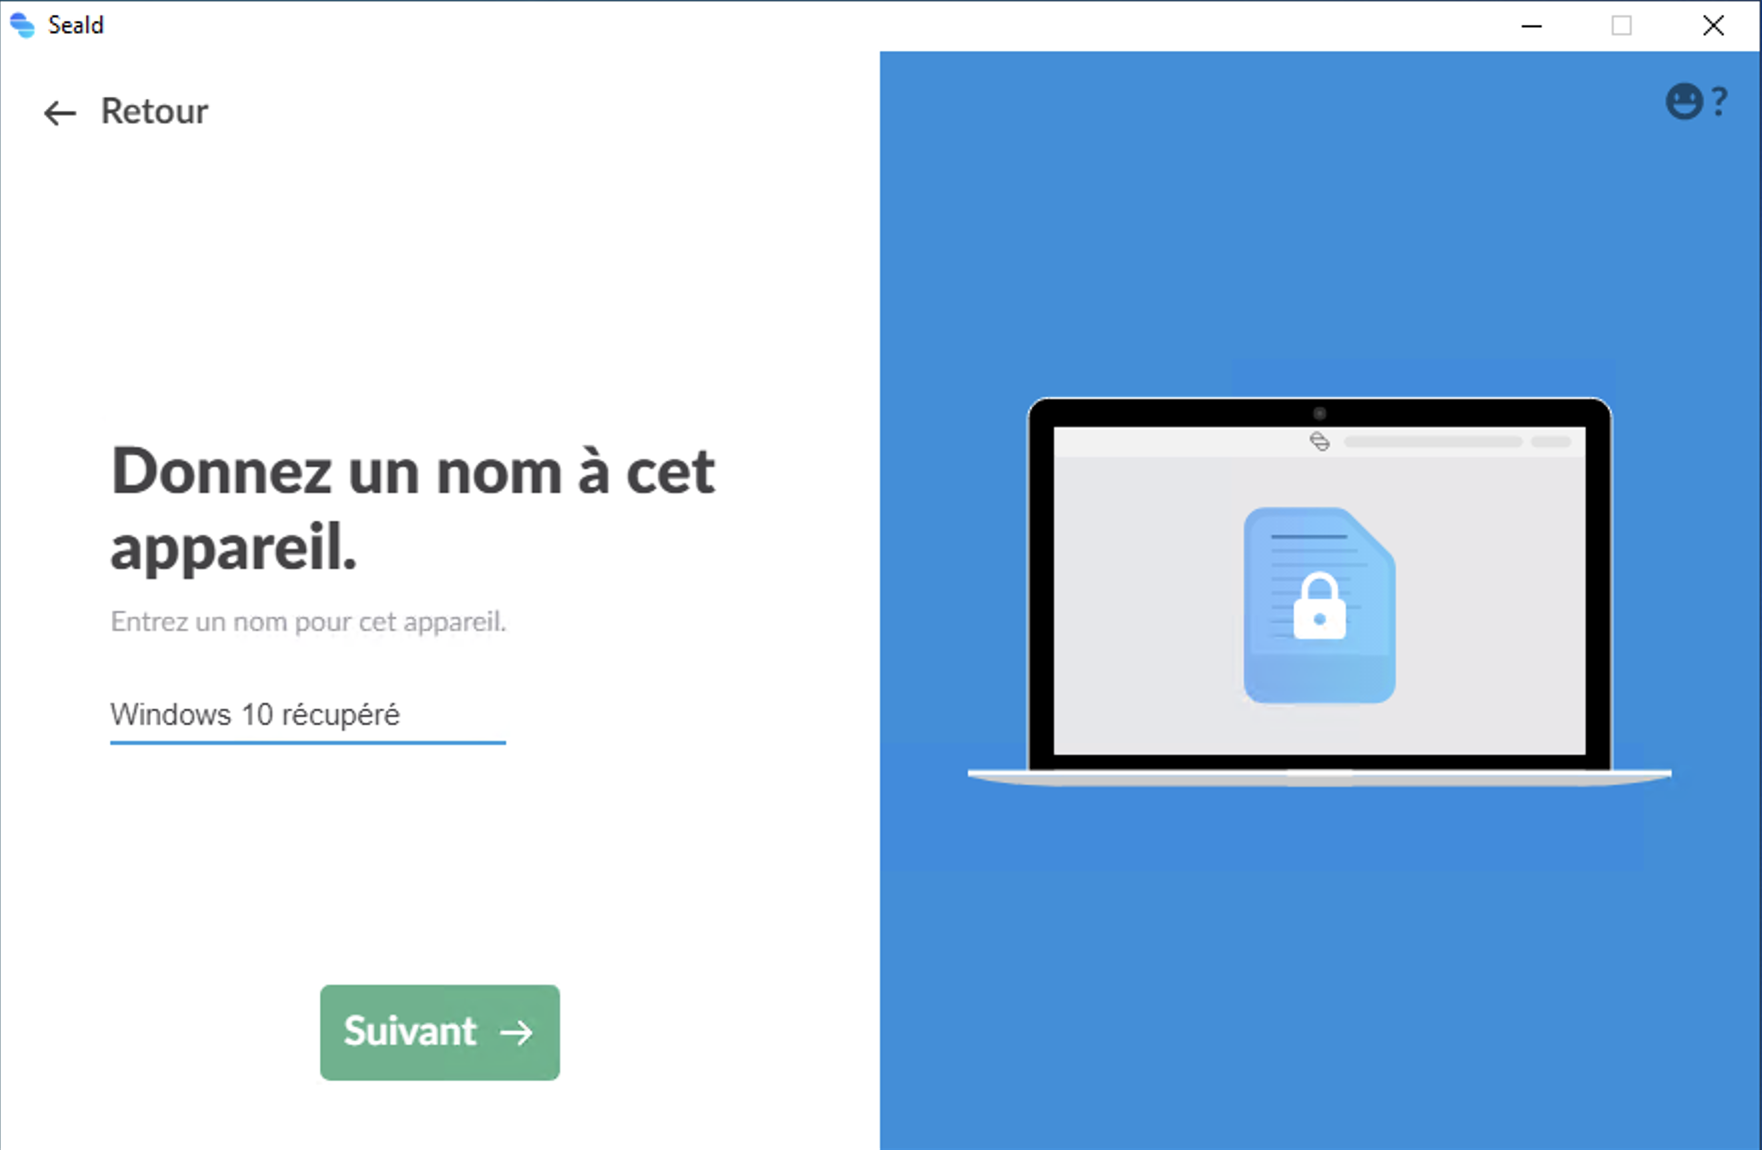 |
| Name the device |
TIP
If an error occurs at this stage, please verify that the email address used is your Seald account email address.
Validate the e-mail address
You will receive a confirmation email with a one-time password that must be repeated in the desktop application:
 |
| Validate the e-mail address |
Waiting for validation
Your administrator will then be notified by e-mail that a recovery request has been made. They will then have to validate it.
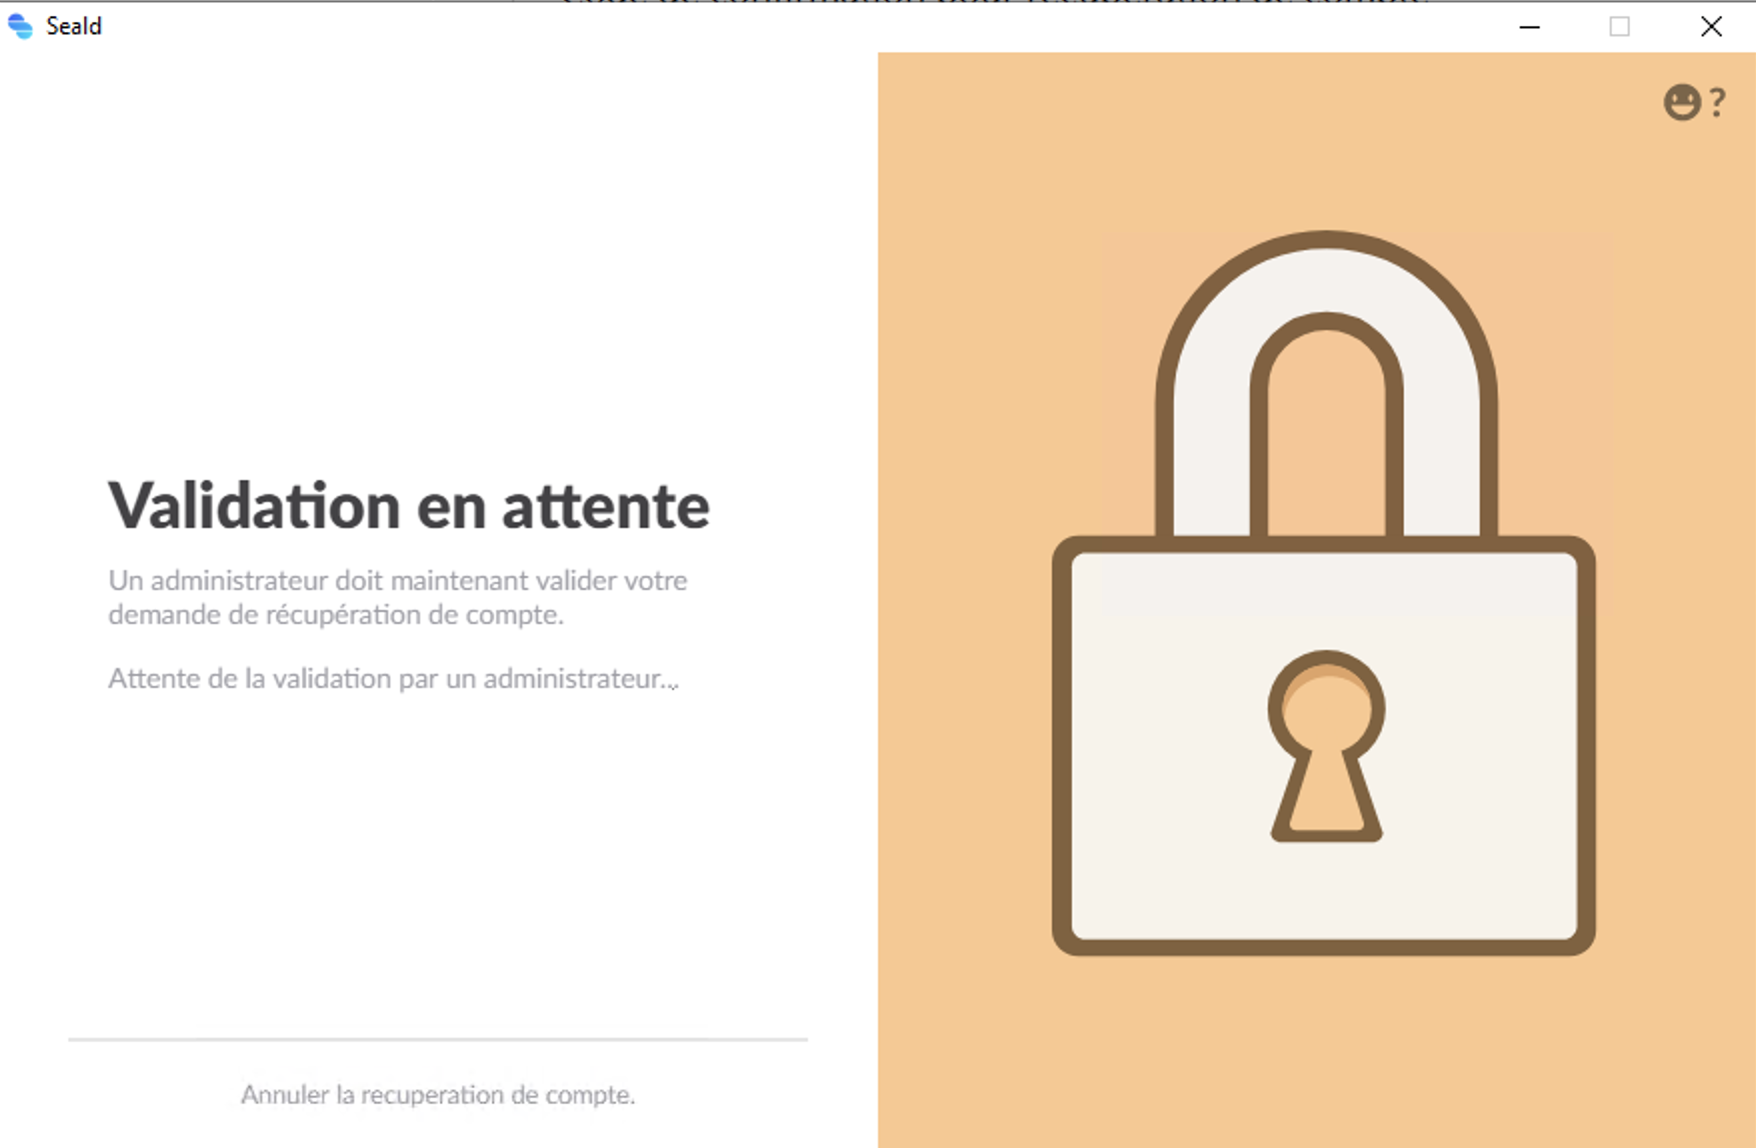 |
| Waiting for validation |
TIP
You can contact them via another channel to make sure they see your request. They will need to follow this procedure to recover your account.
Request validated
Once the administrator has validated the request, your previous documents & emails may be inaccessible while they are being re-encrypted for this new device, but you can already start using the application.
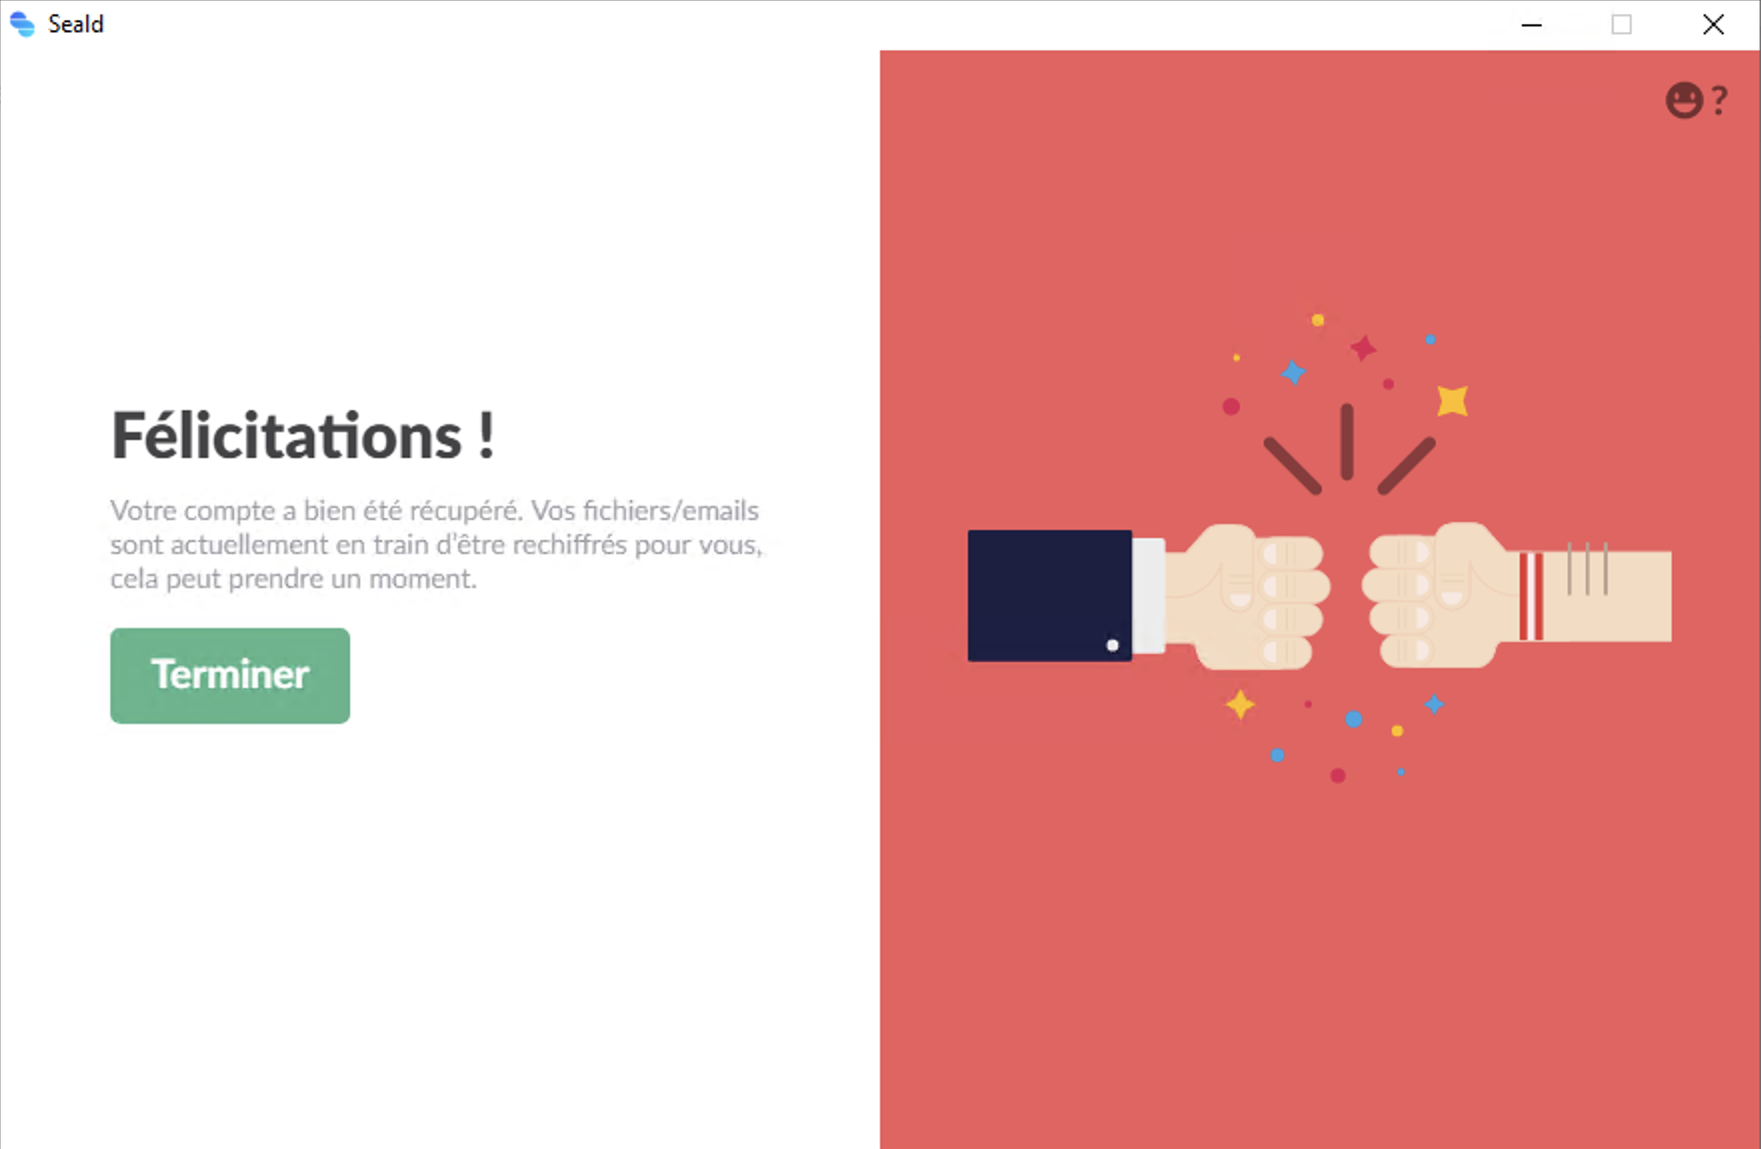 |
| Request validated |
If you are on Windows, you will be offered to install the Outlook plugin automatically if Microsoft Outlook is installed.
Installation of extensions
If you are on Windows, you will be offered to install the Outlook plugin automatically if Microsoft Outlook is installed. Click on the "Connect" button to install it, then click on "Install" in the window that opens.
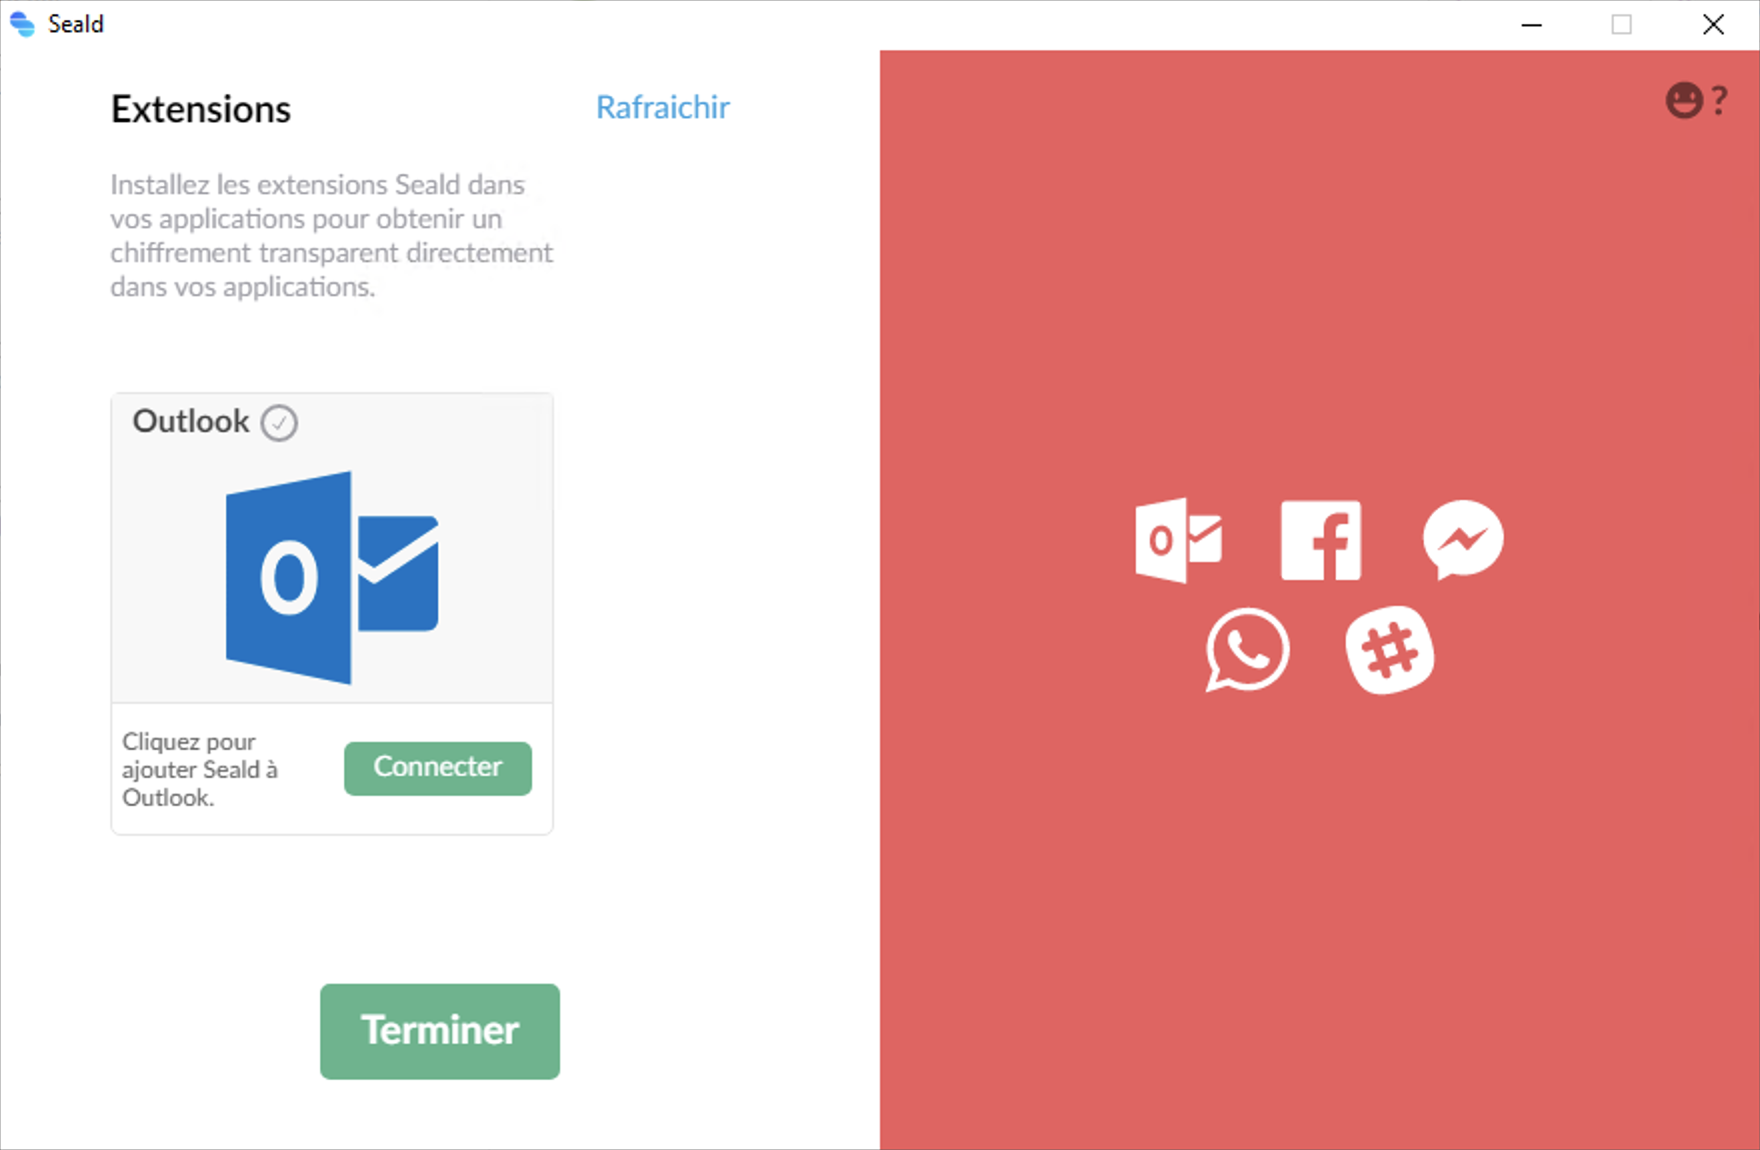 |
| Extensions |
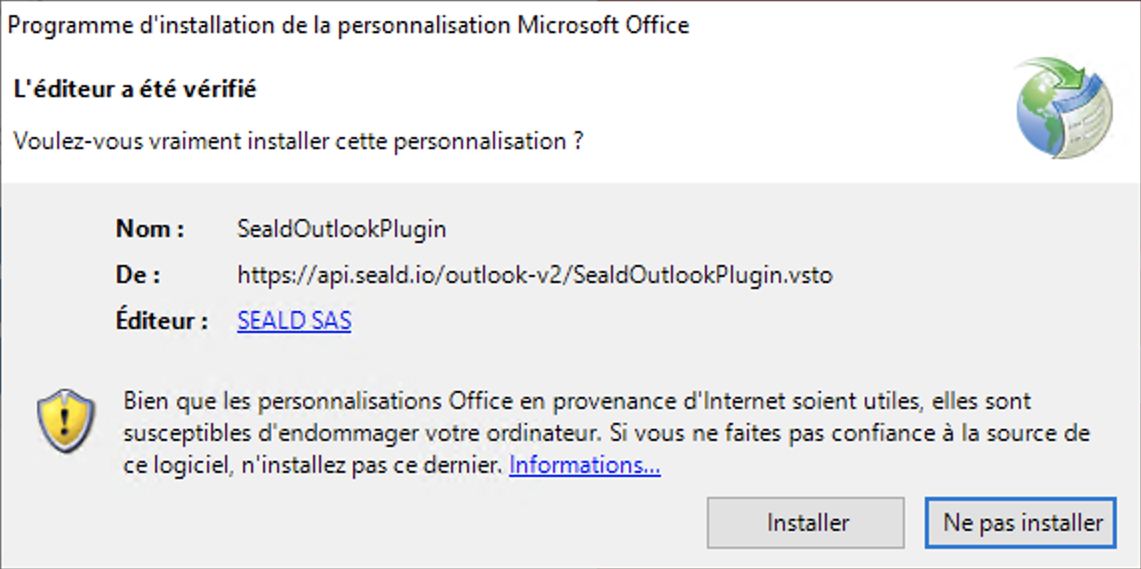 |
| Install the Outlook plugin |
TIP
In case of problems during installation, see this page.